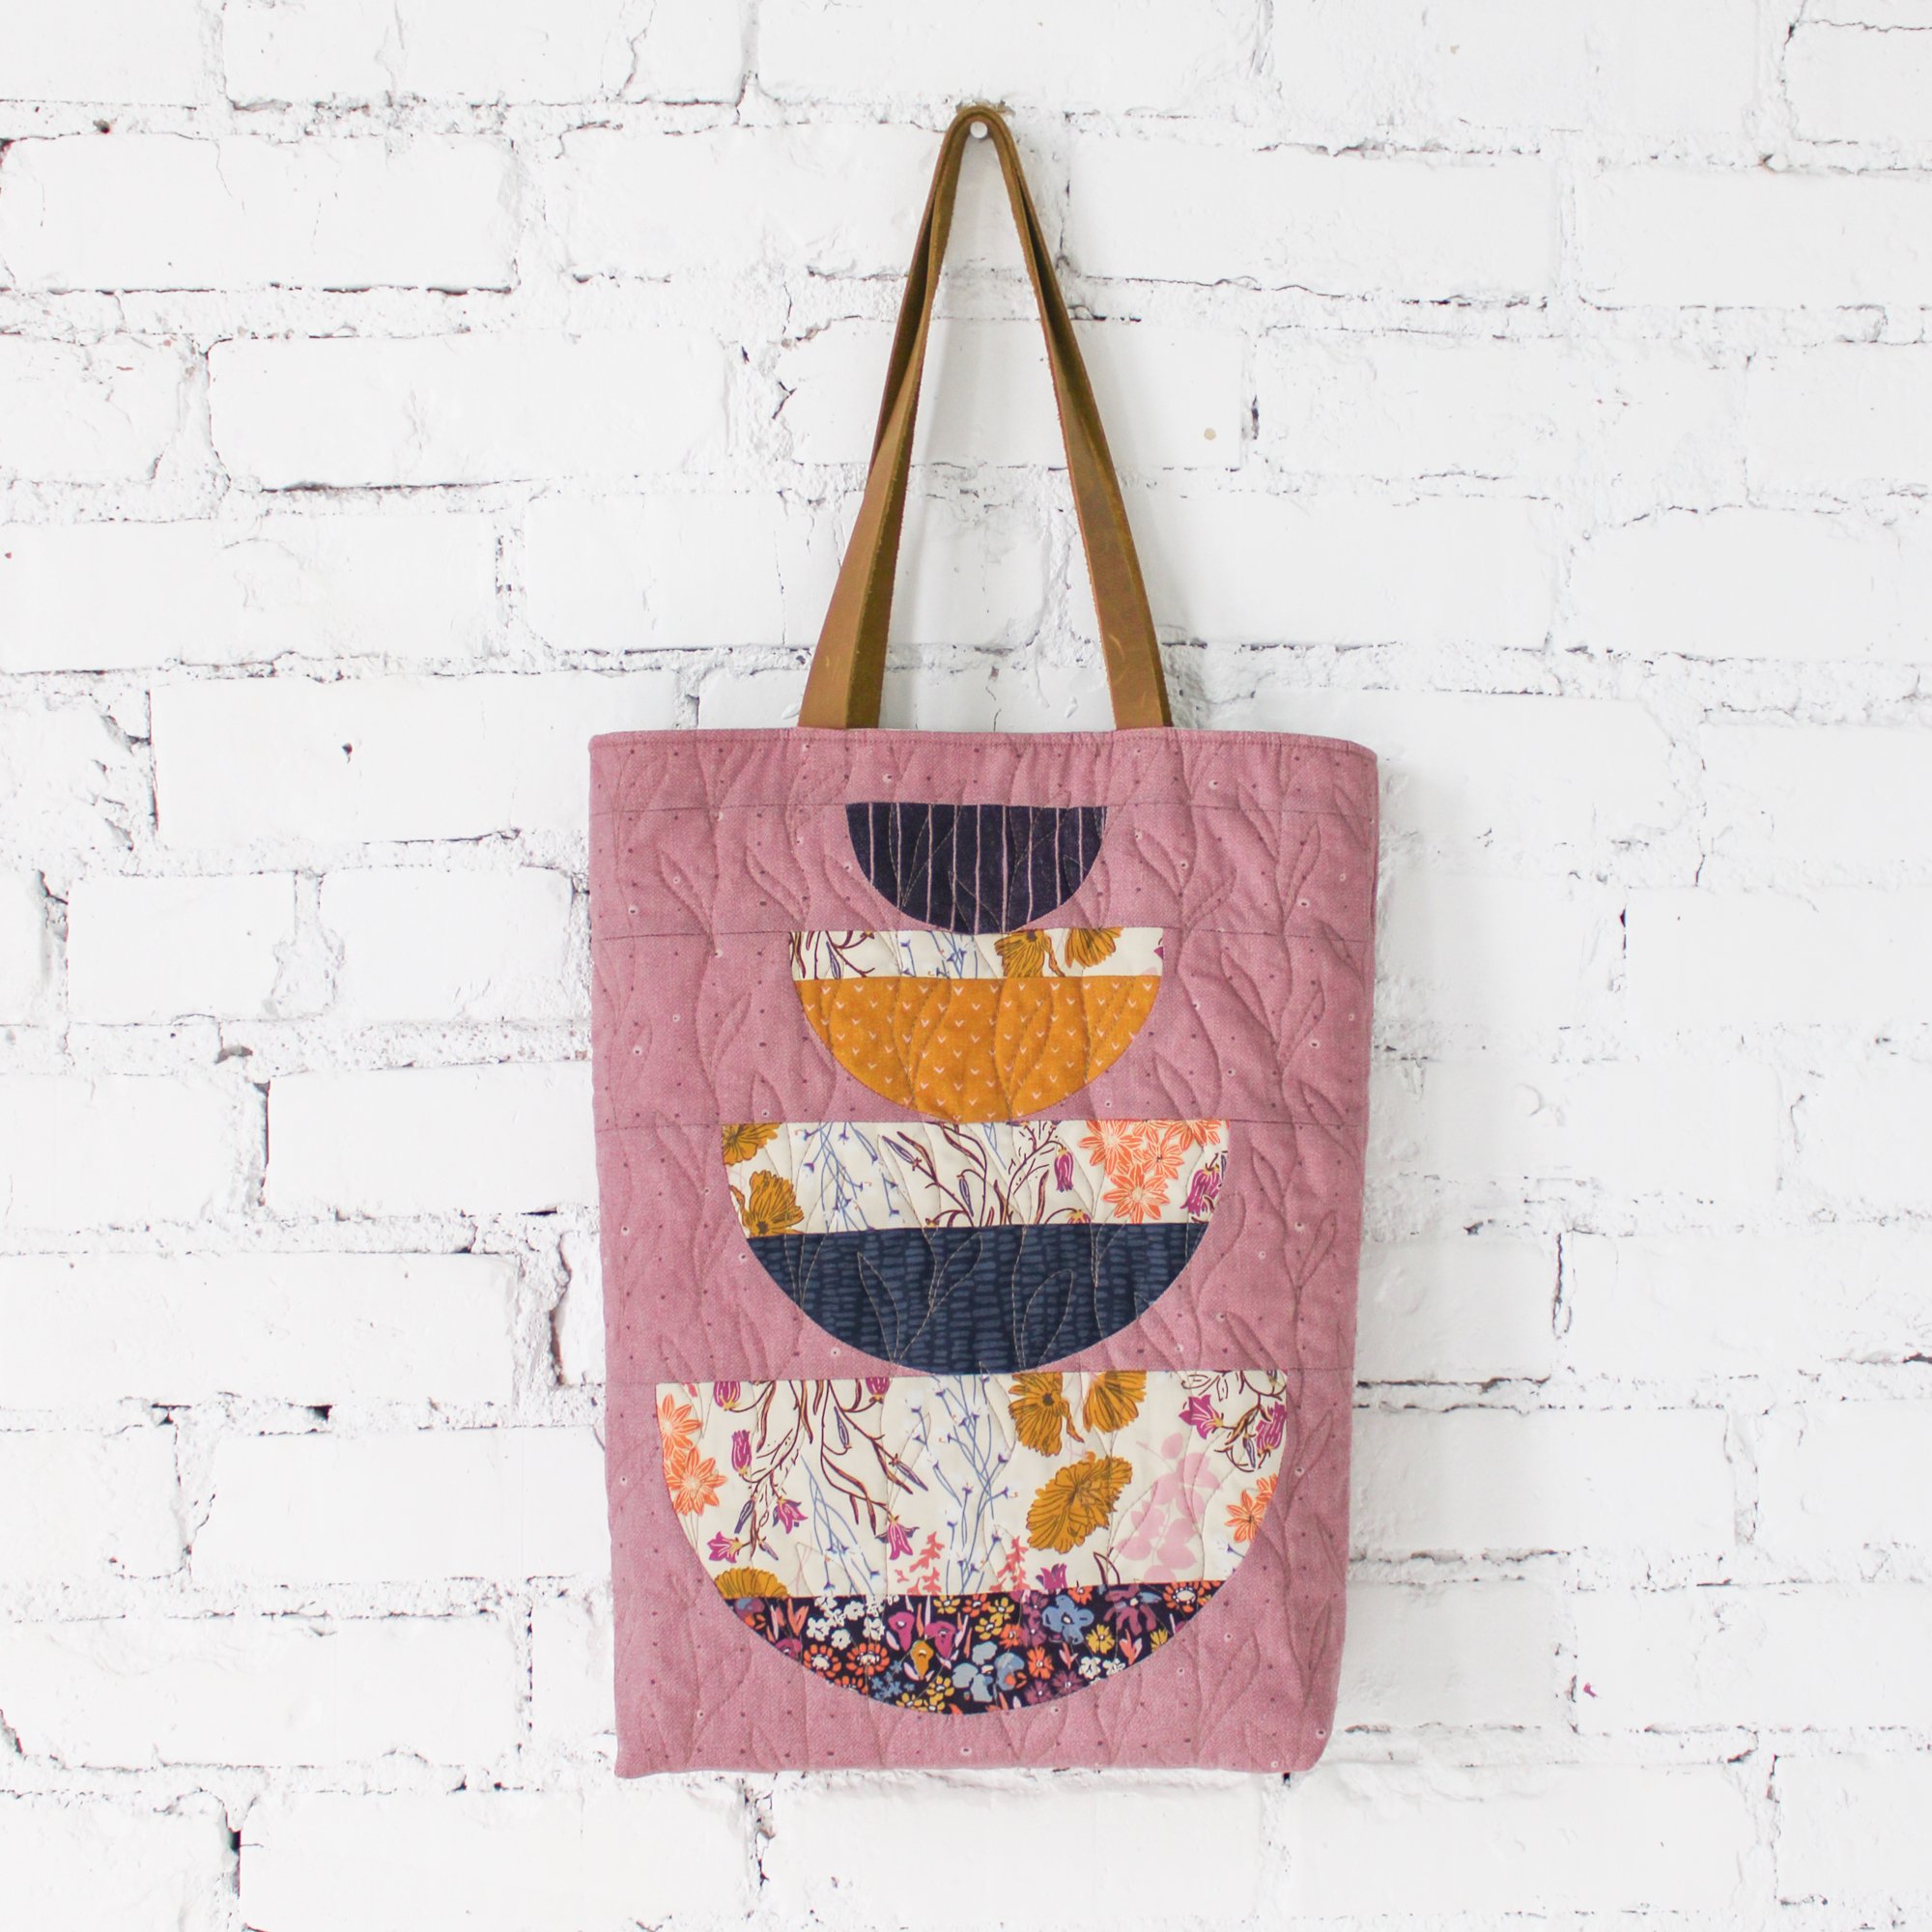
Quilted Feast Tote Bag Tutorial


Do you ever wish your quilty makes were more…well, portable? Don’t get me wrong, I obviously LOVE quilts and they can be very useful. But, sometimes you need a more subtle way of showing off your handiwork than (not so casually) dragging a quilt around. Not that I’m at all opposed to doing that, of course - it’s just that they can get a bit bulky!
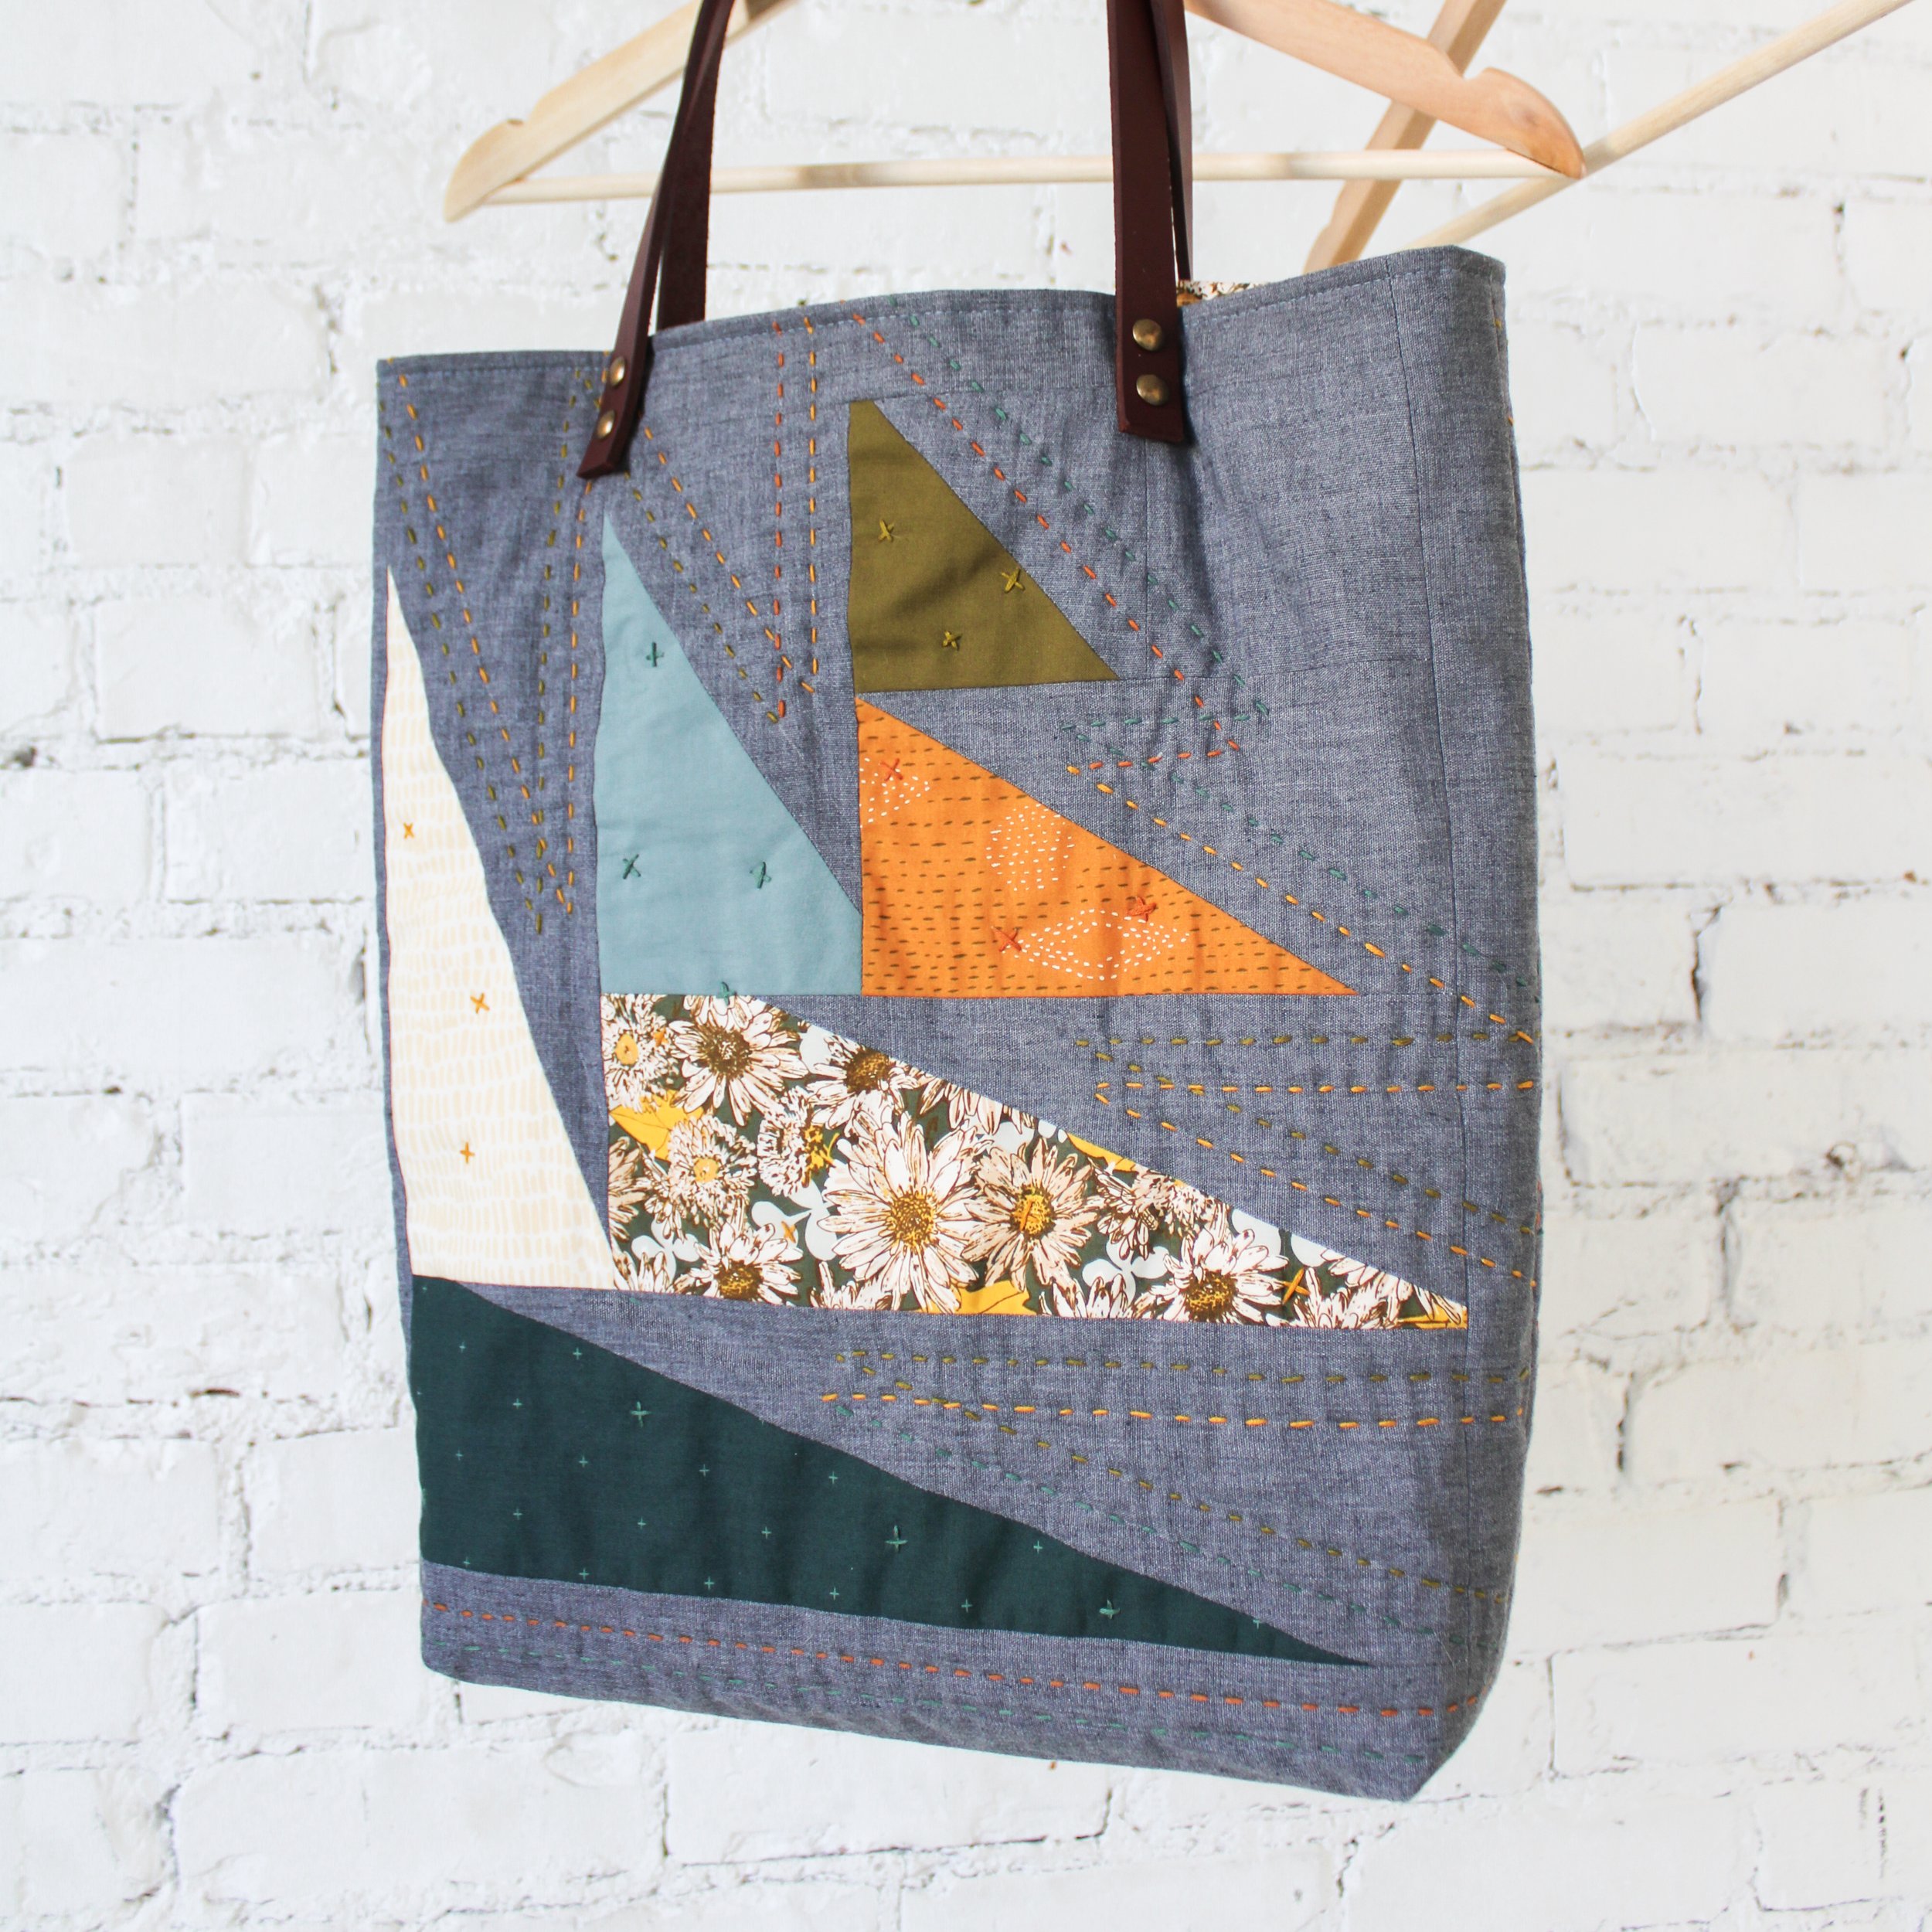
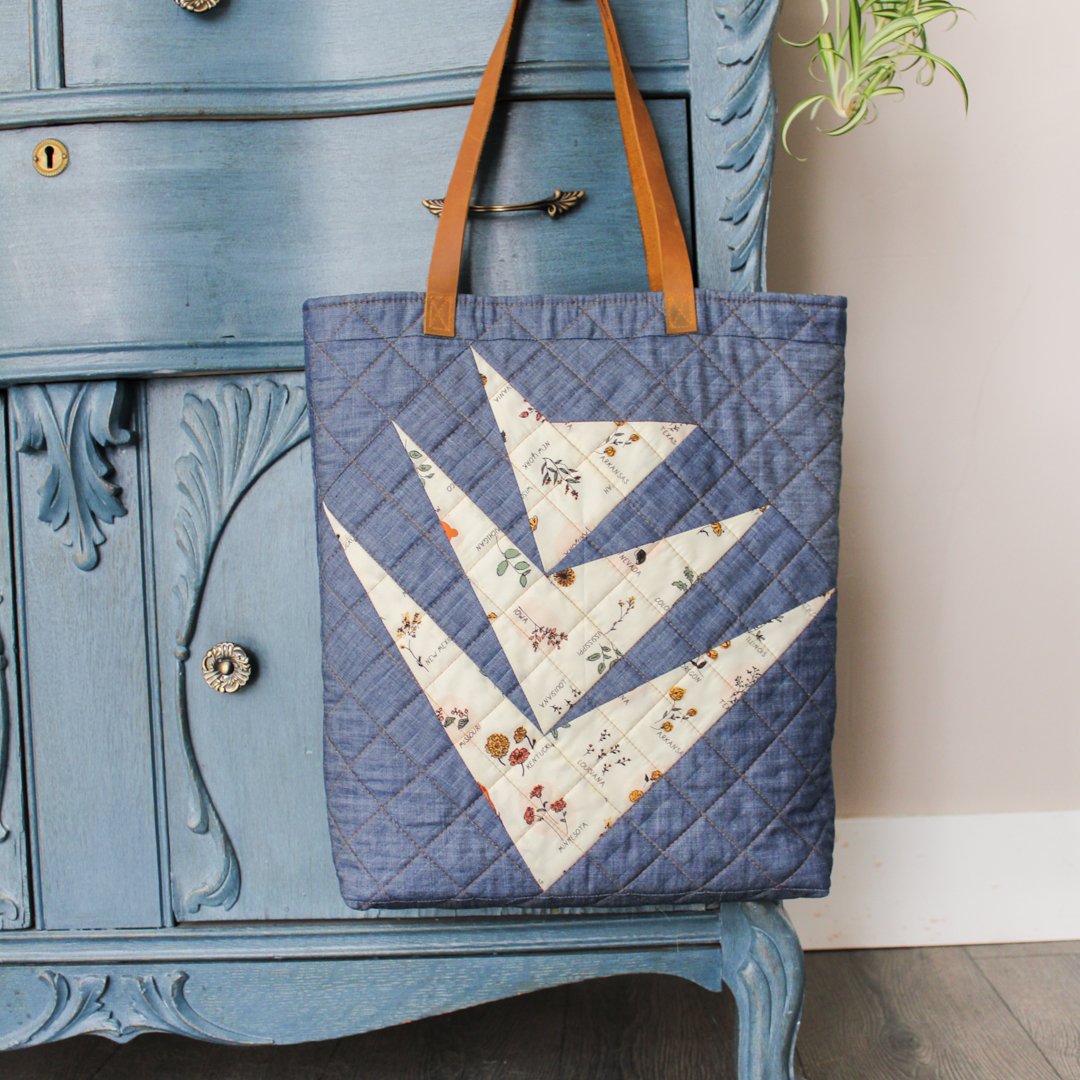
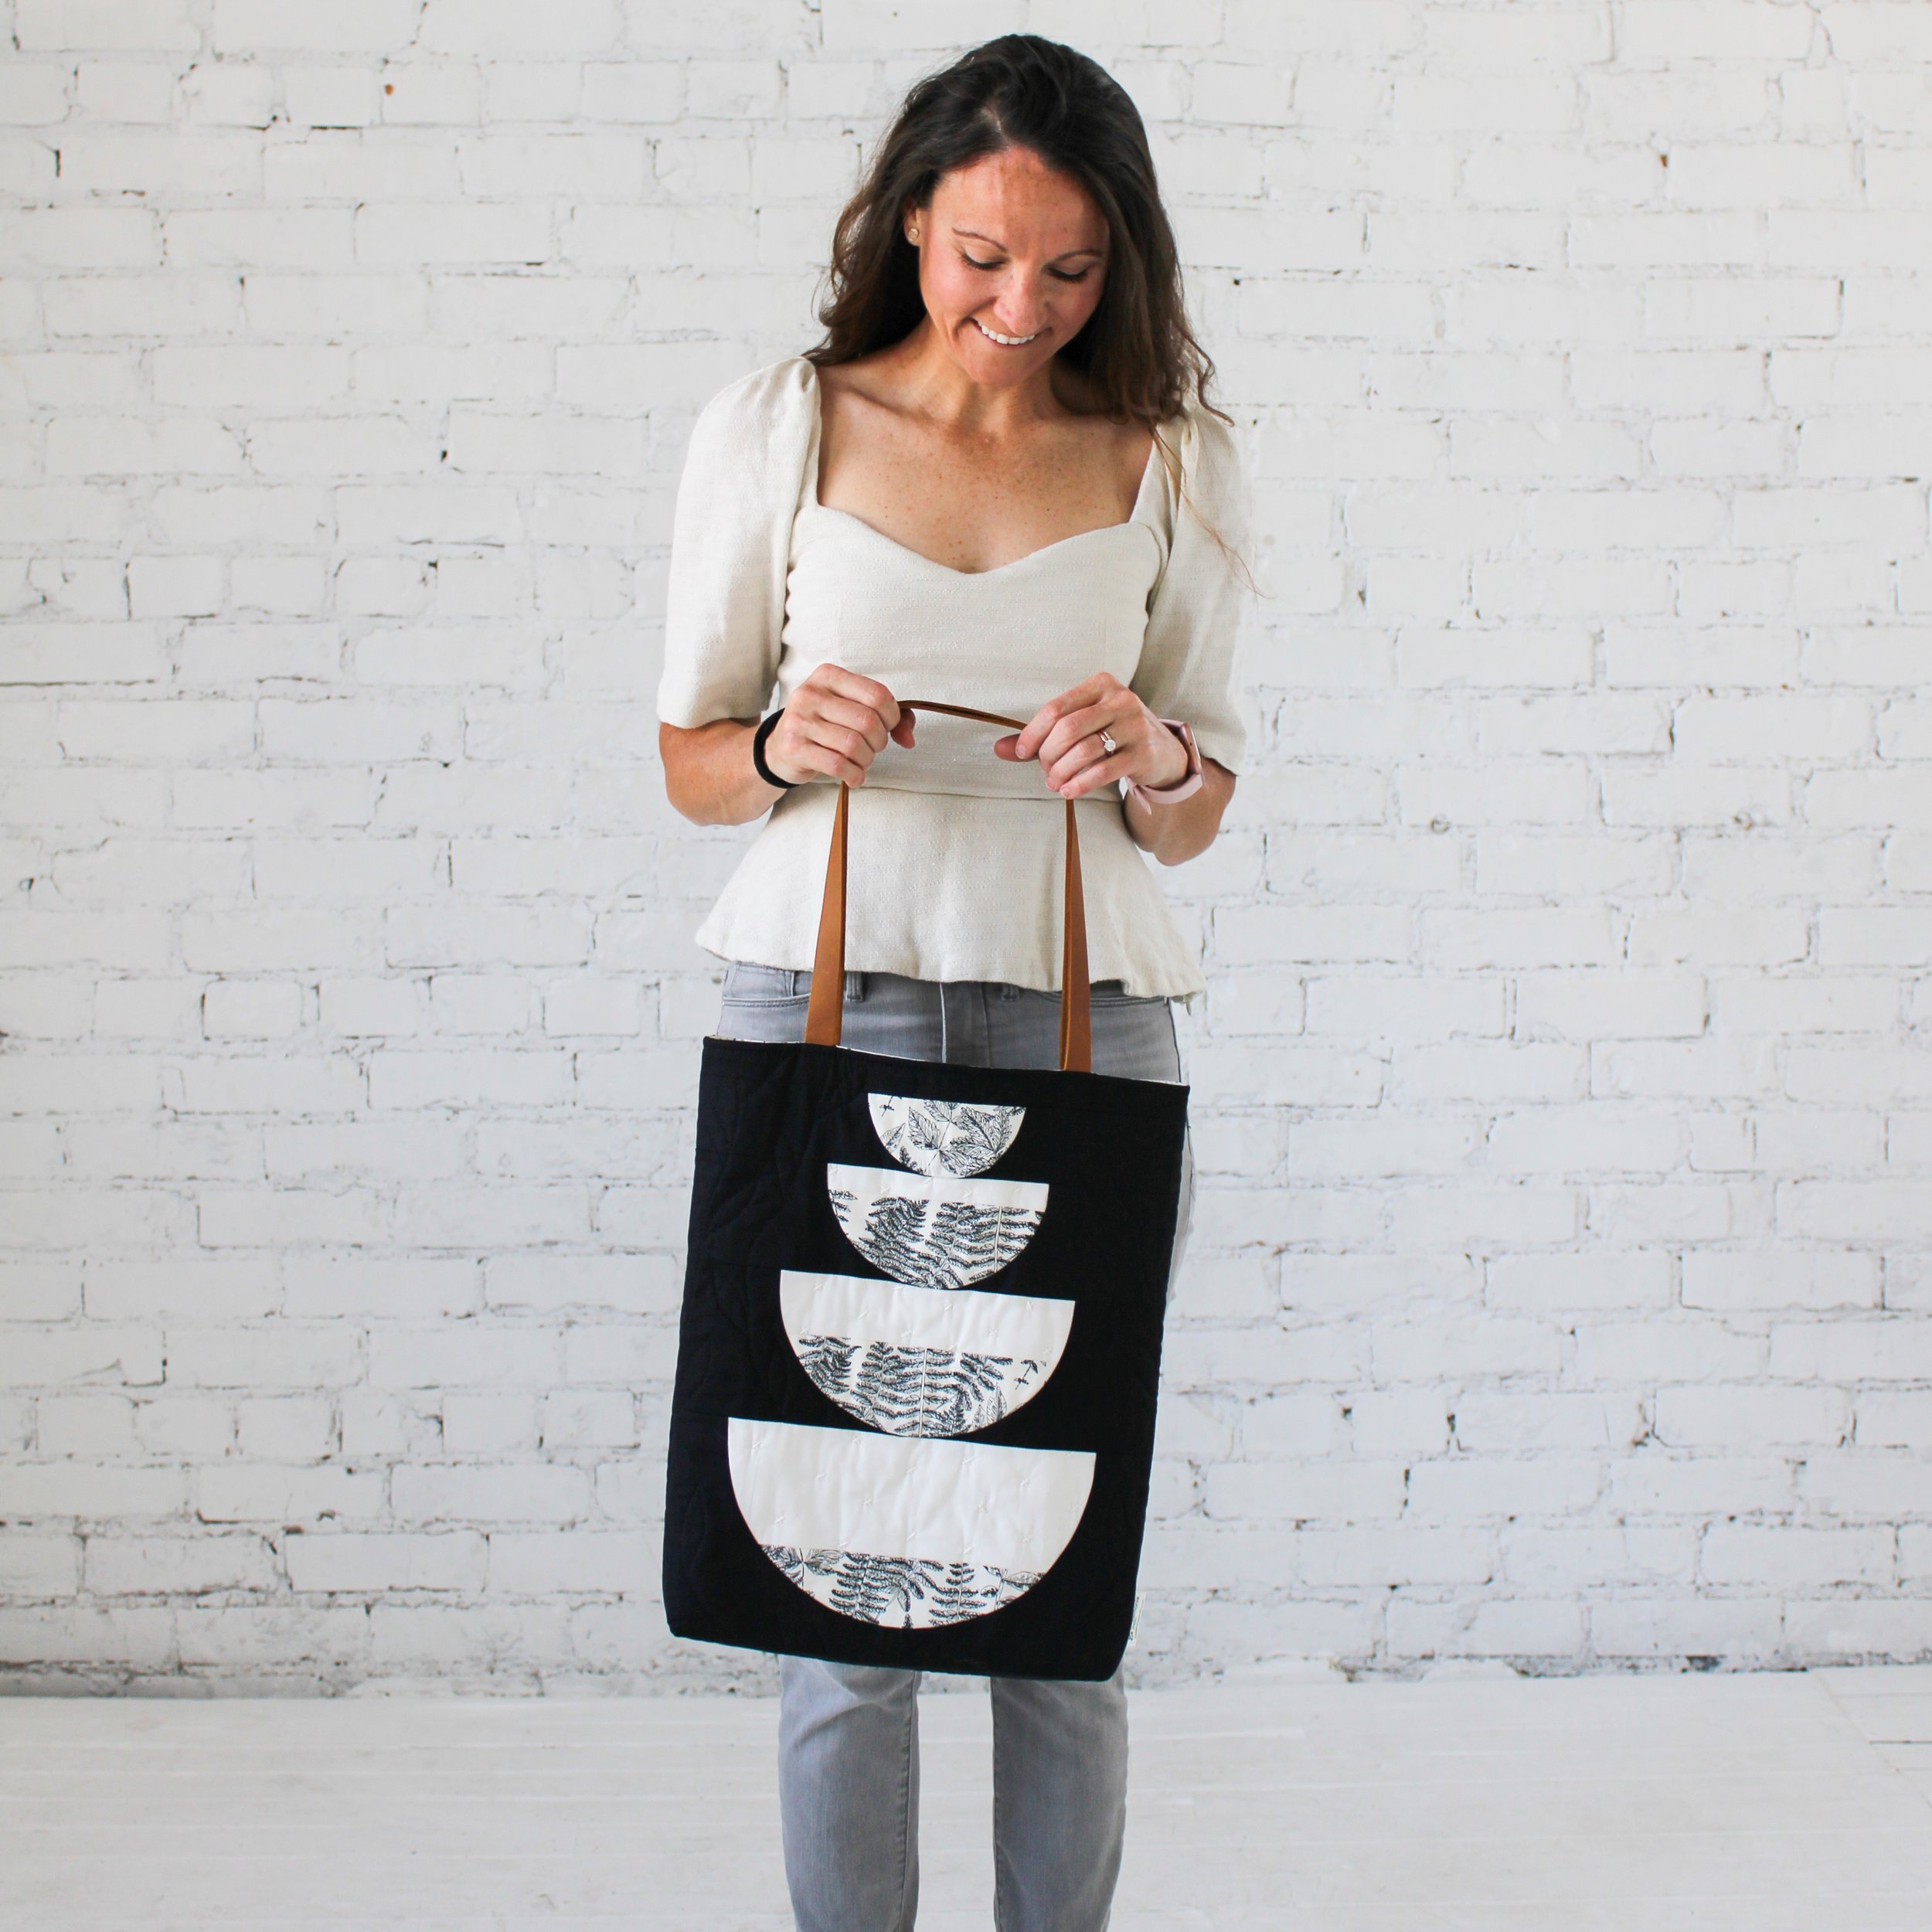
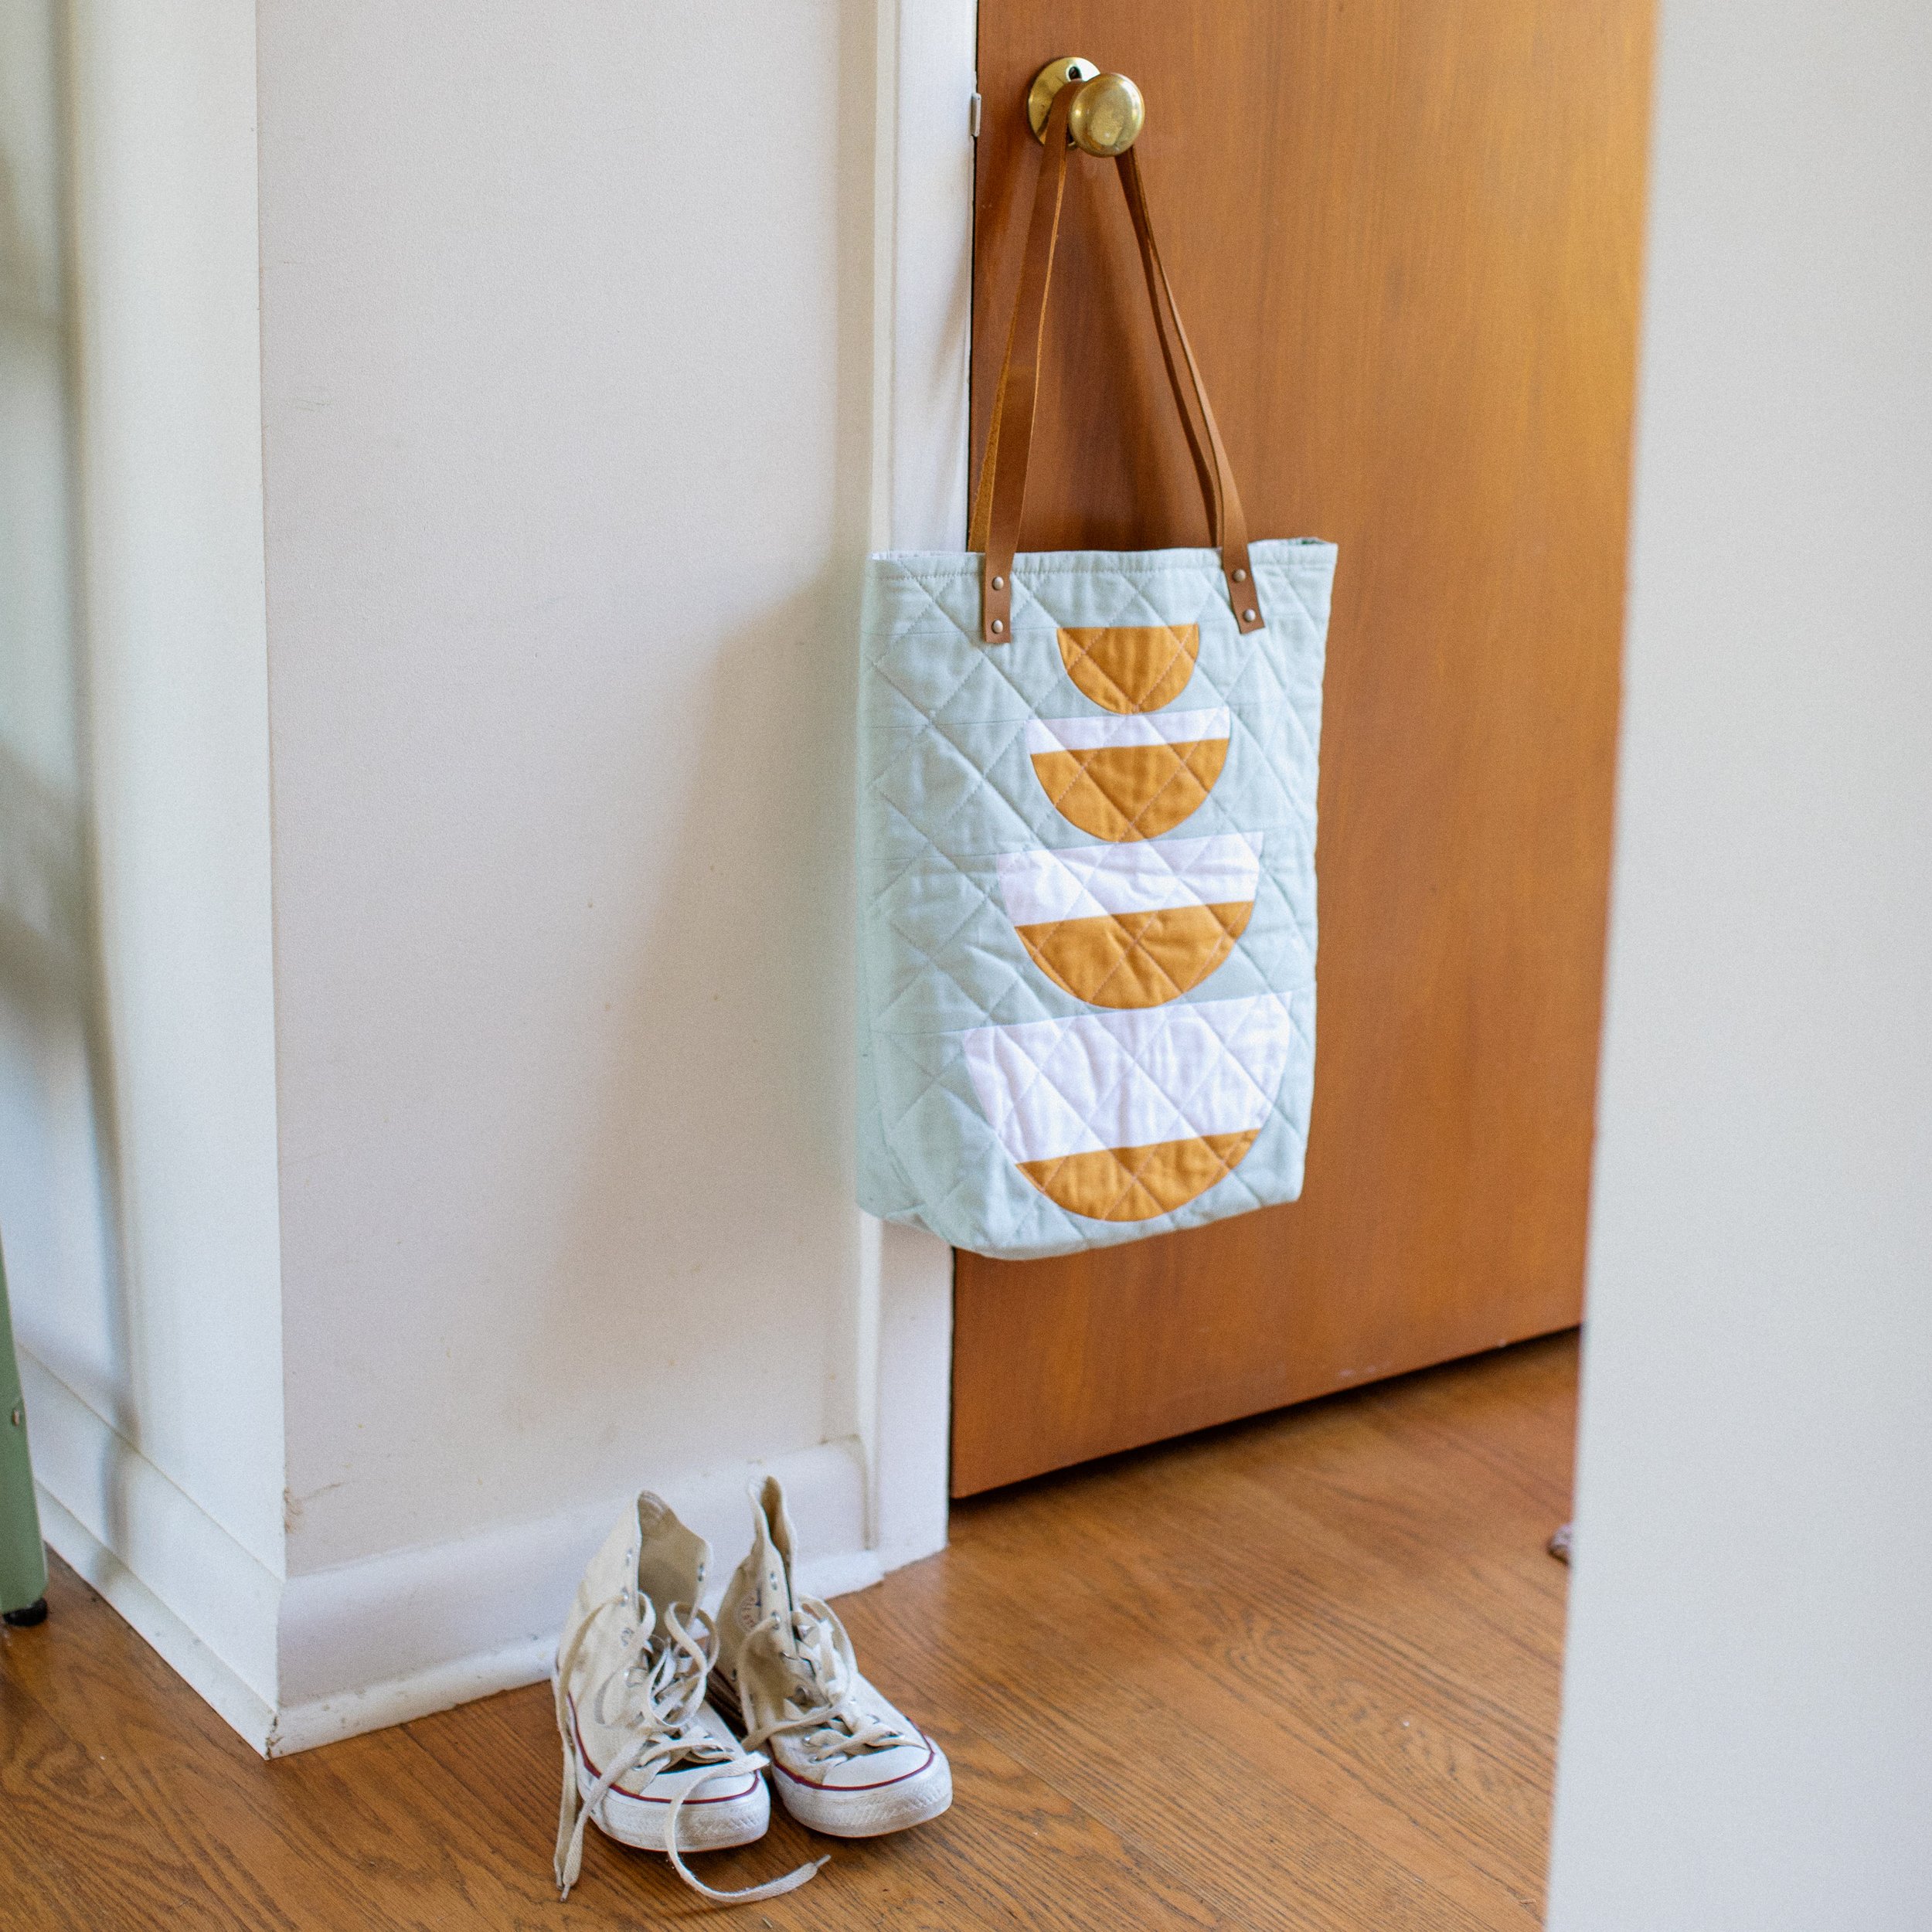
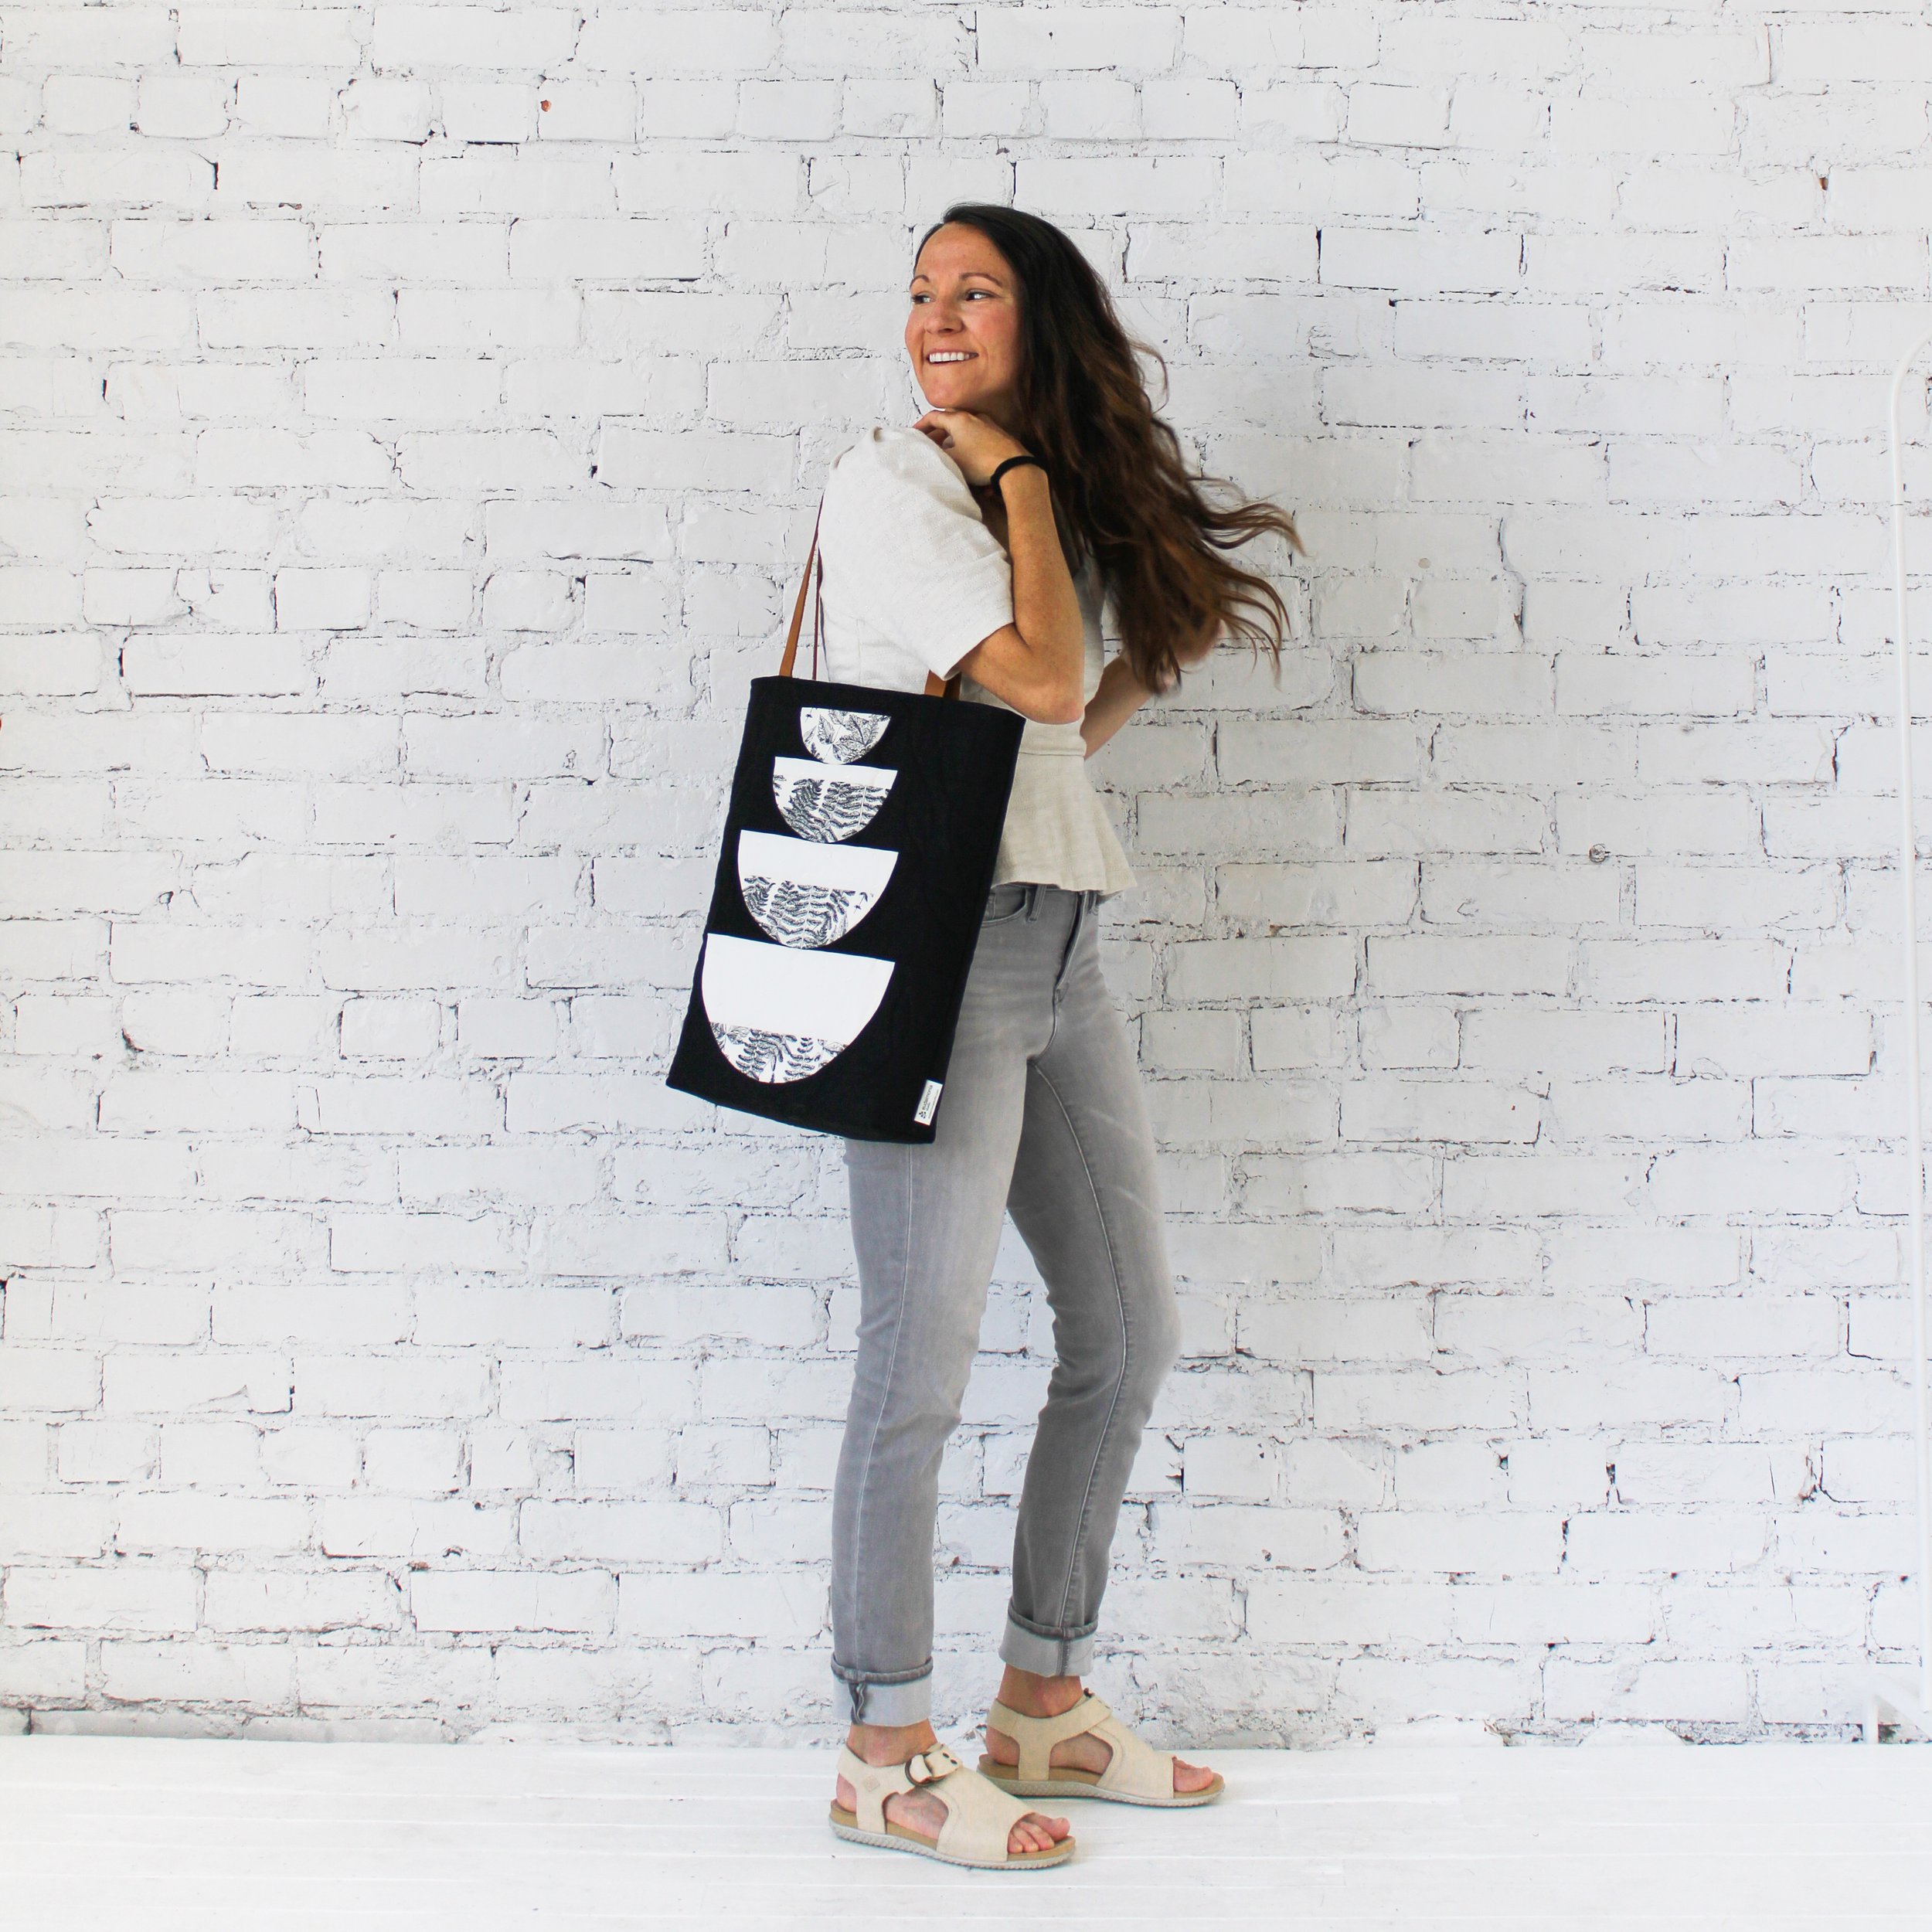
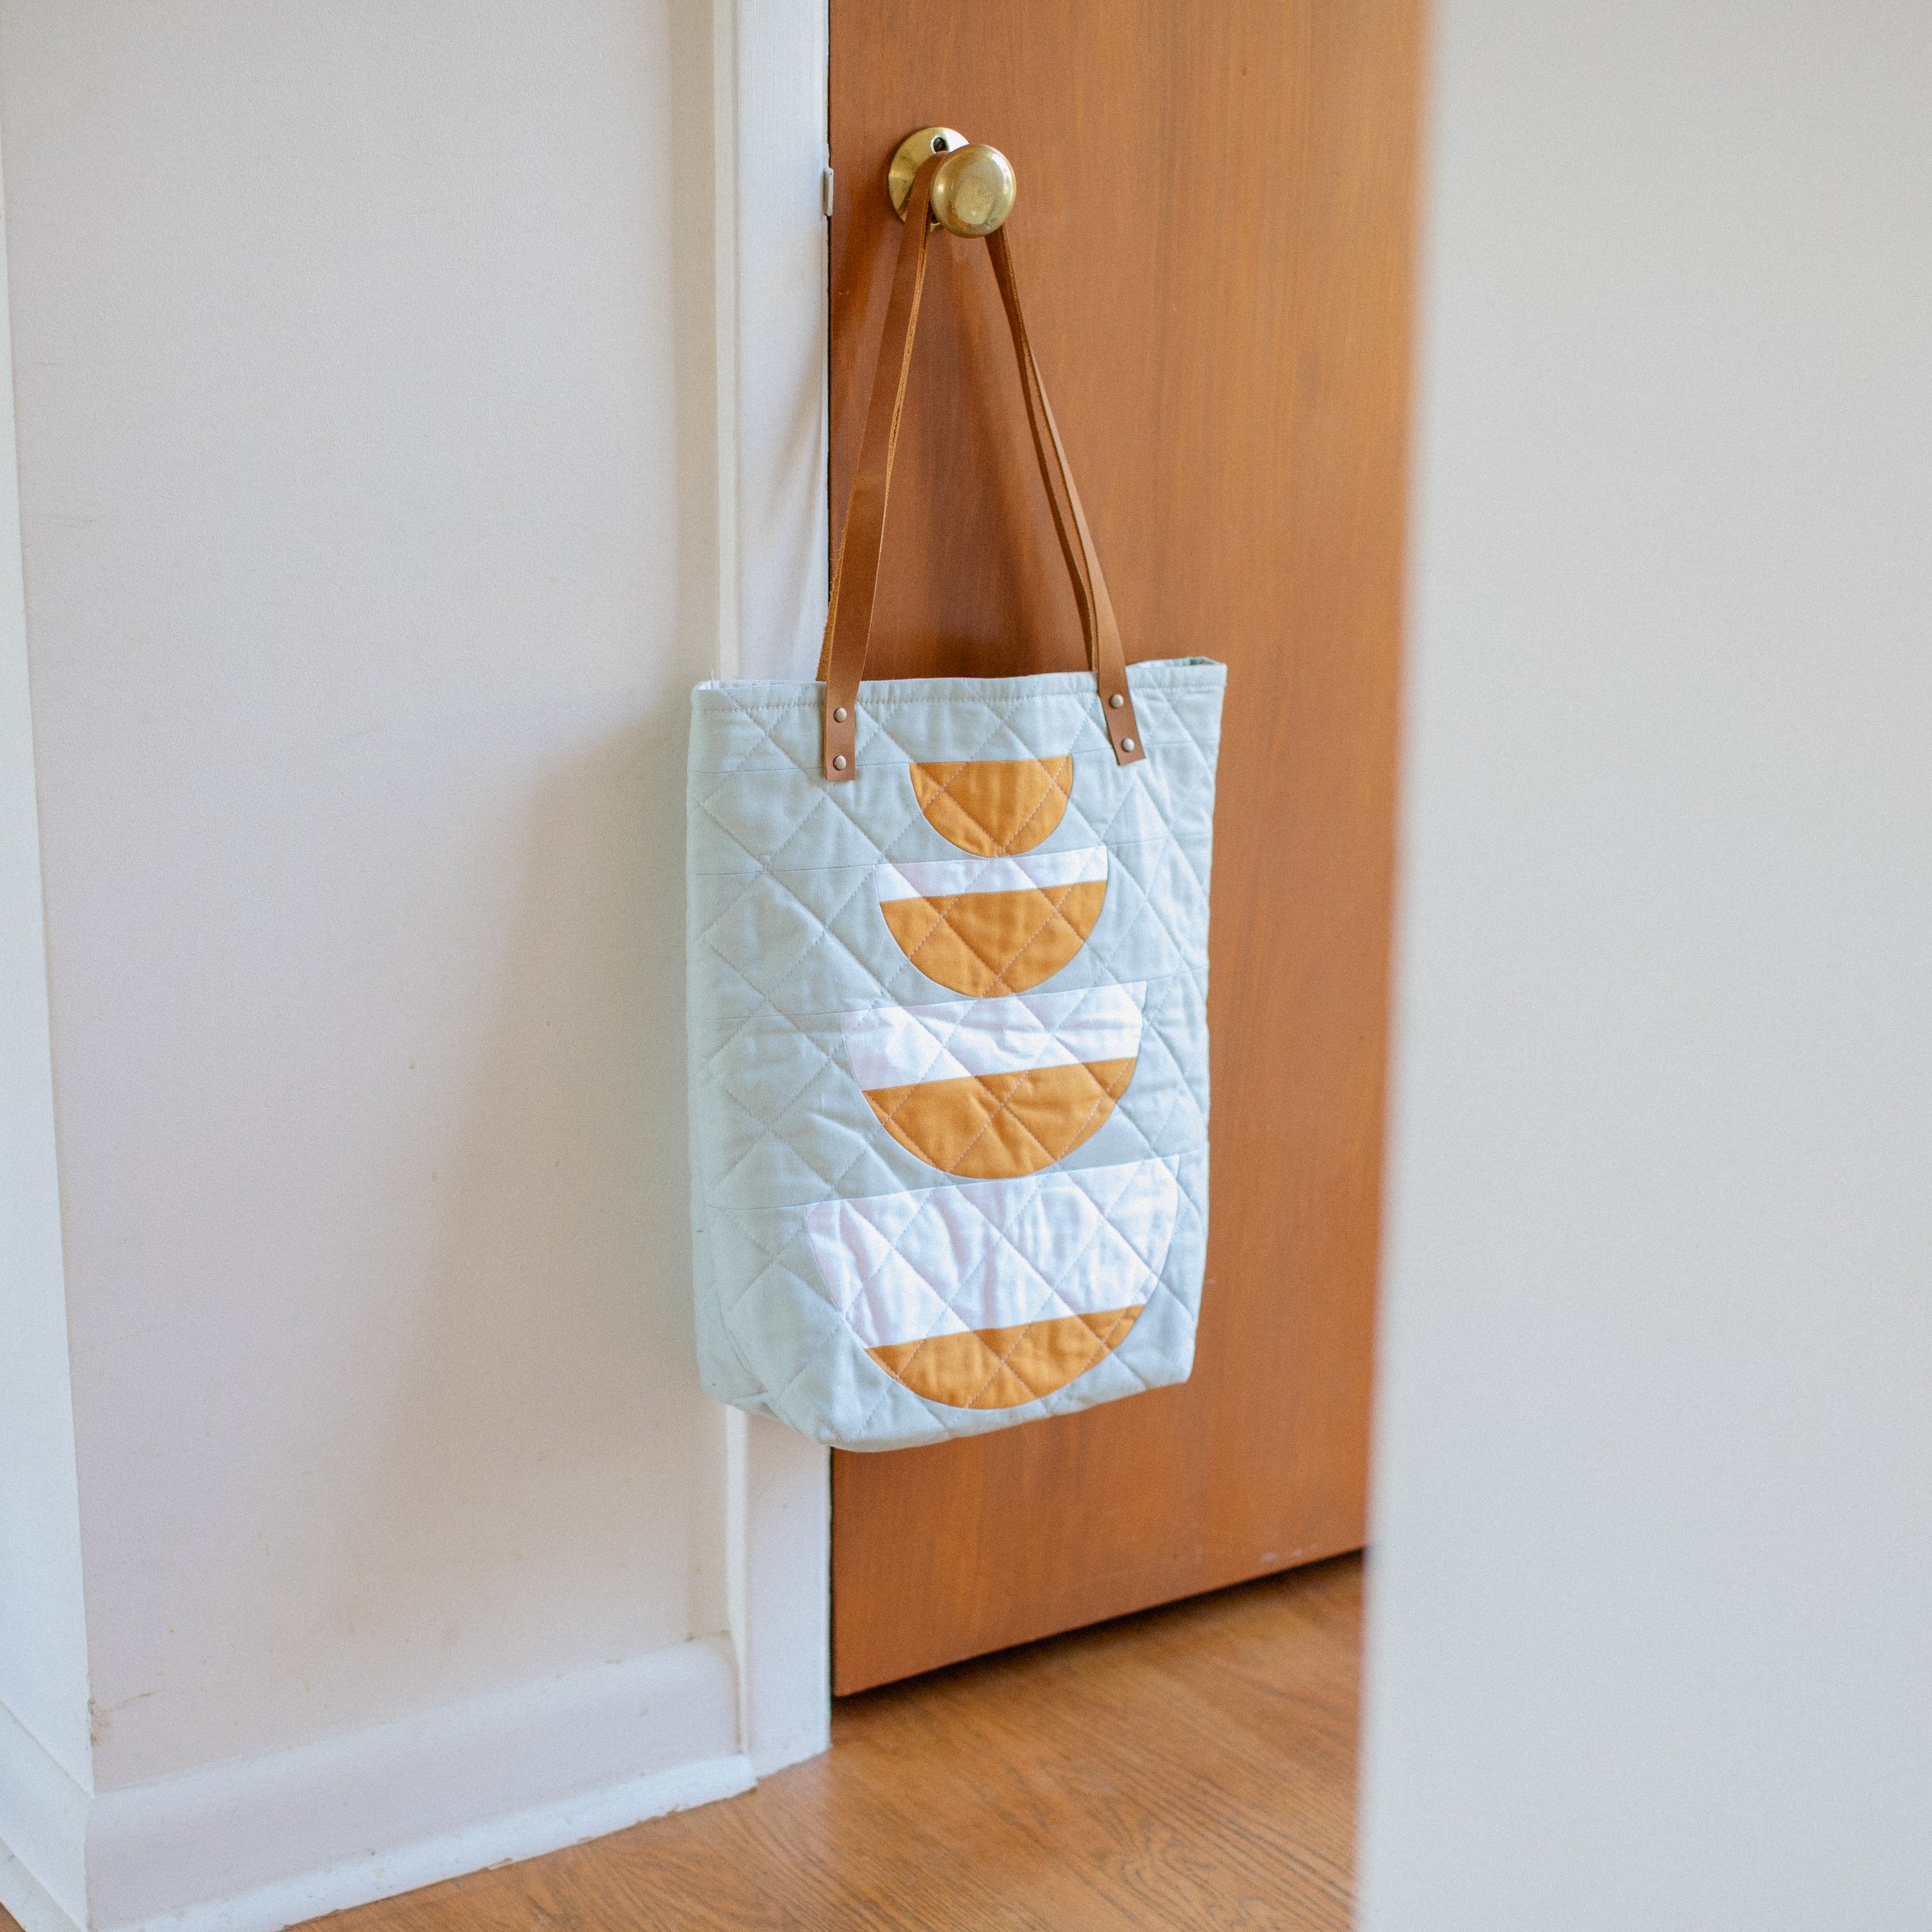
Enter the quilted tote. I’m sure this concept is not new to you, but after making a few different ones, I’ve landed on a favorite size, shape, and process. Plus, this one’s a great companion to the Feast, Grow Wild, and Repair quilt blocks. Or, make one simply with panels of your favorite fabric print.
Tote-ally rad, right?
Note of caution that these totes can be quite addicting. I remember feeling intimidated when making my very first quilted bag, but now I cannot stop dreaming up new versions and know the steps intuitively. And, being able to tote your quilted bag around with you is seriously so fun! Think of it like a security blanket that’s a bit more utilitarian (and socially acceptable).
Now that you’re bought in, let’s get totin’!
Here’s what you’ll need:
Fabric
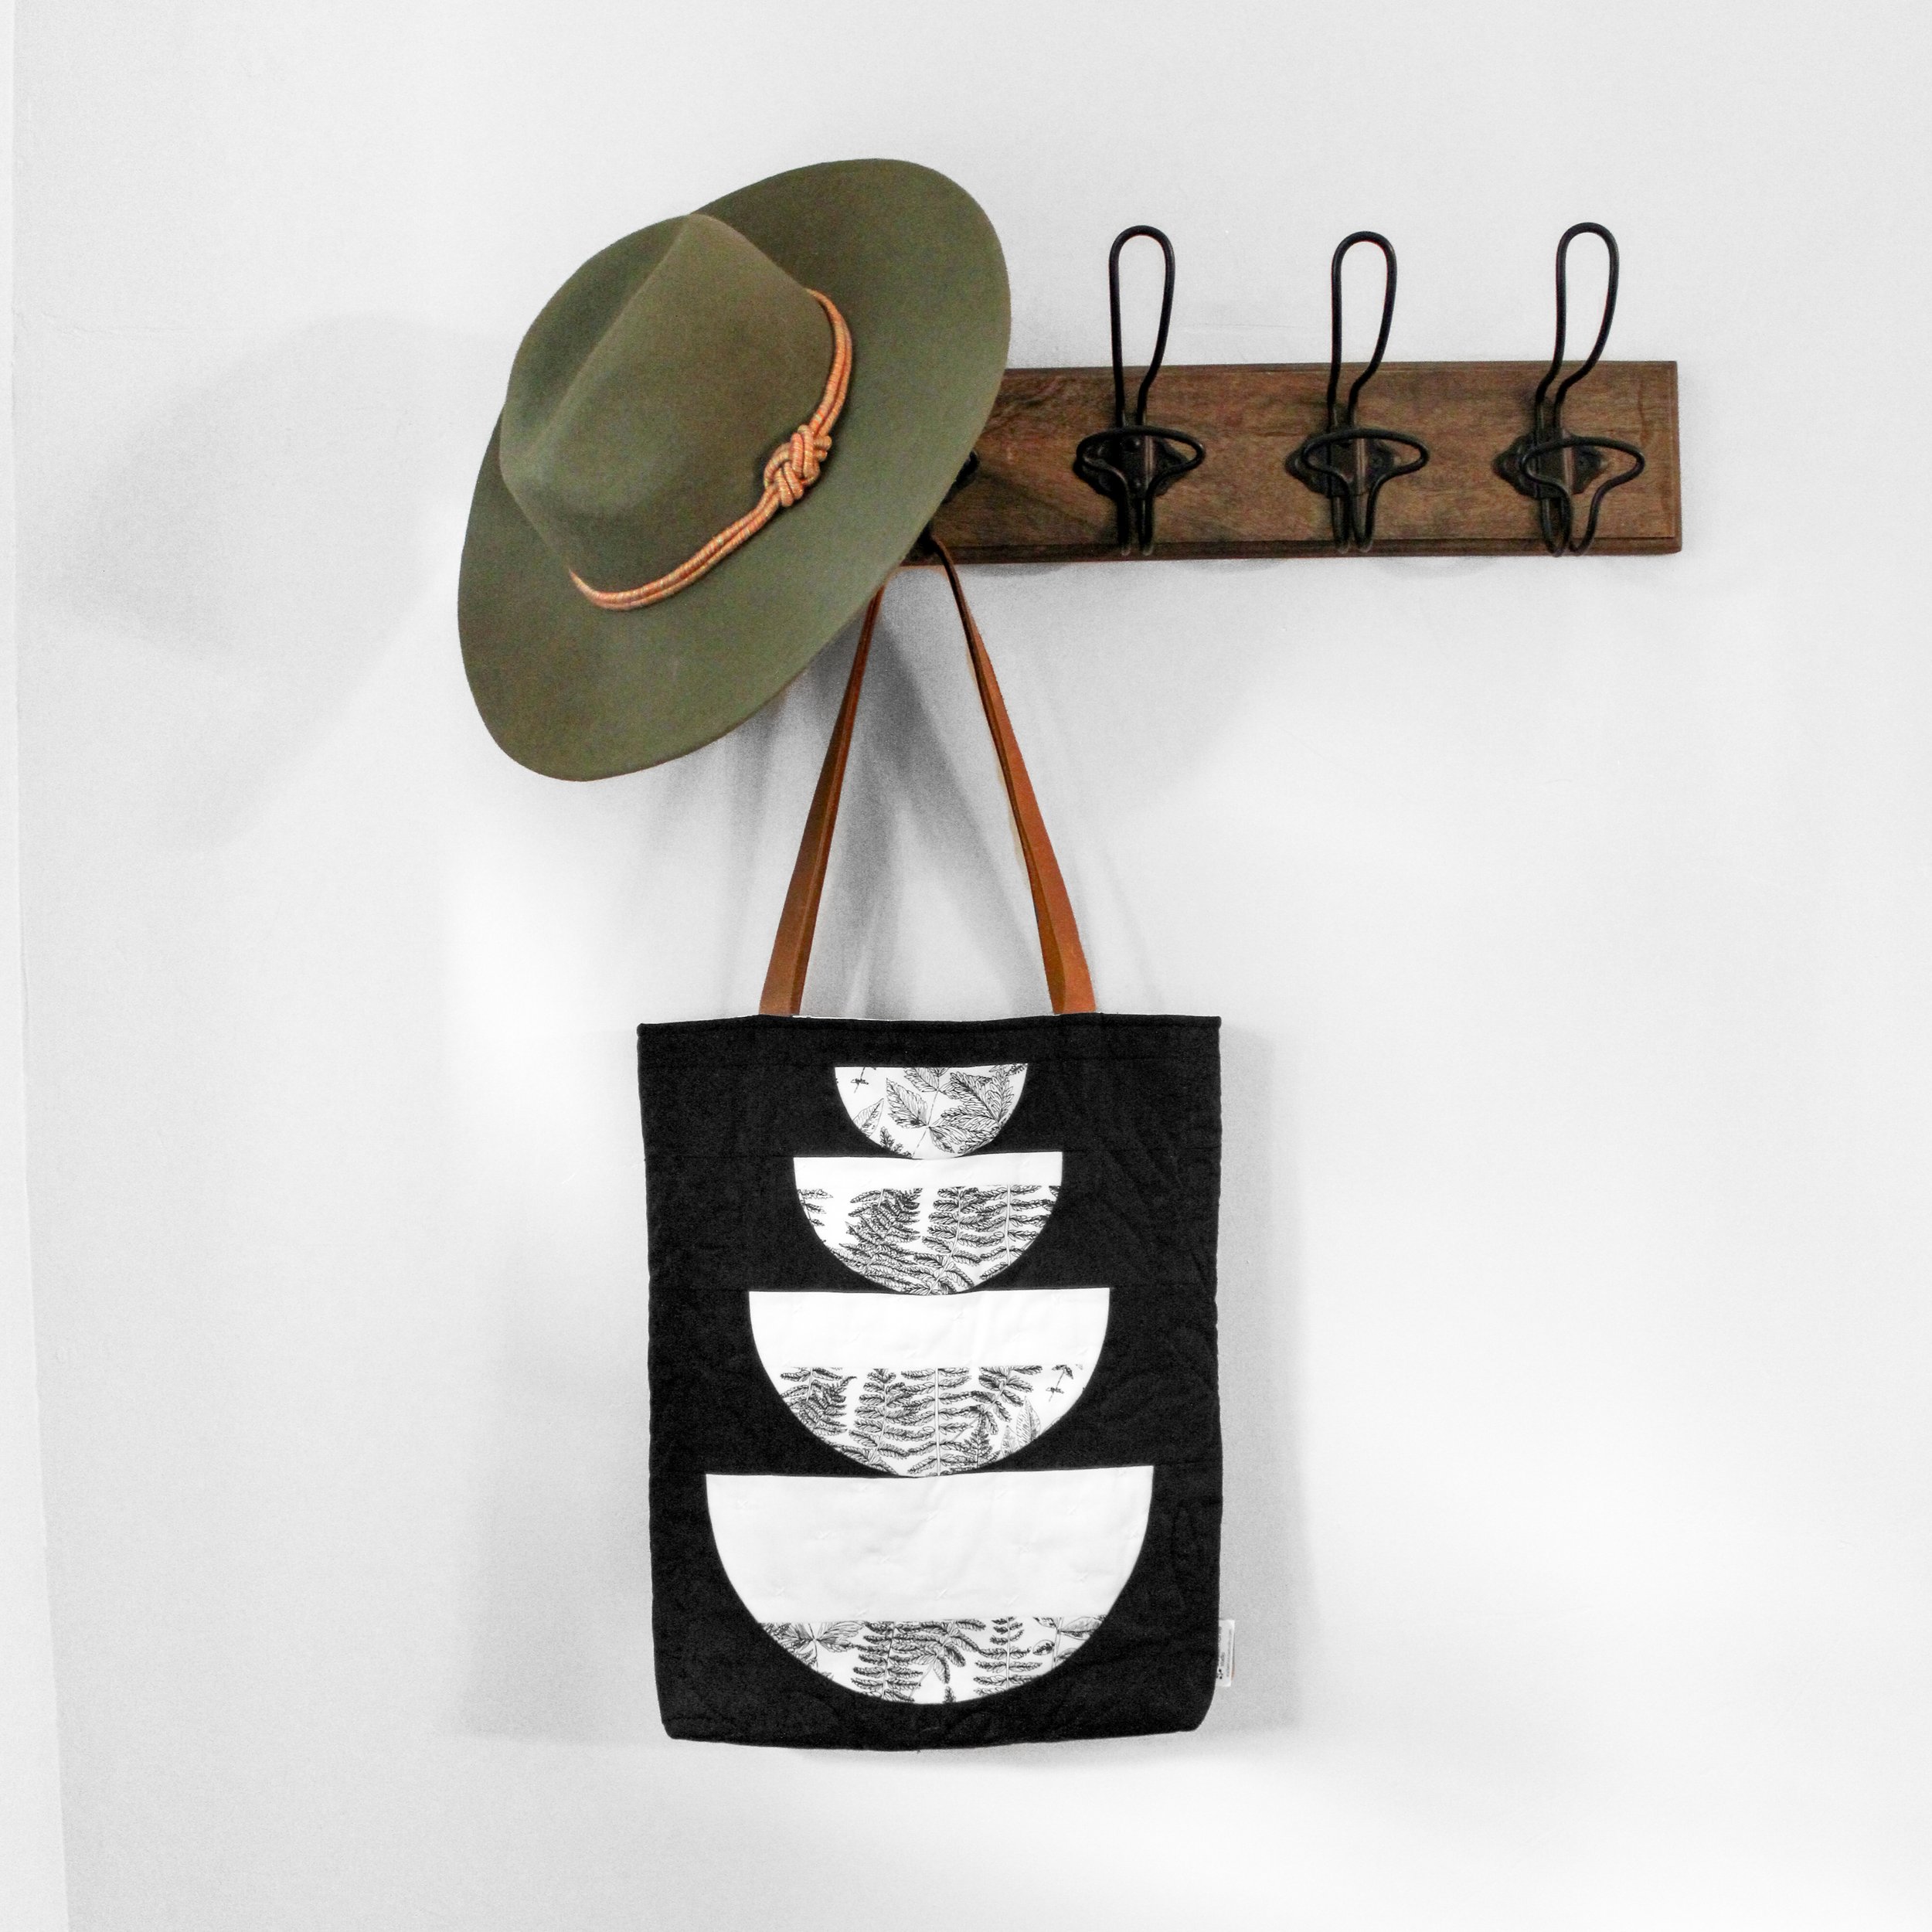
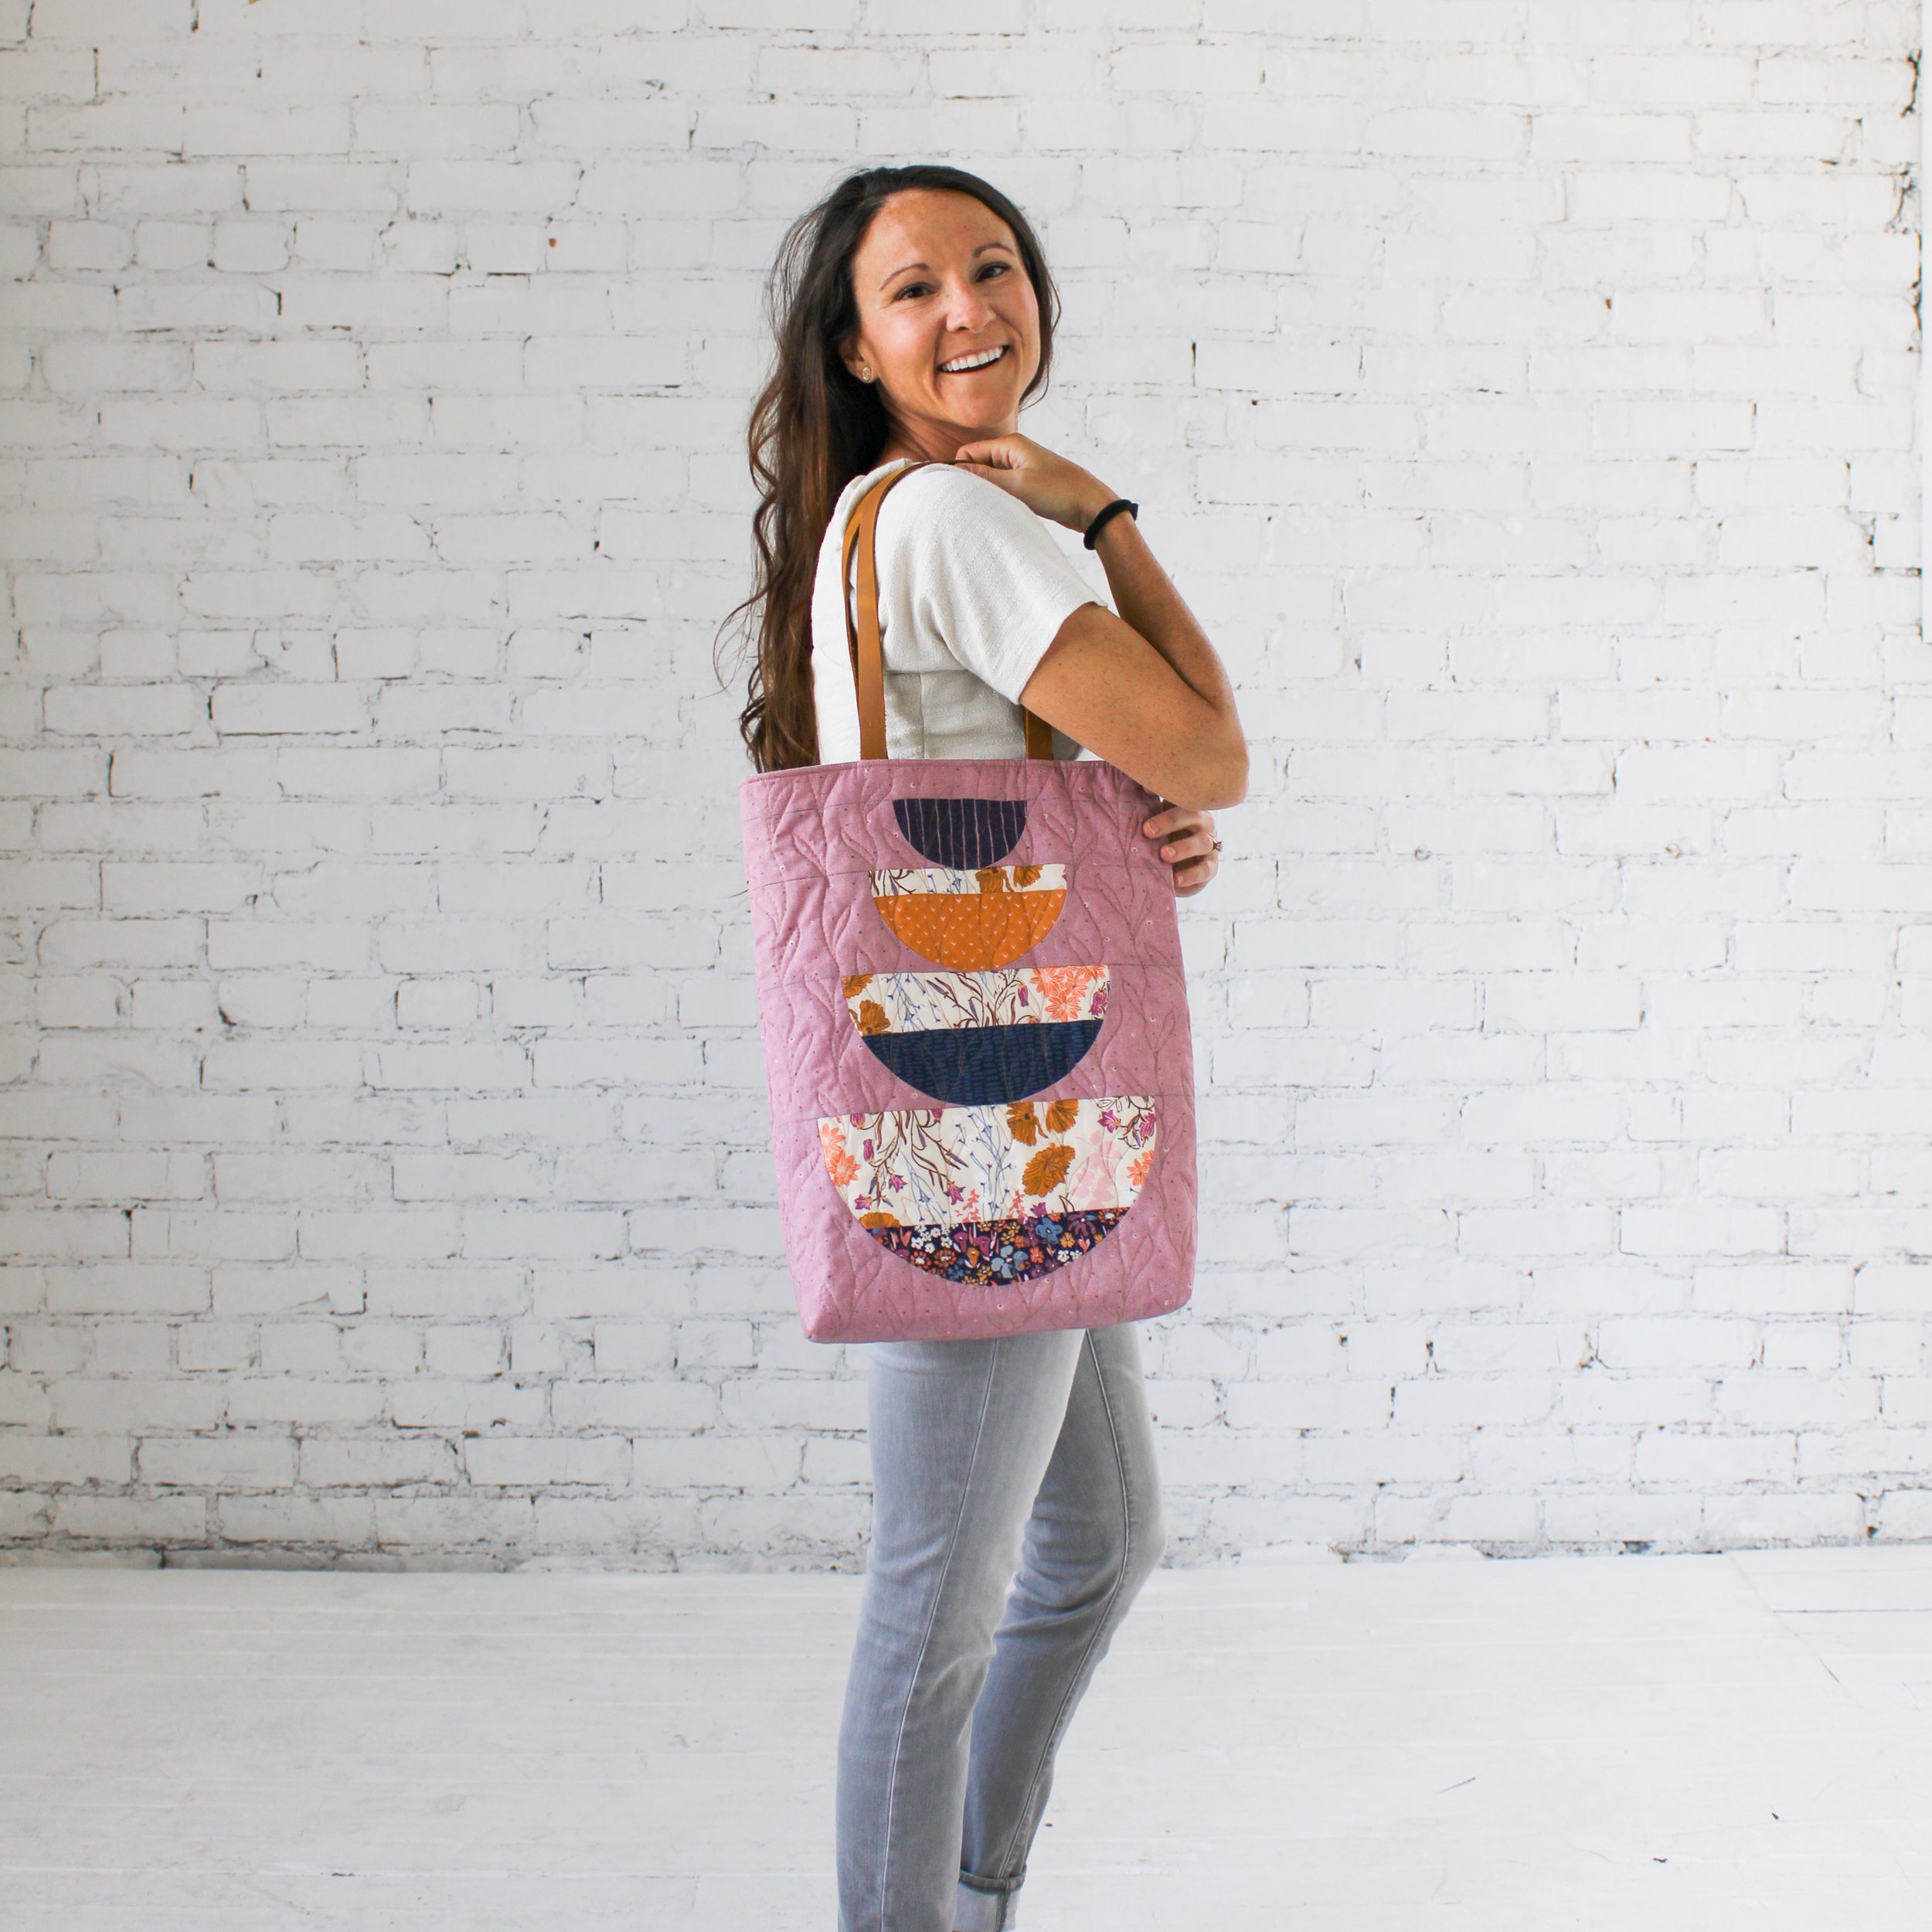
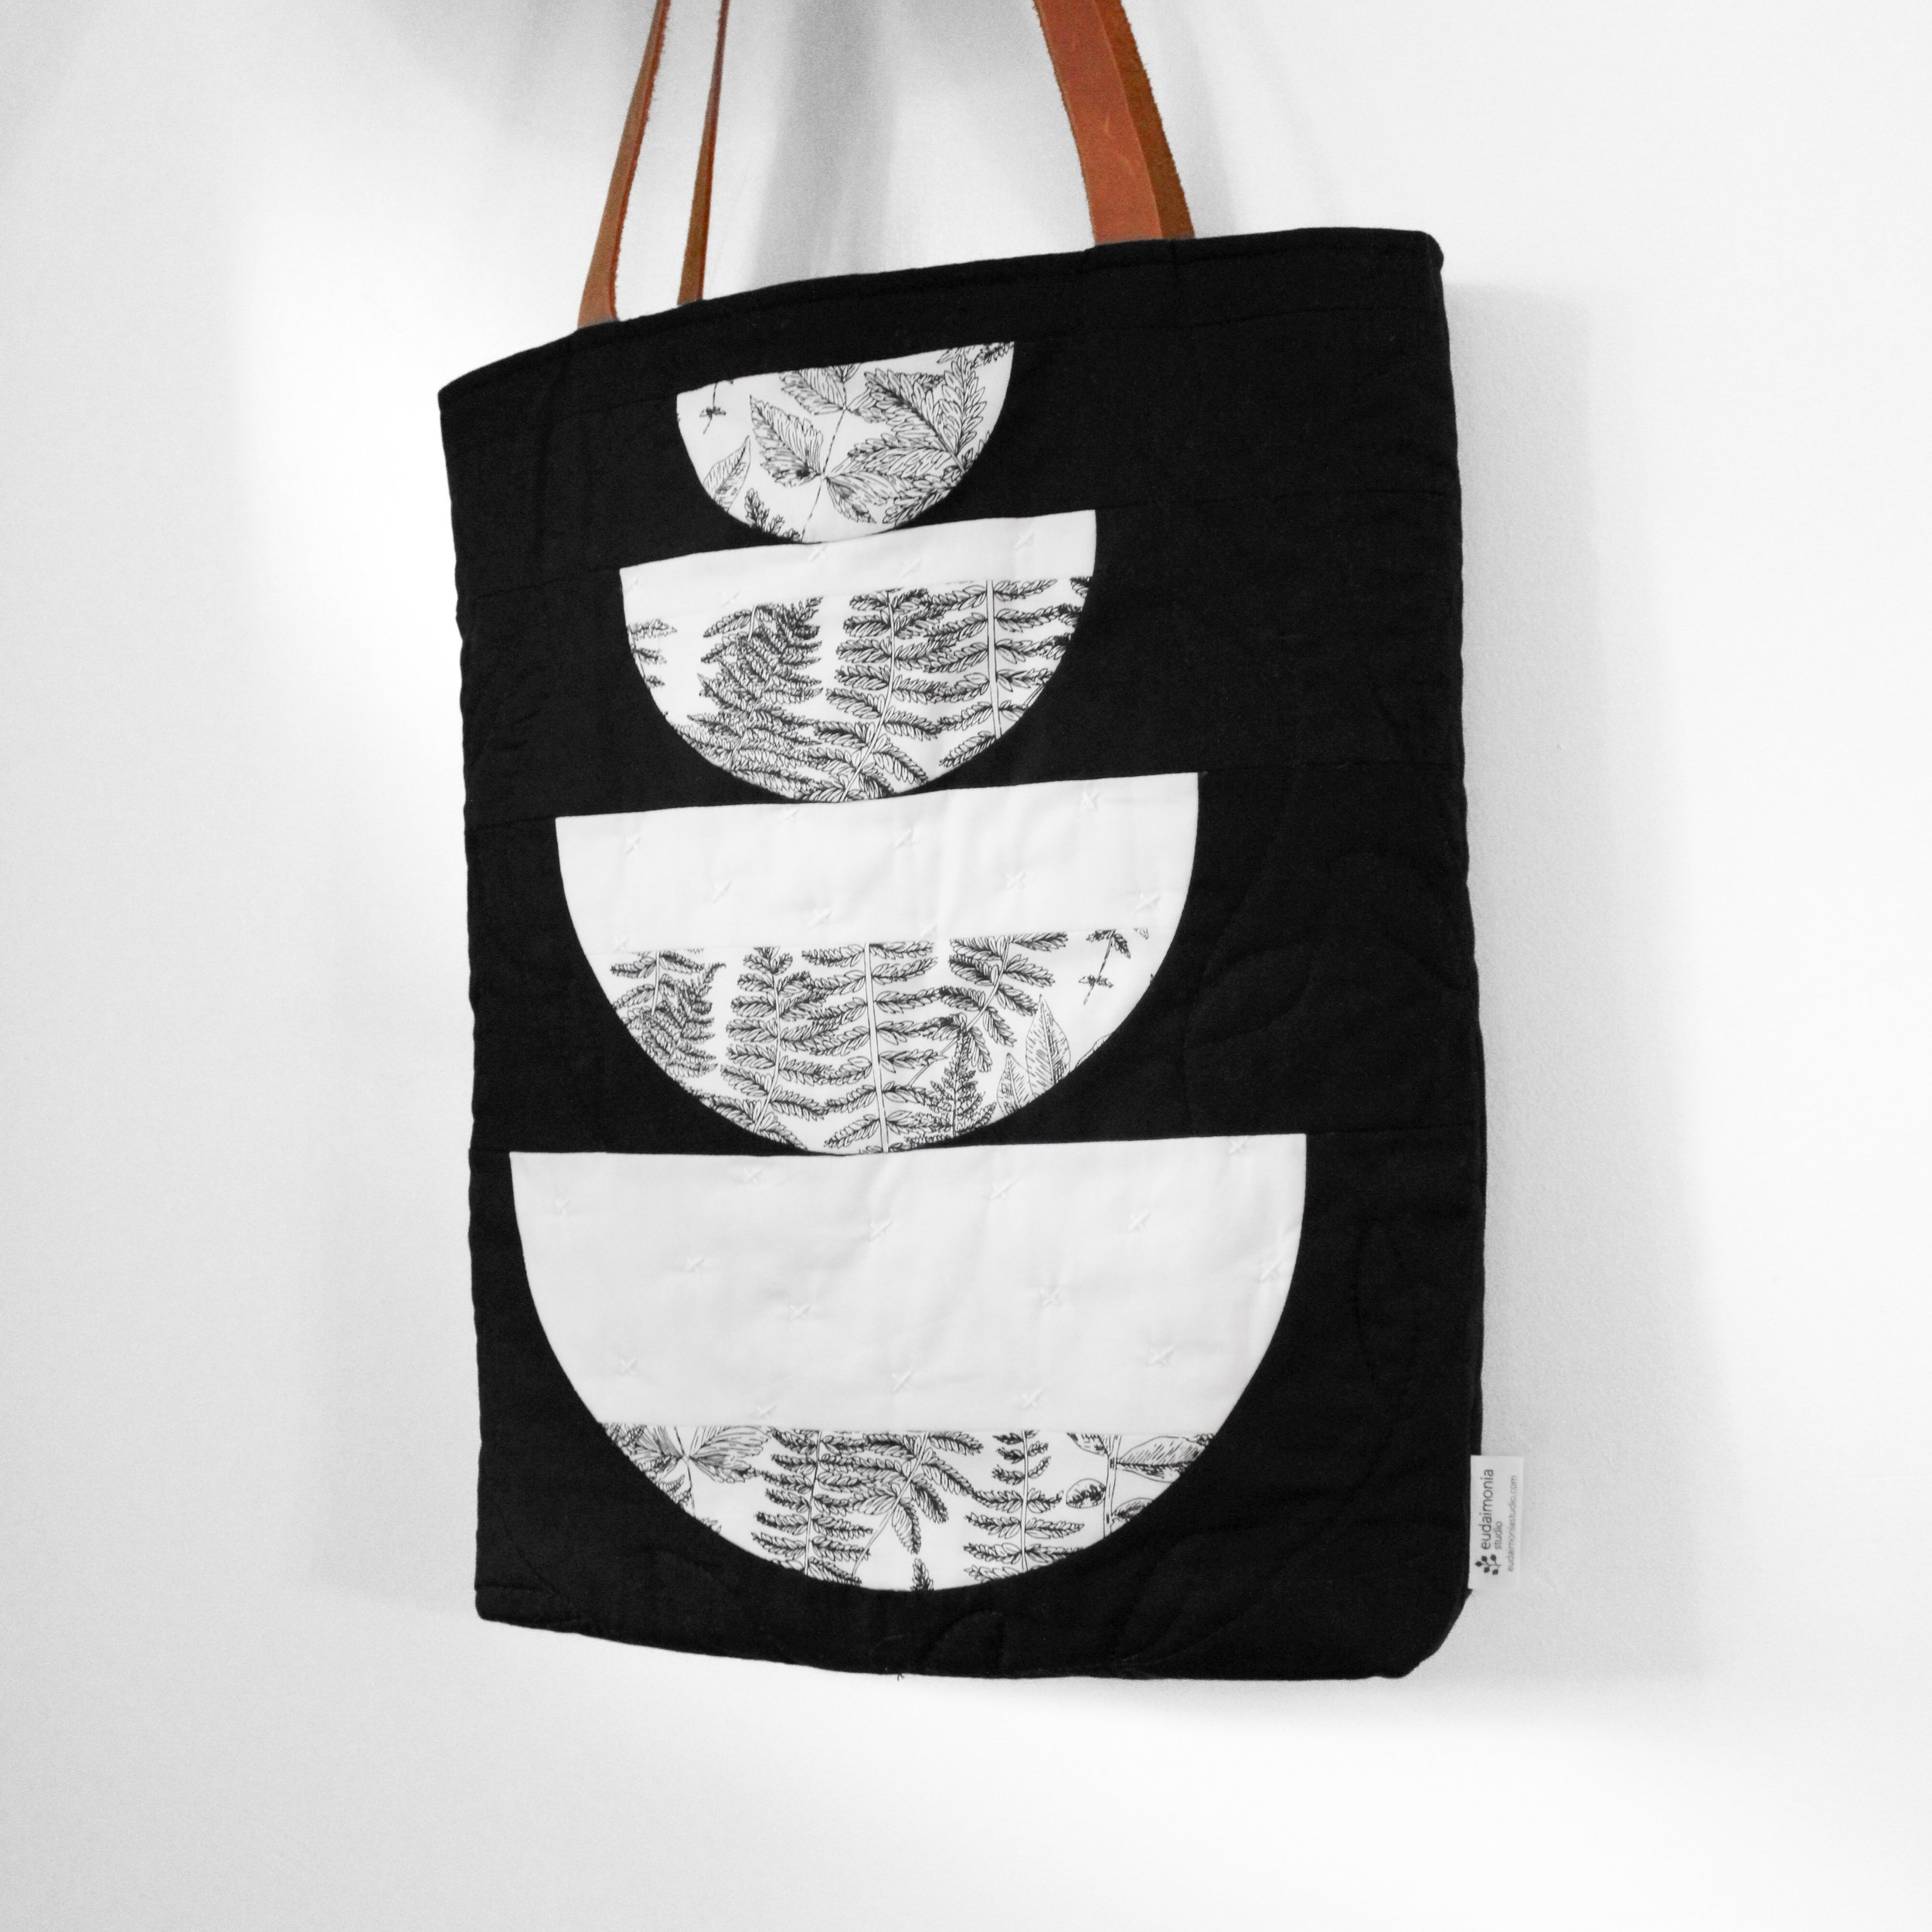
(1) Feast block for the outer front
You could also use another sewn block (with added sashing, if needed) or a plain cut of fabric measuring at least 16½” x 19”.
(1) piece of fabric measuring 16½” x 19” for the outer back
(2) pieces of batting, each measuring about 18” x 20”, or a little bigger than your outer pieces
(2) pieces of backing fabric, each measuring at least 19” x 21”, or a little bigger than your batting pieces
These pieces are simply used when quilting your two outer pieces and will not be visible after inserting the lining, so I typically use muslin or any fabric on hand for this.
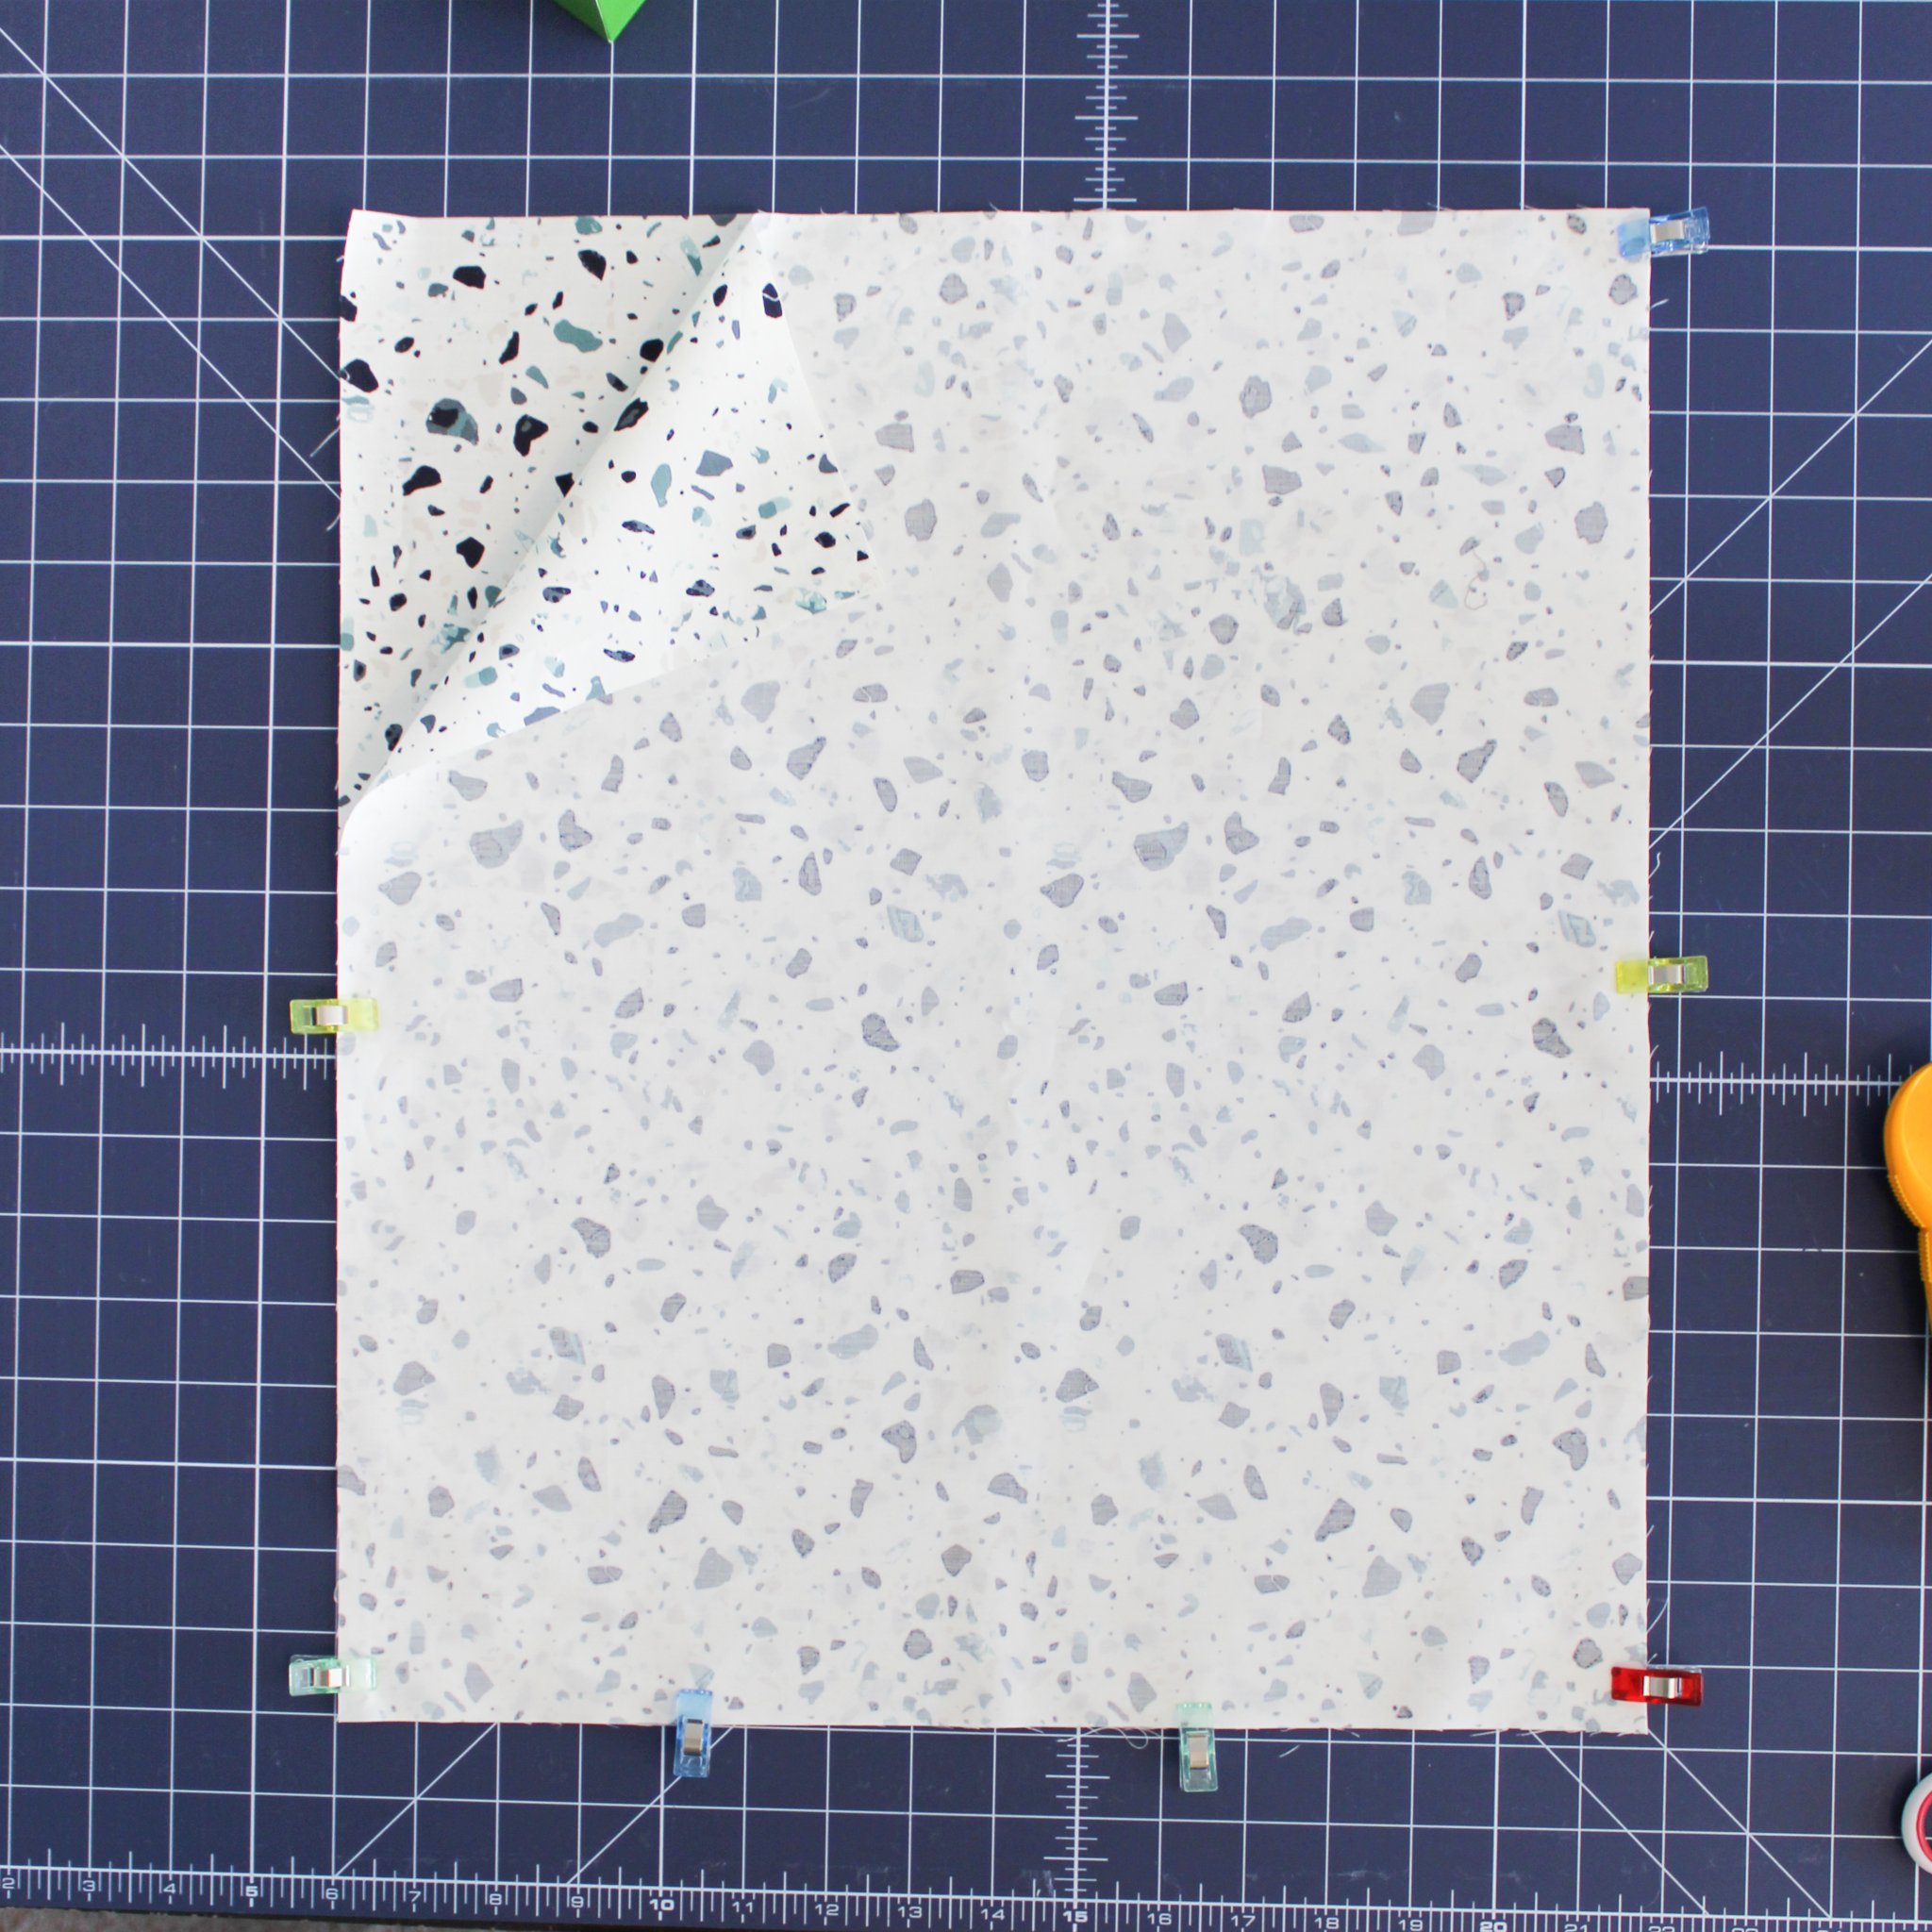
(2) pieces of lining fabric, each measuring 15¾” x 18¼”
Additional supplies:
(2) straps, each cut to 23”
I have used these leather straps many times with great success. You could also use cotton webbing, or make your own.
If you’d rather add your straps with rivets, add them as a last step, and follow the manufacturer’s directions. I’ve used this rivet kit to add leather straps to several bags.
(1) piece of plastic canvas cut to 3” x 11½” to create a sturdy bottom
You can find plastic canvas at your local craft store; I found and used this plastic canvas from Joann’s.
Before discovering plastic canvas, I’ve also used (2) pieces of cardboard cut to the same above size, stacked them, then wrapped tape around them.
Basic sewing & quilting supplies
Sewing machine & needle
Thread
Ruler
Cutting mat
Rotary cutter
Straight pins
Clips
Basting spray or pins
Iron & ironing board
Hera marker or soluble pen (optional) for marking quilting lines

1. Creating the two outer panels
Baste. Take your outer front block, one piece of batting, and one piece of backing. Layer these three pieces - backing (face down), then batting, then outer front block (face up) - and baste them together using your preferred method. Repeat this step with the outer back piece and the remaining pieces of batting and backing.
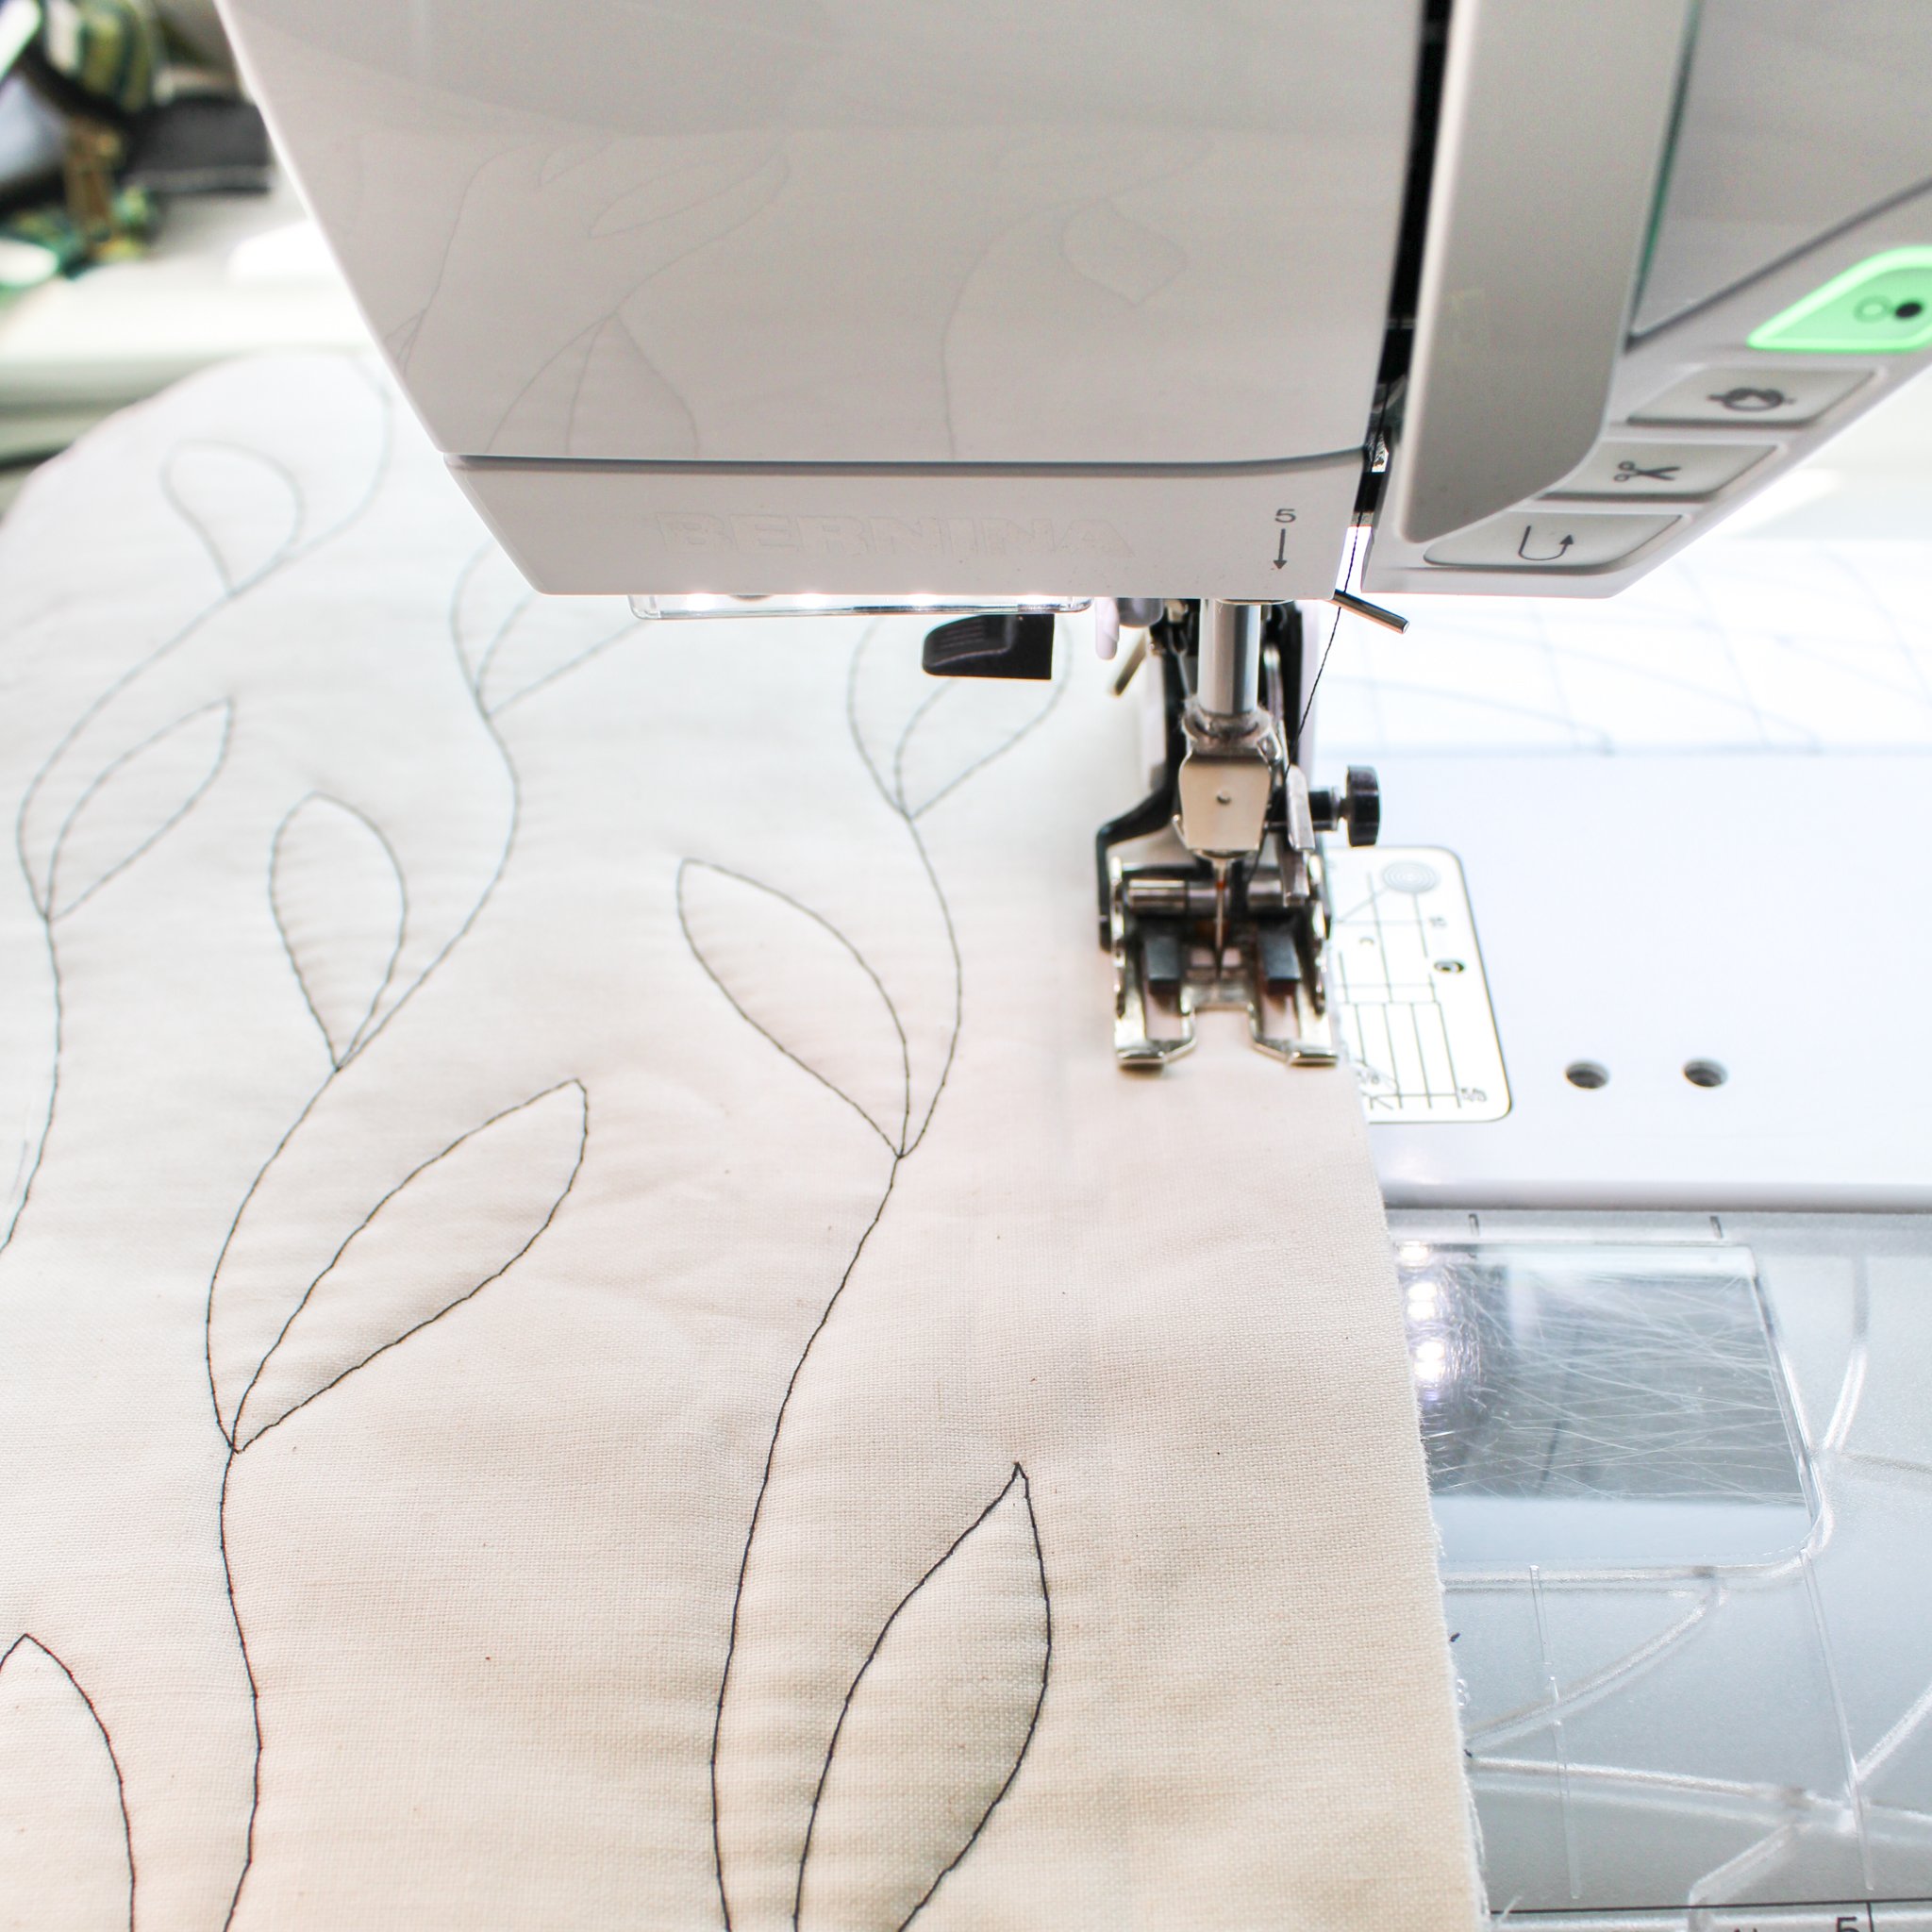
Quilt. Quilt each of the two panels with your preferred design. You may want to use a marking tool to plan out a grid design, or you might even use this opportunity to try out some free-motion or hand-quilting. I’ve quickly fallen in love with this free-motion design that is easy, quick, organic, forgiving, and - most importantly - fun! It may warrant its own tutorial, as it’s my new go-to for quilting smaller projects.
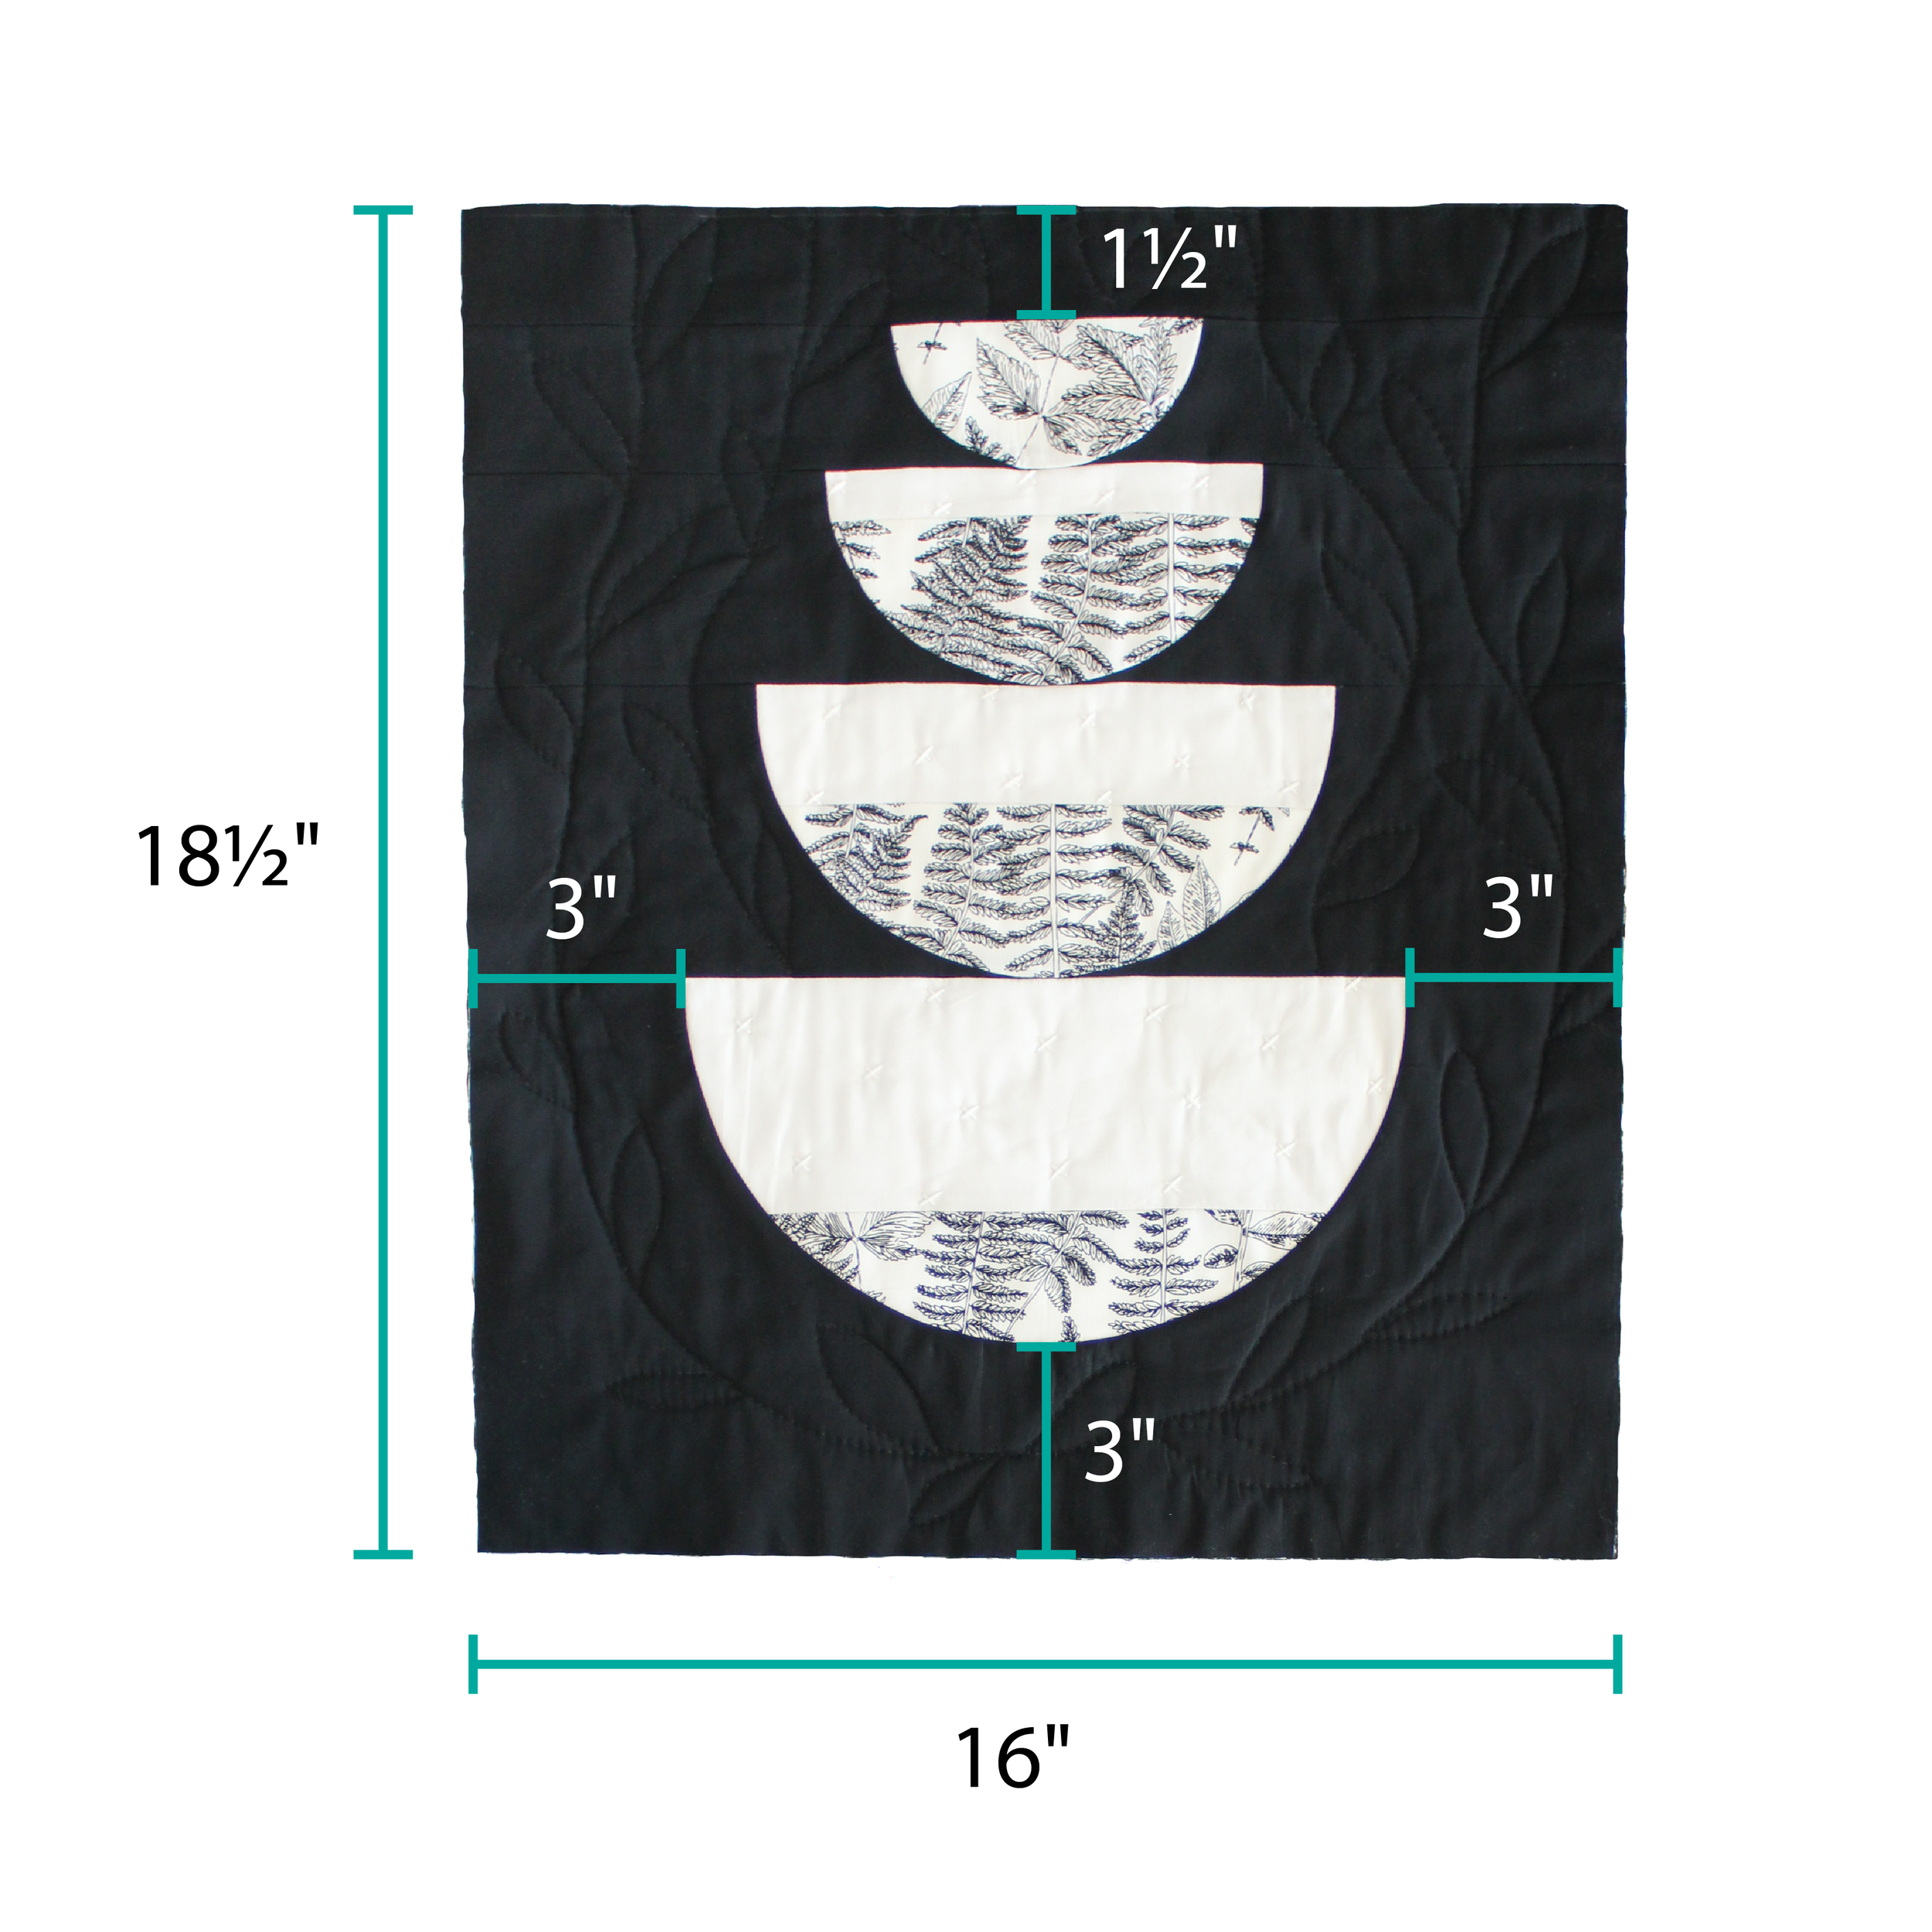
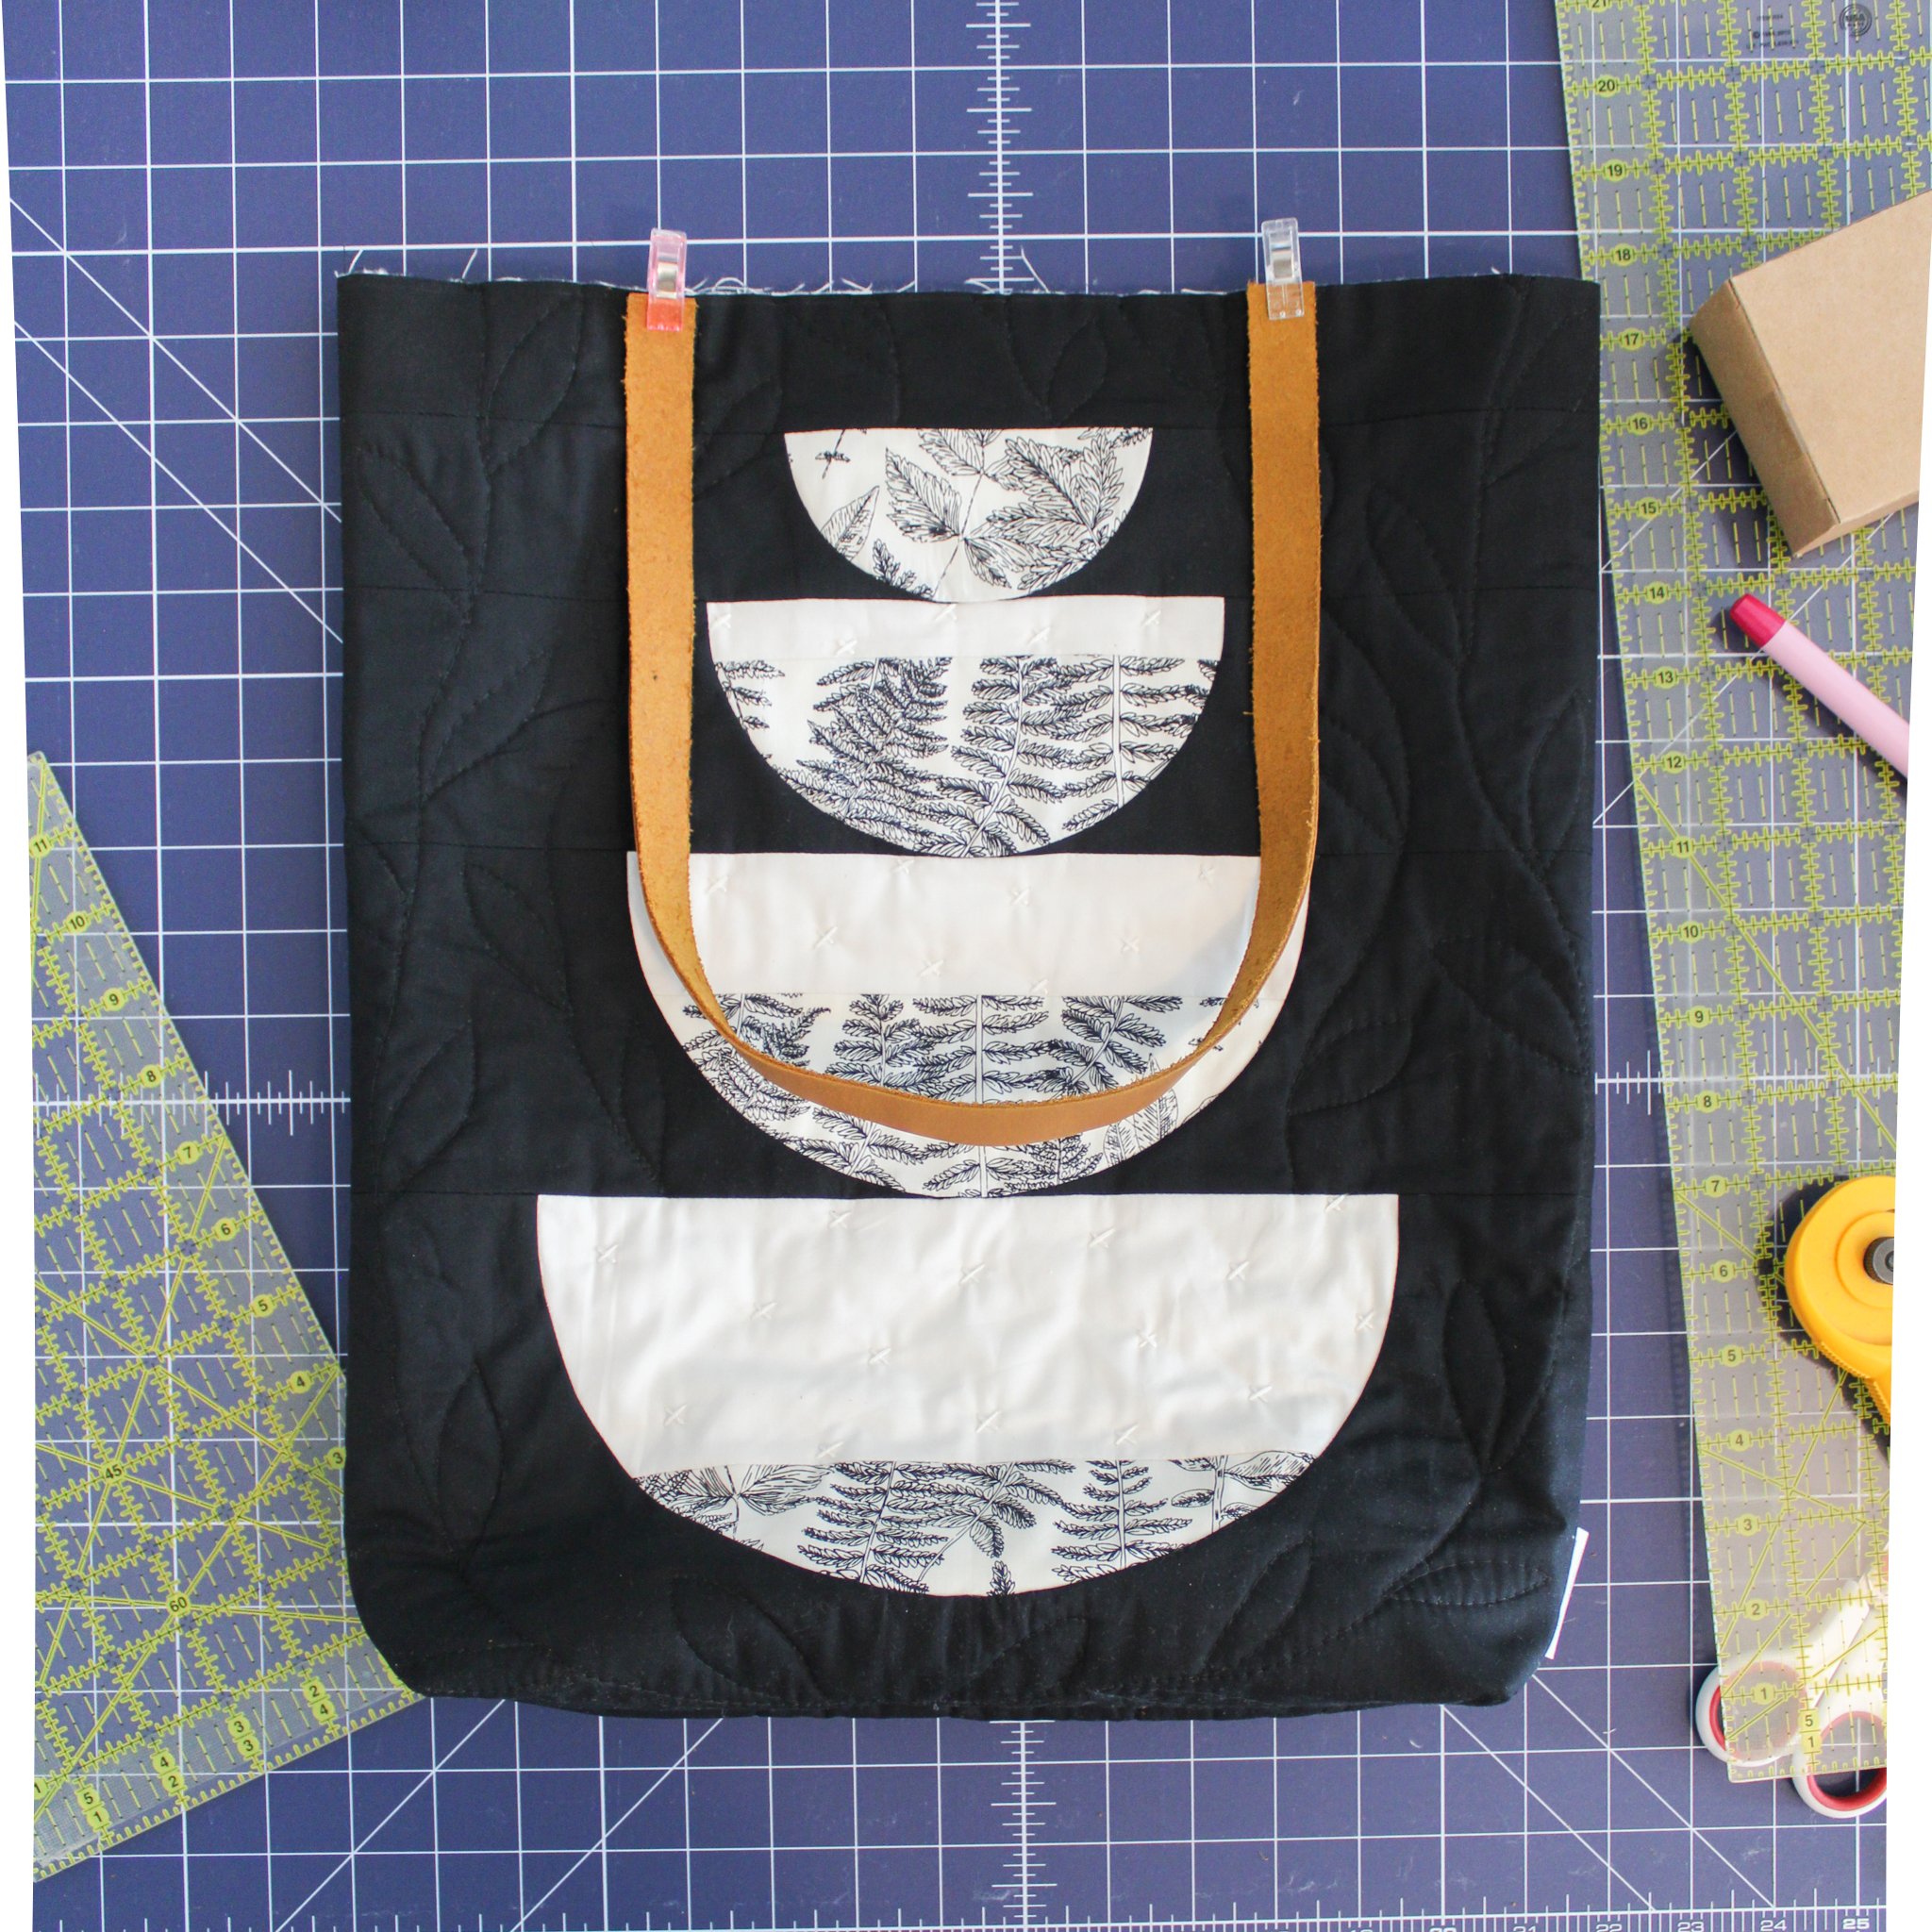
Trim. Trim your quilted panels so that they are each 16” x 18½”. For the Feast block panel, I use the below guidelines to center the stacked bowl design:
Trim the top of the panel 1½” from and parallel to the top edge of the smallest bowl. Then, measure 18½” down from the trimmed top edge - this should be about 3” below the lowest point of the bottom bowl - and trim parallel to the top edge.
Mark 3” to the right and to the left of the top corners of the bottom bowl - these marks should be about 16” apart (if not, center the bottom bowl across a width of 16” and mark). Per your mark, trim the right side of the panel, perpendicular to the top and bottom edges, then trim the left side.

2. Constructing the bag exterior
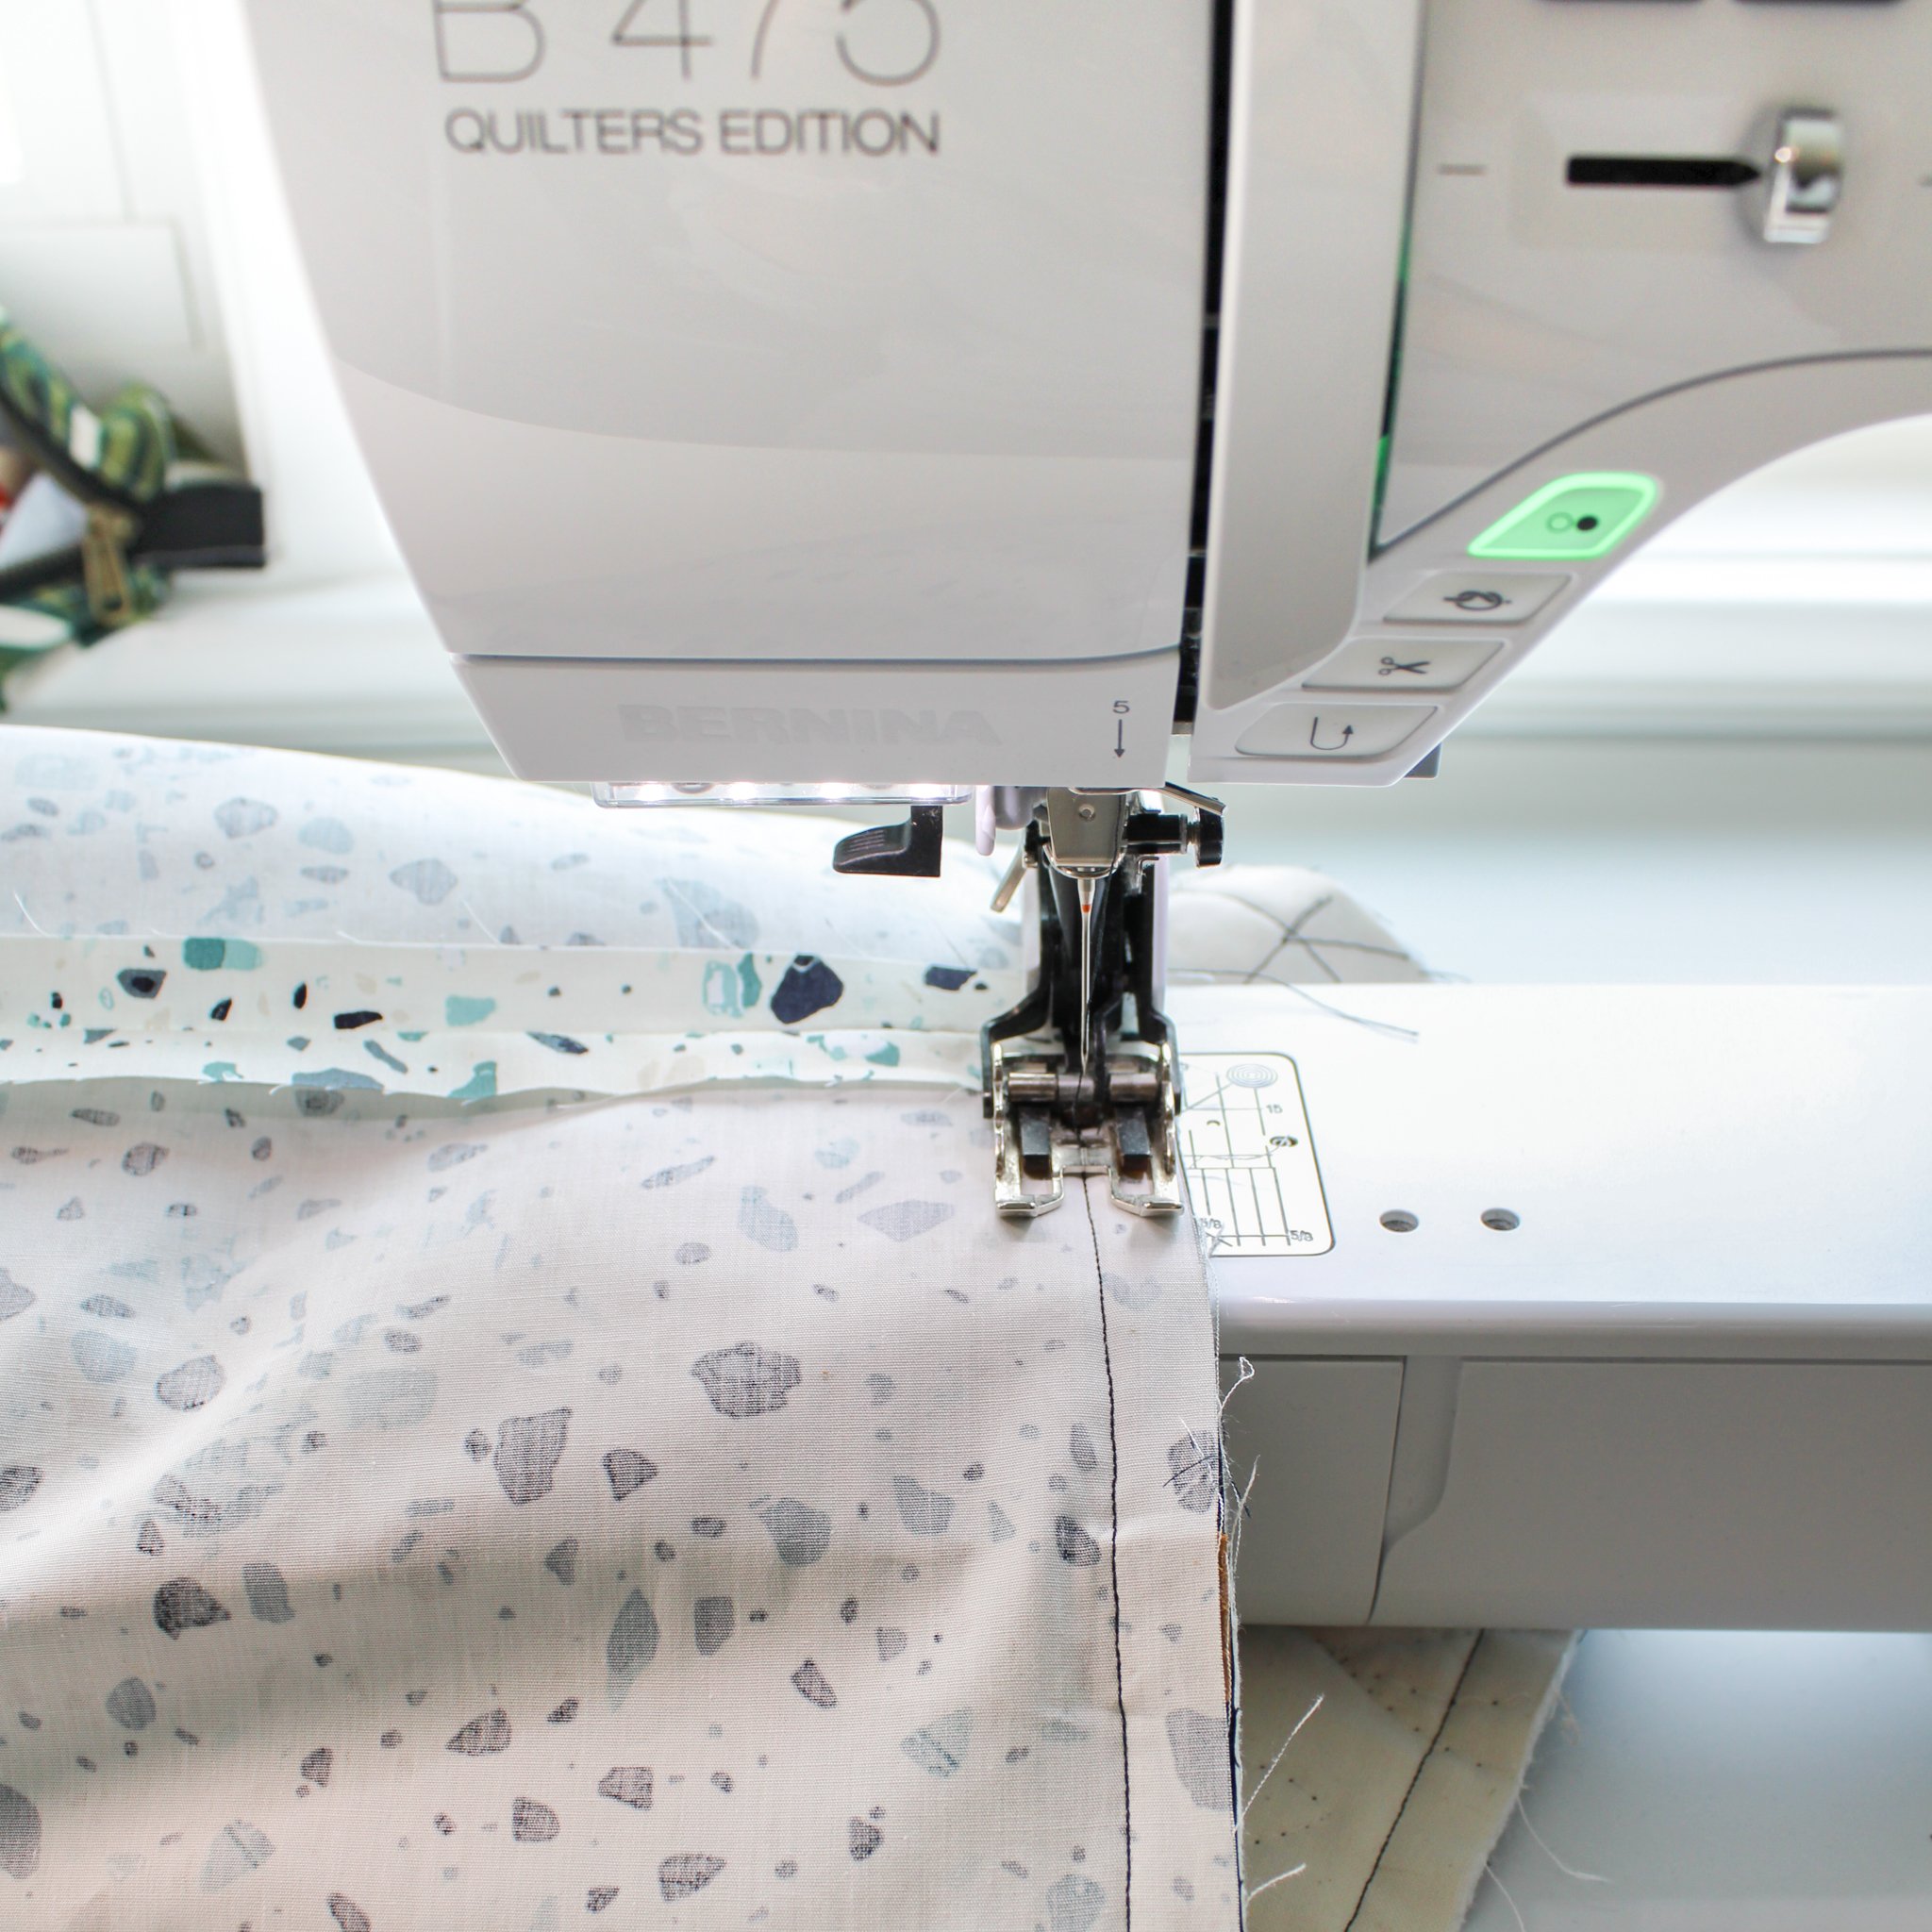
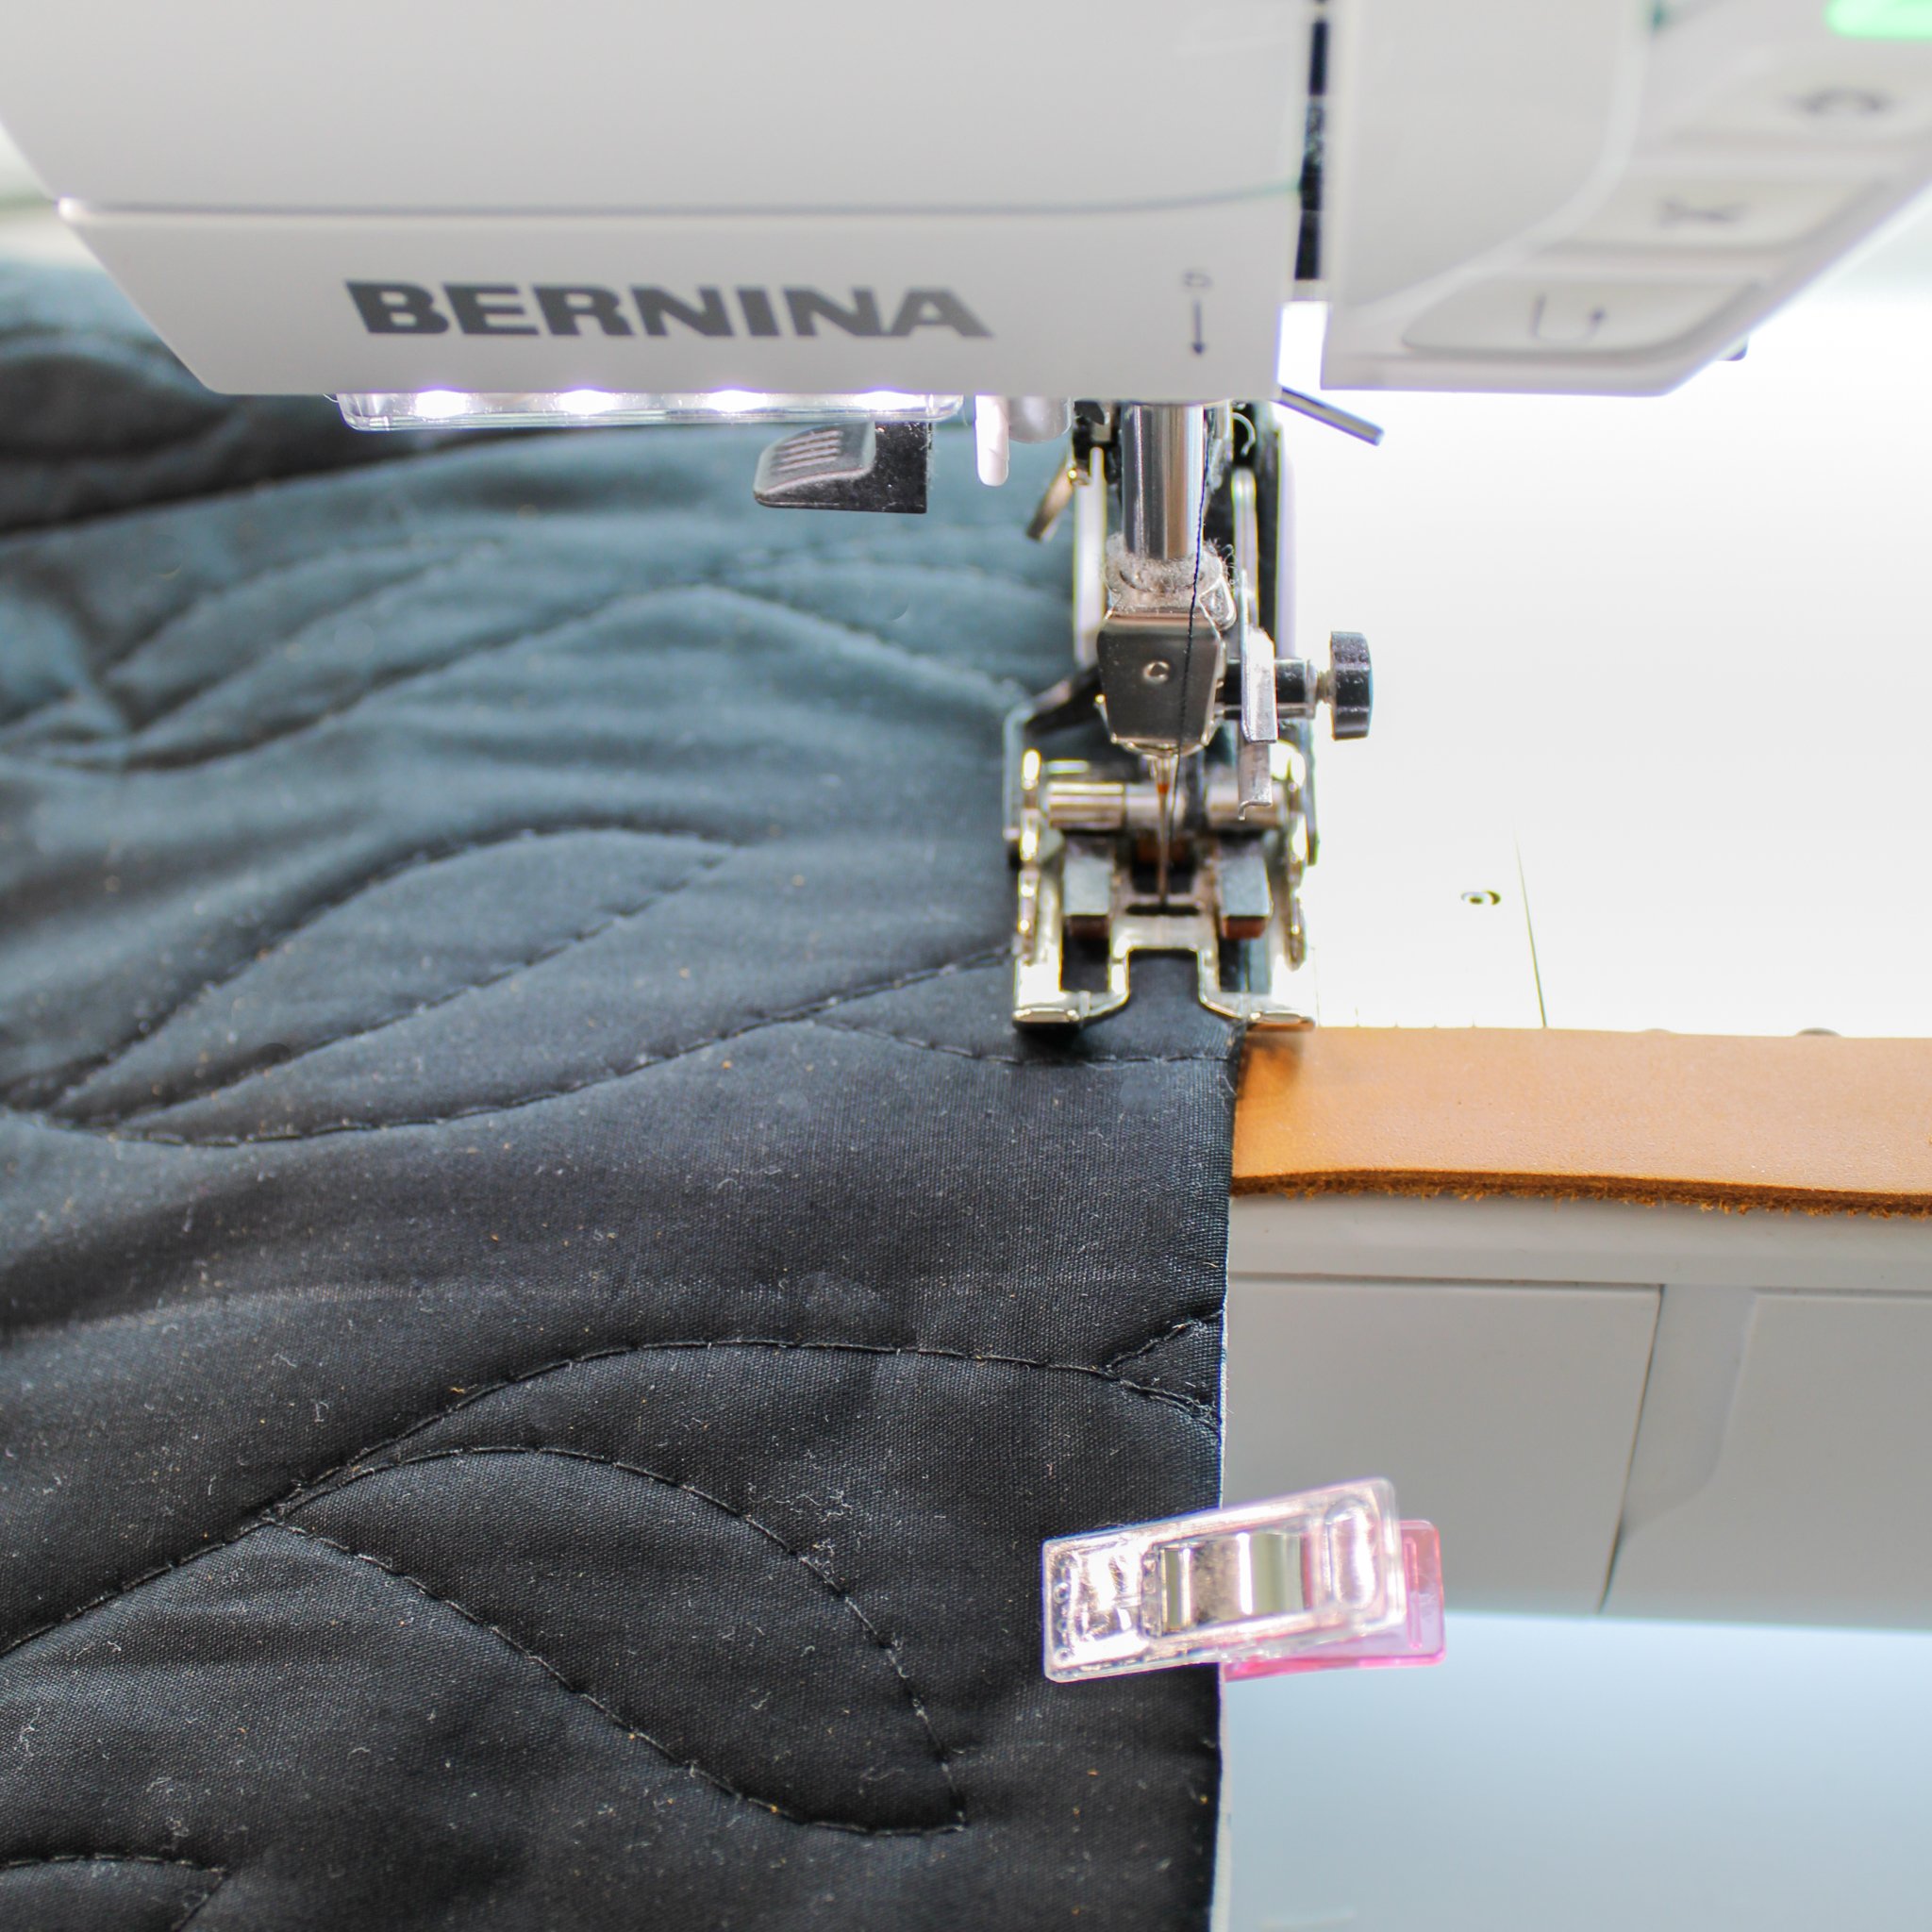
Pin together. Place your two quilted & trimmed panels right sides together. Pin or clip along the two long sides and along the bottom, leaving the top open.
Sew. Using a ½” seam, sew along the two sides and bottom of the panels.
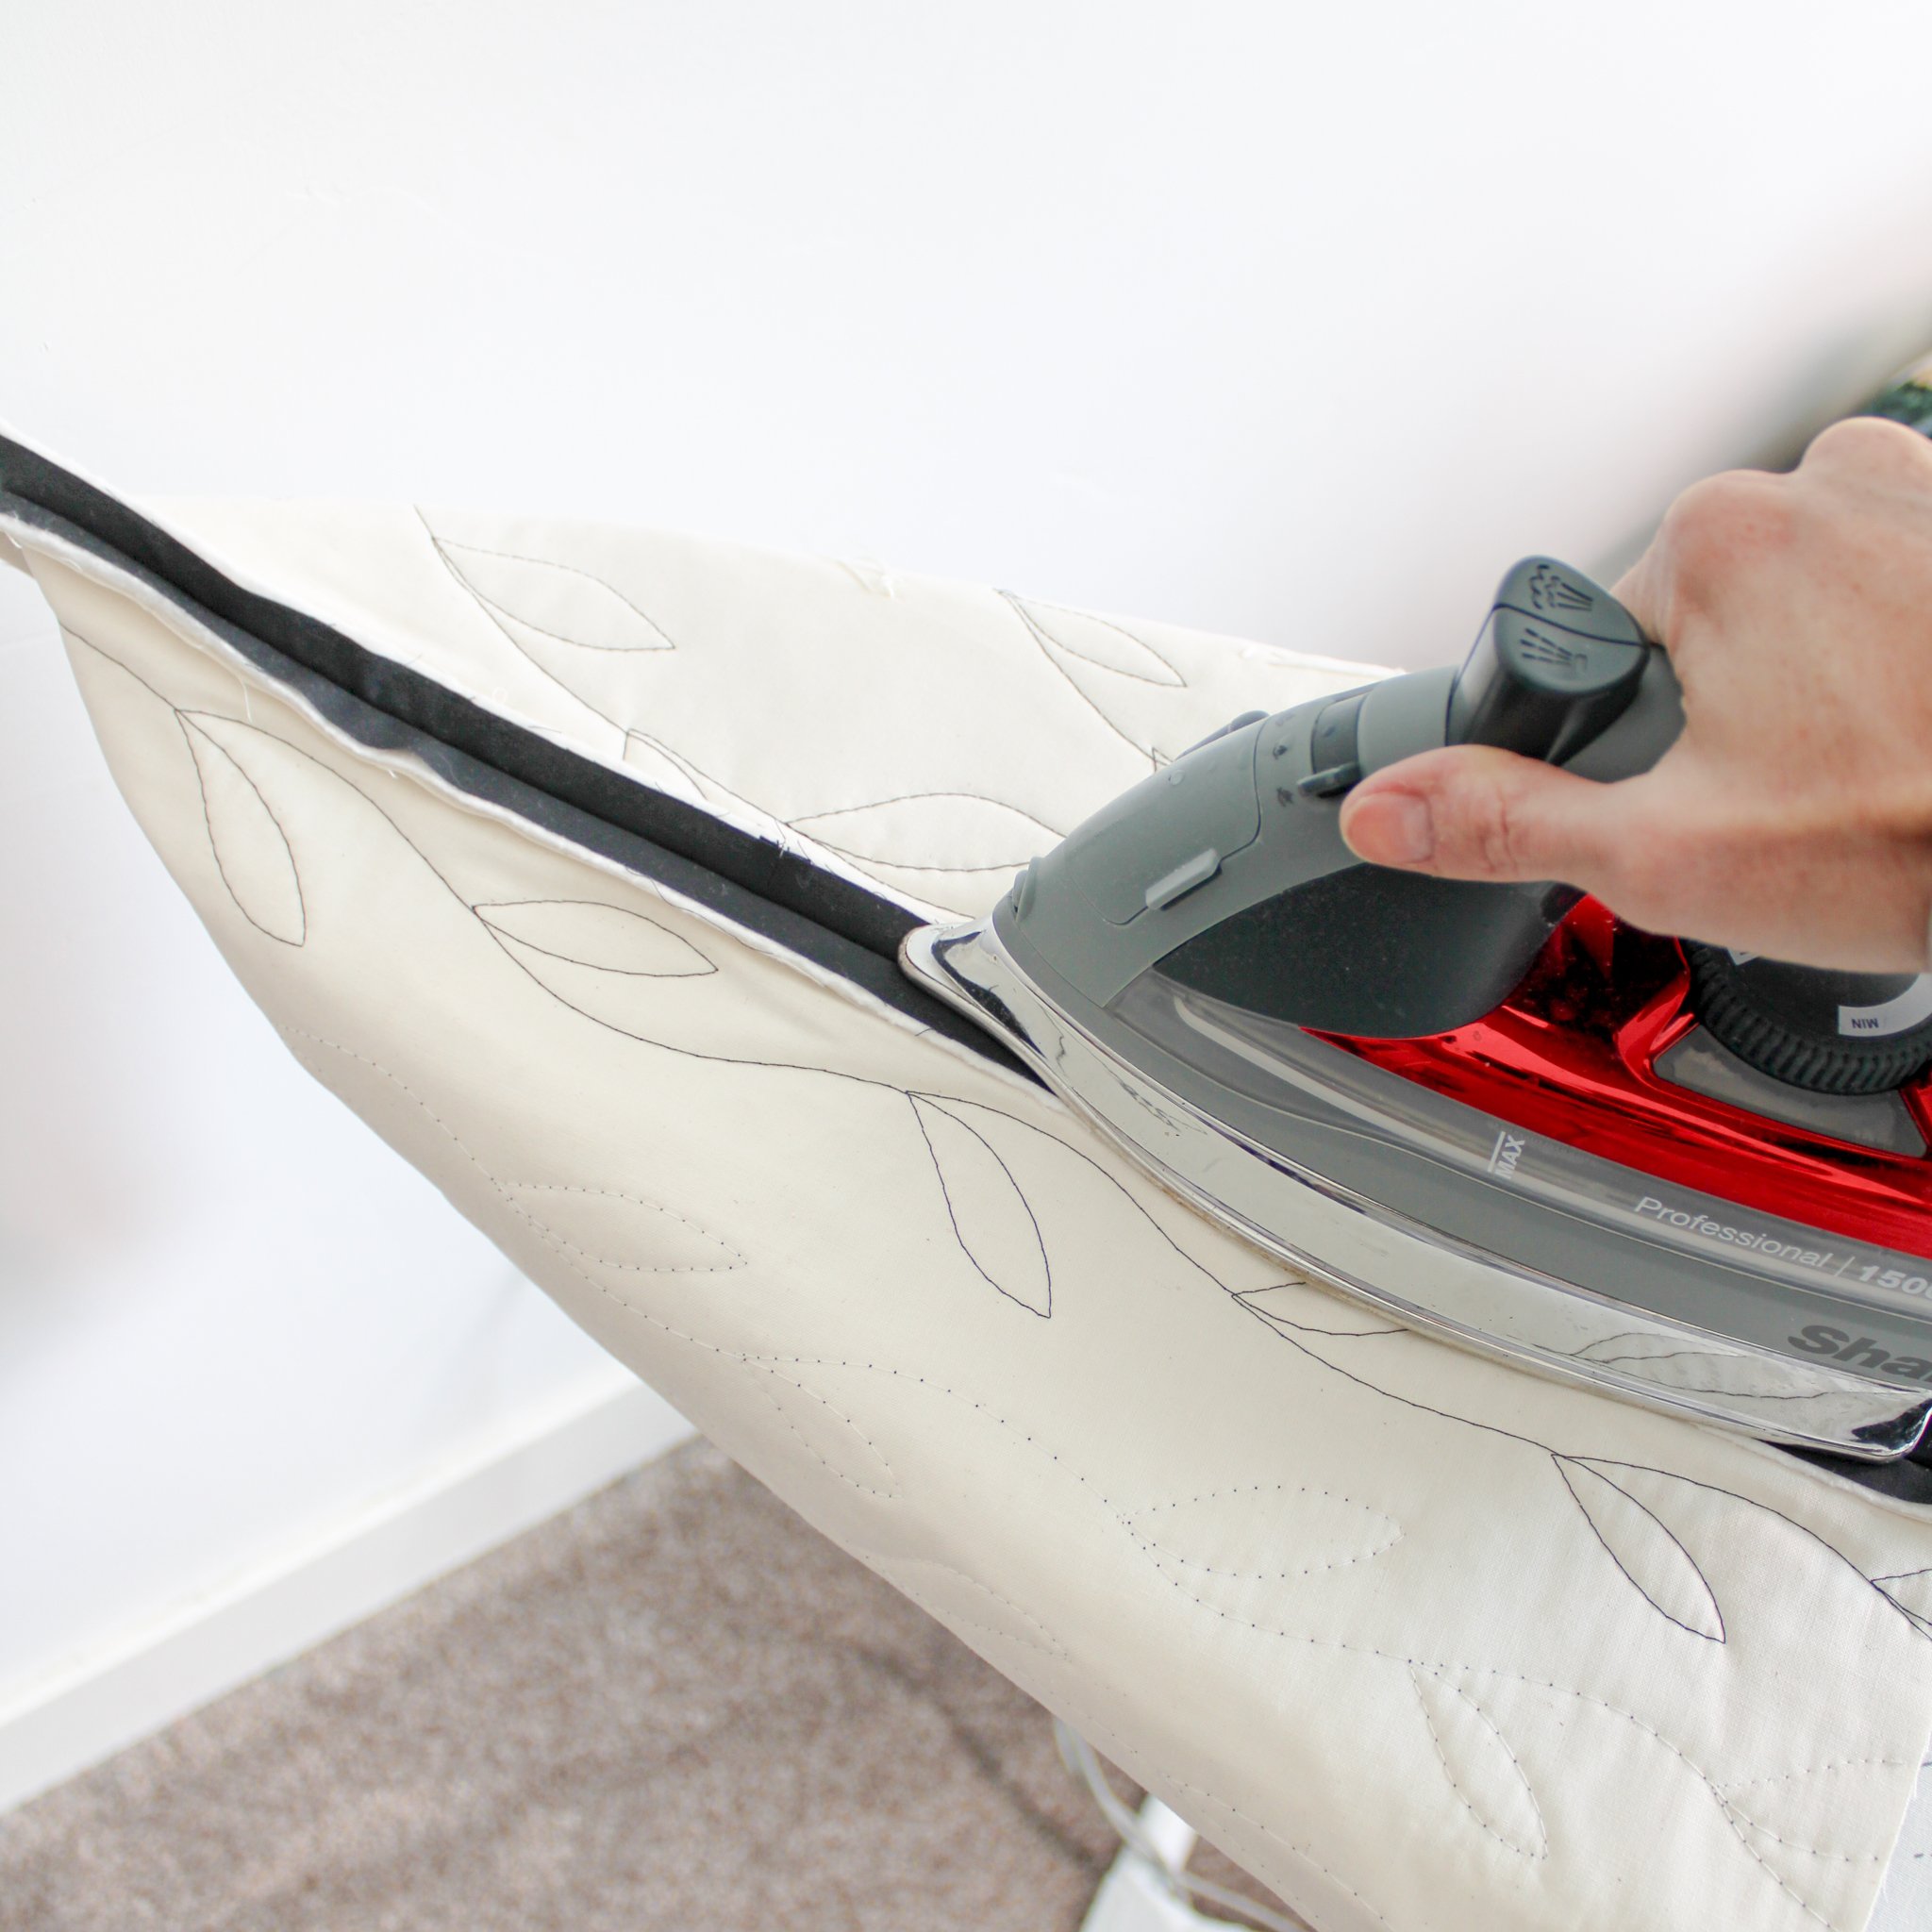
Press. Press each seam side seam open. To press the bottom seam open, I like to lay the bag flat, and press one side of the seam back. Then, I flip the bag over and do the same with the other side.

3. Boxing the corners
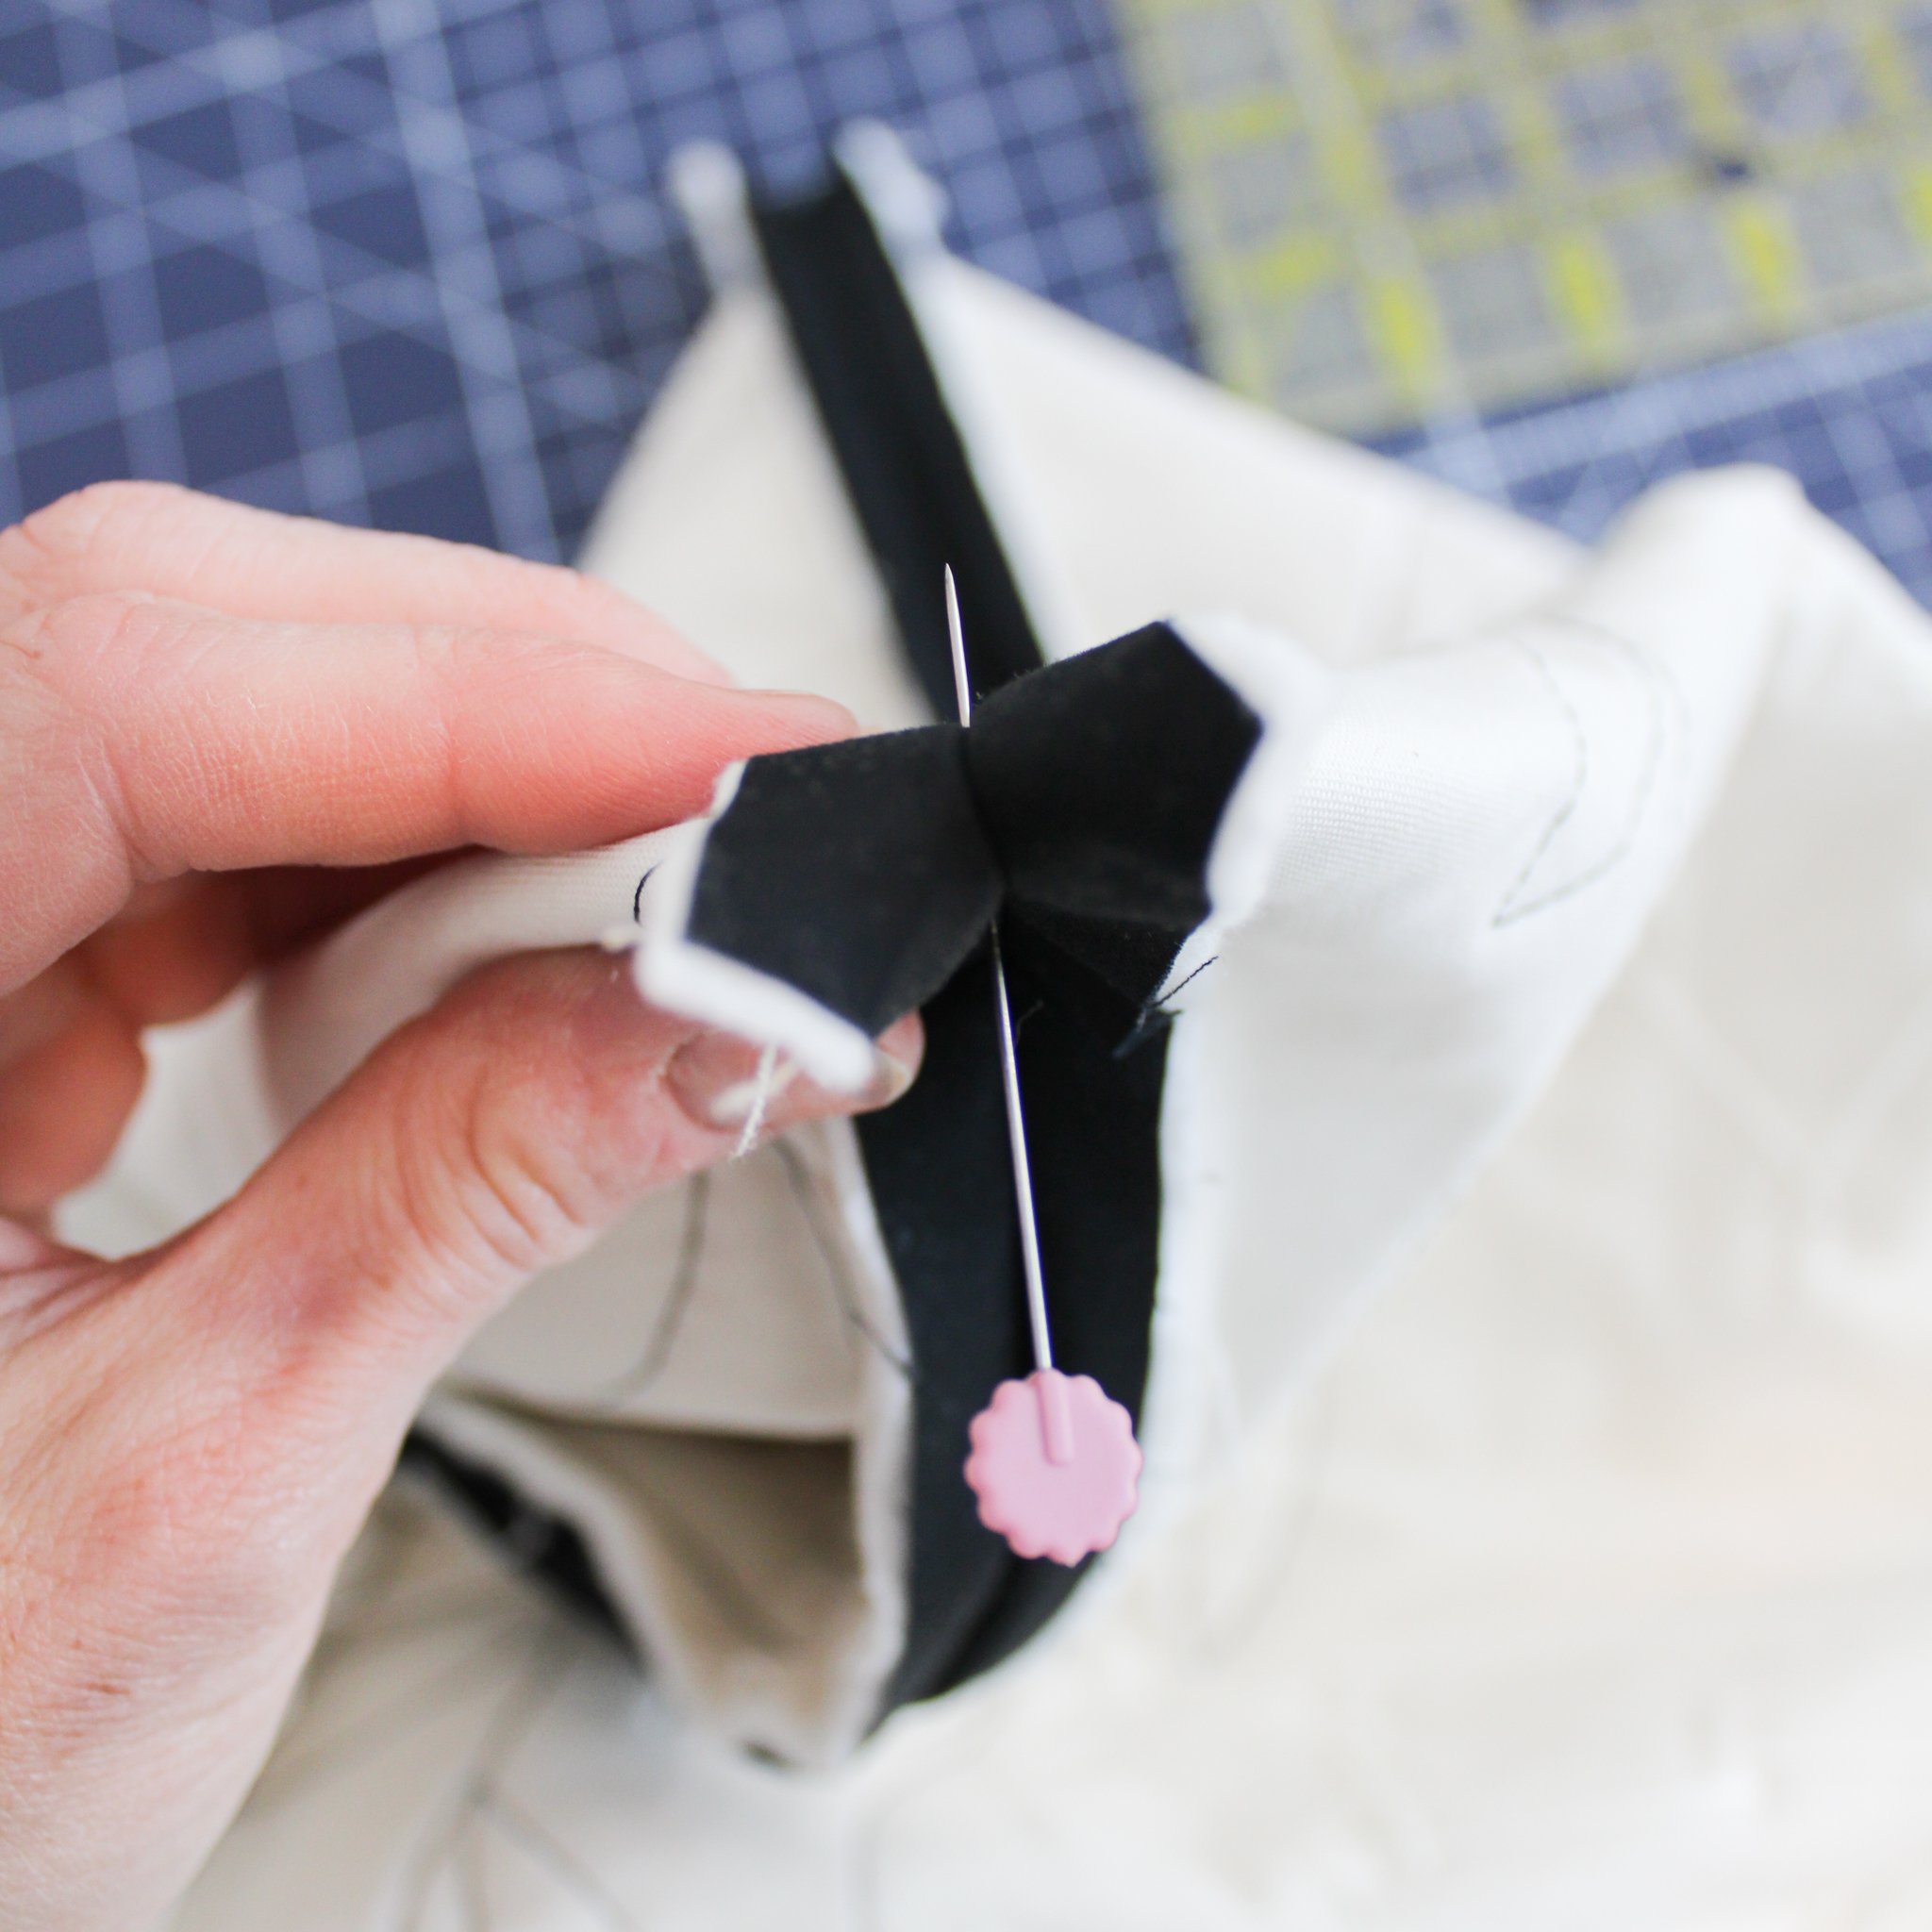
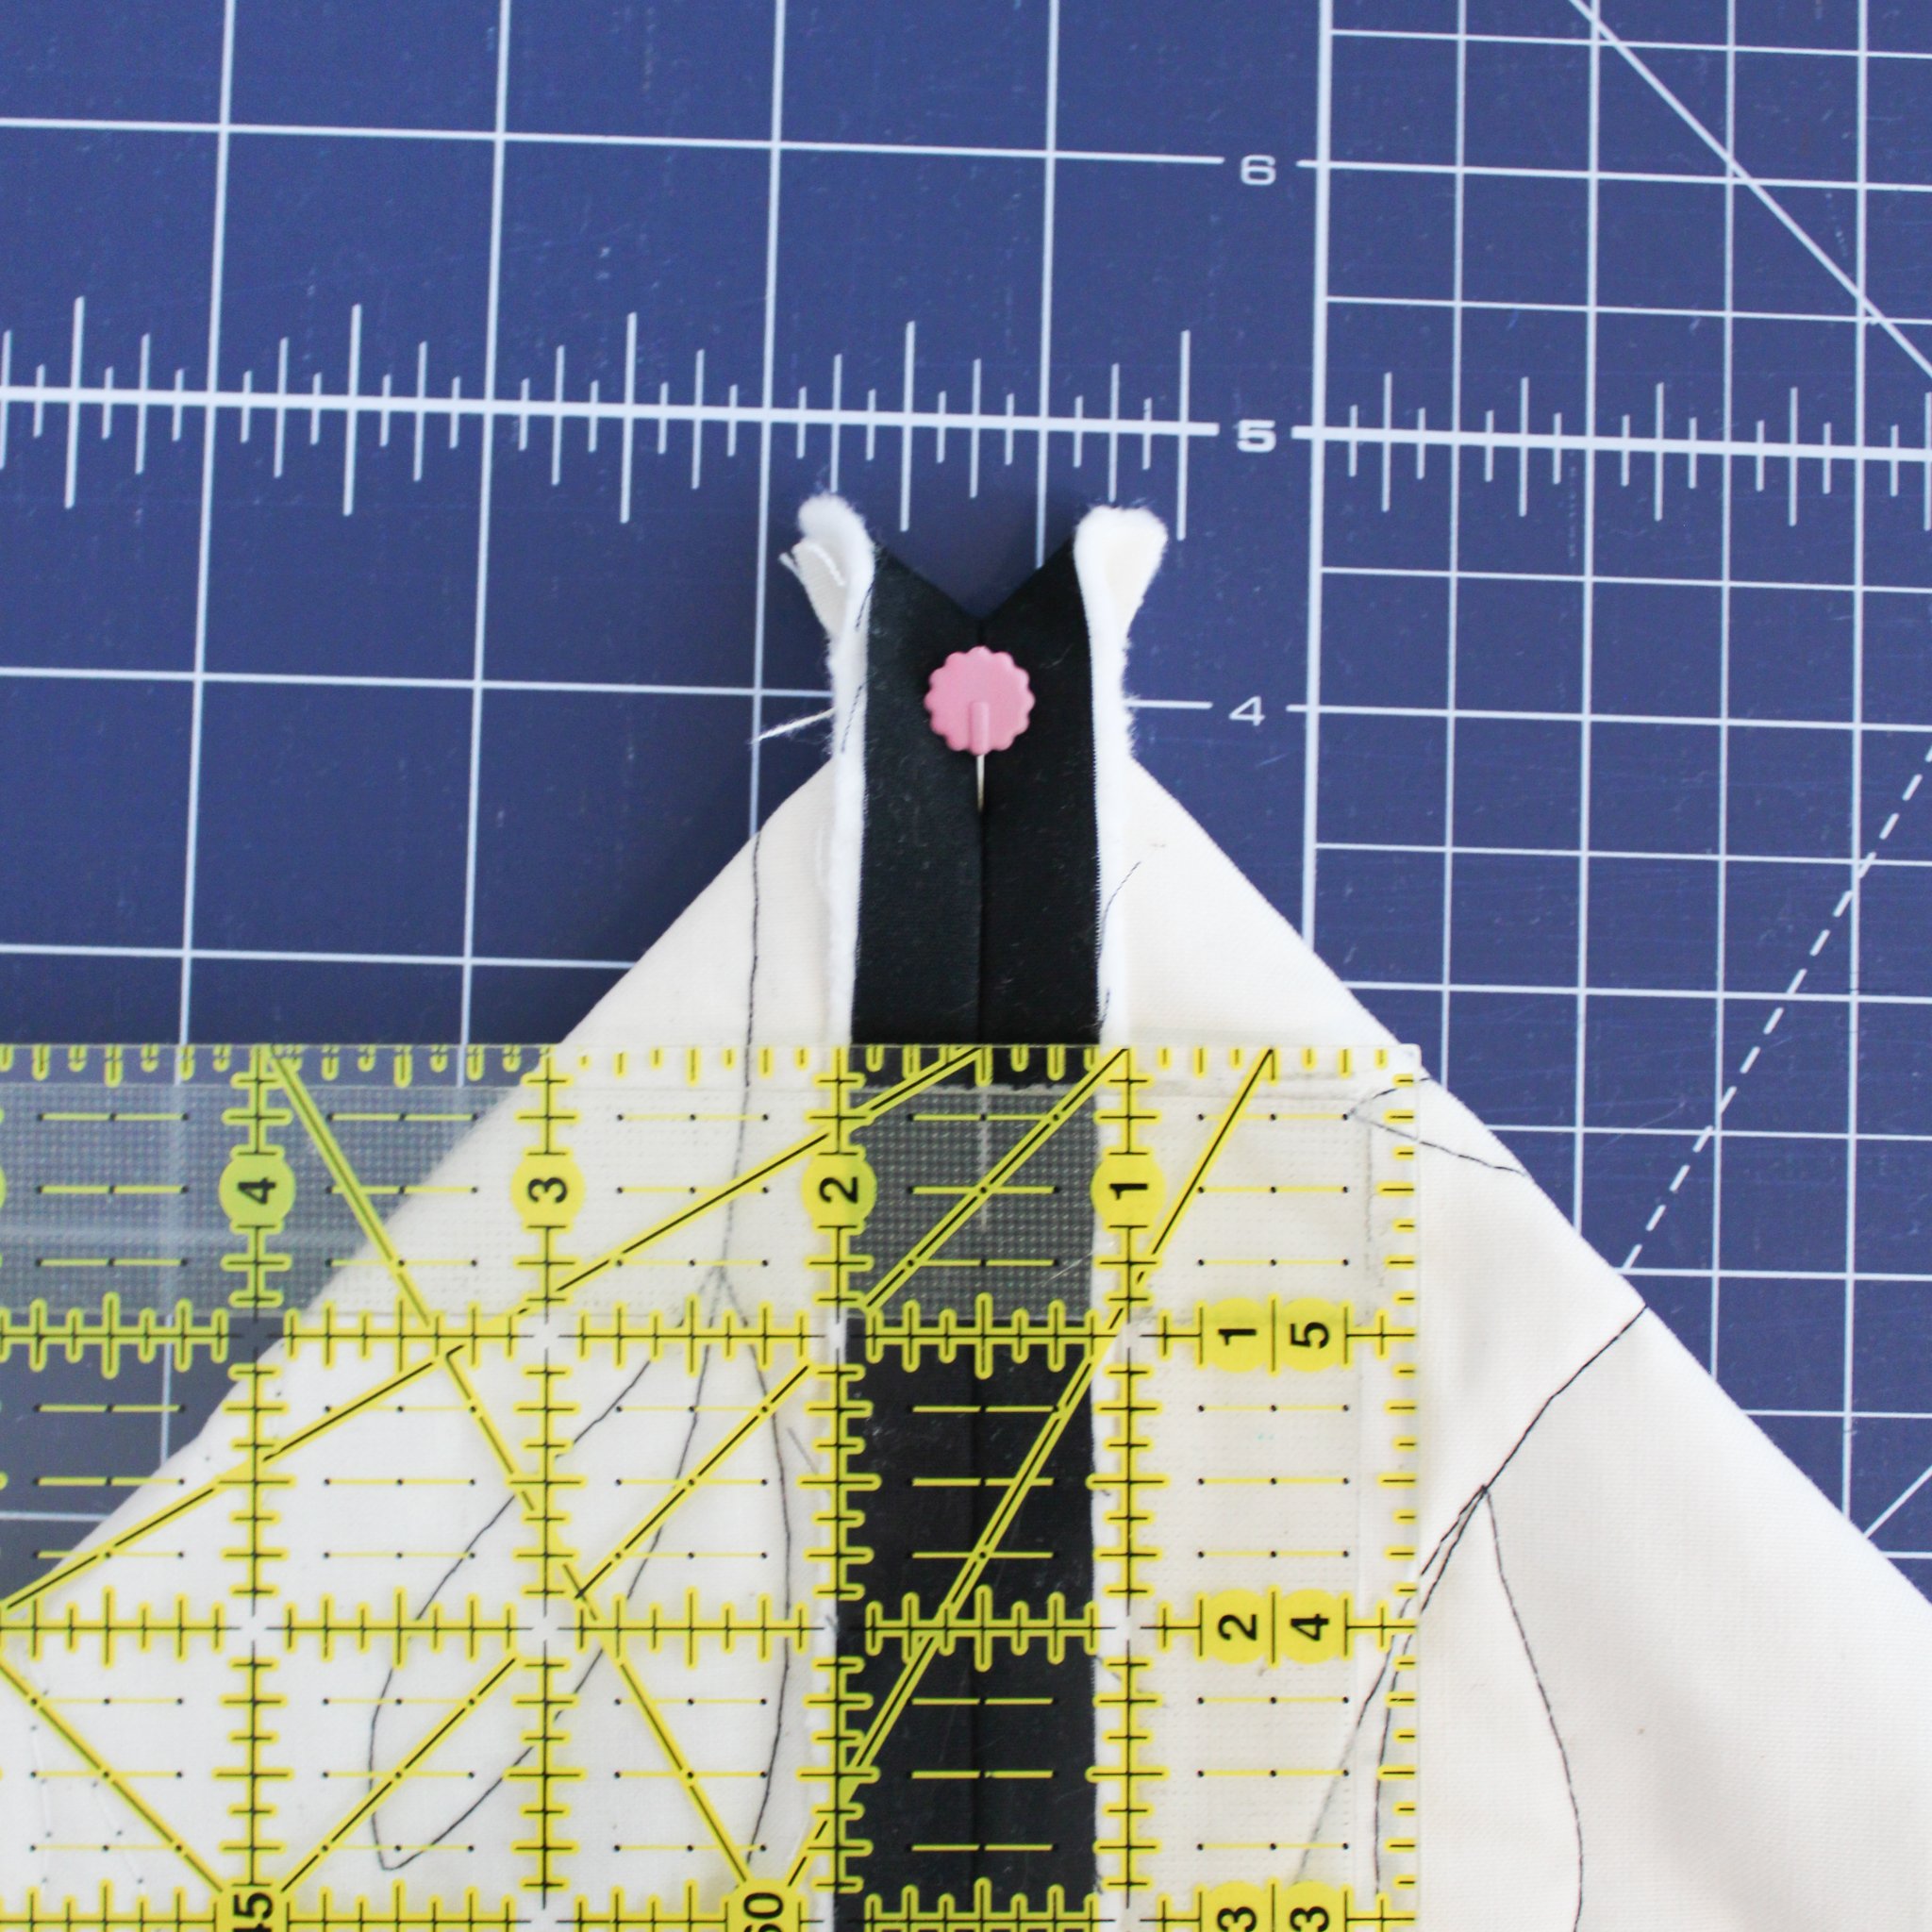
Pin. Take one bottom corner of your bag, and form a triangle so that the side seam and bottom seam are aligned down the center. Place a straight pin through the seams, making sure that it enters and exits through the center of each seam. Then, bring the pin back to the front, again making sure it goes through the center of the seam on each side.
Measure & mark. Lay the pinned corner of the bag flat, and place a ruler on top so that 1) the seam runs along the 1½” mark, and 2) the points where the ruler edge intersects the two sides of the tote are 3” apart (i.e., the ruler edge creates a 3” hypotenuse to the triangle). Trace along the edge of your ruler with your marking tool.
Sew. Sew directly along the line drawn, backstitching at both the beginning and end. Do this a second time for a reinforced seam.
Trim. Trim the corner ¼” from your seam.


4. Constructing the lining
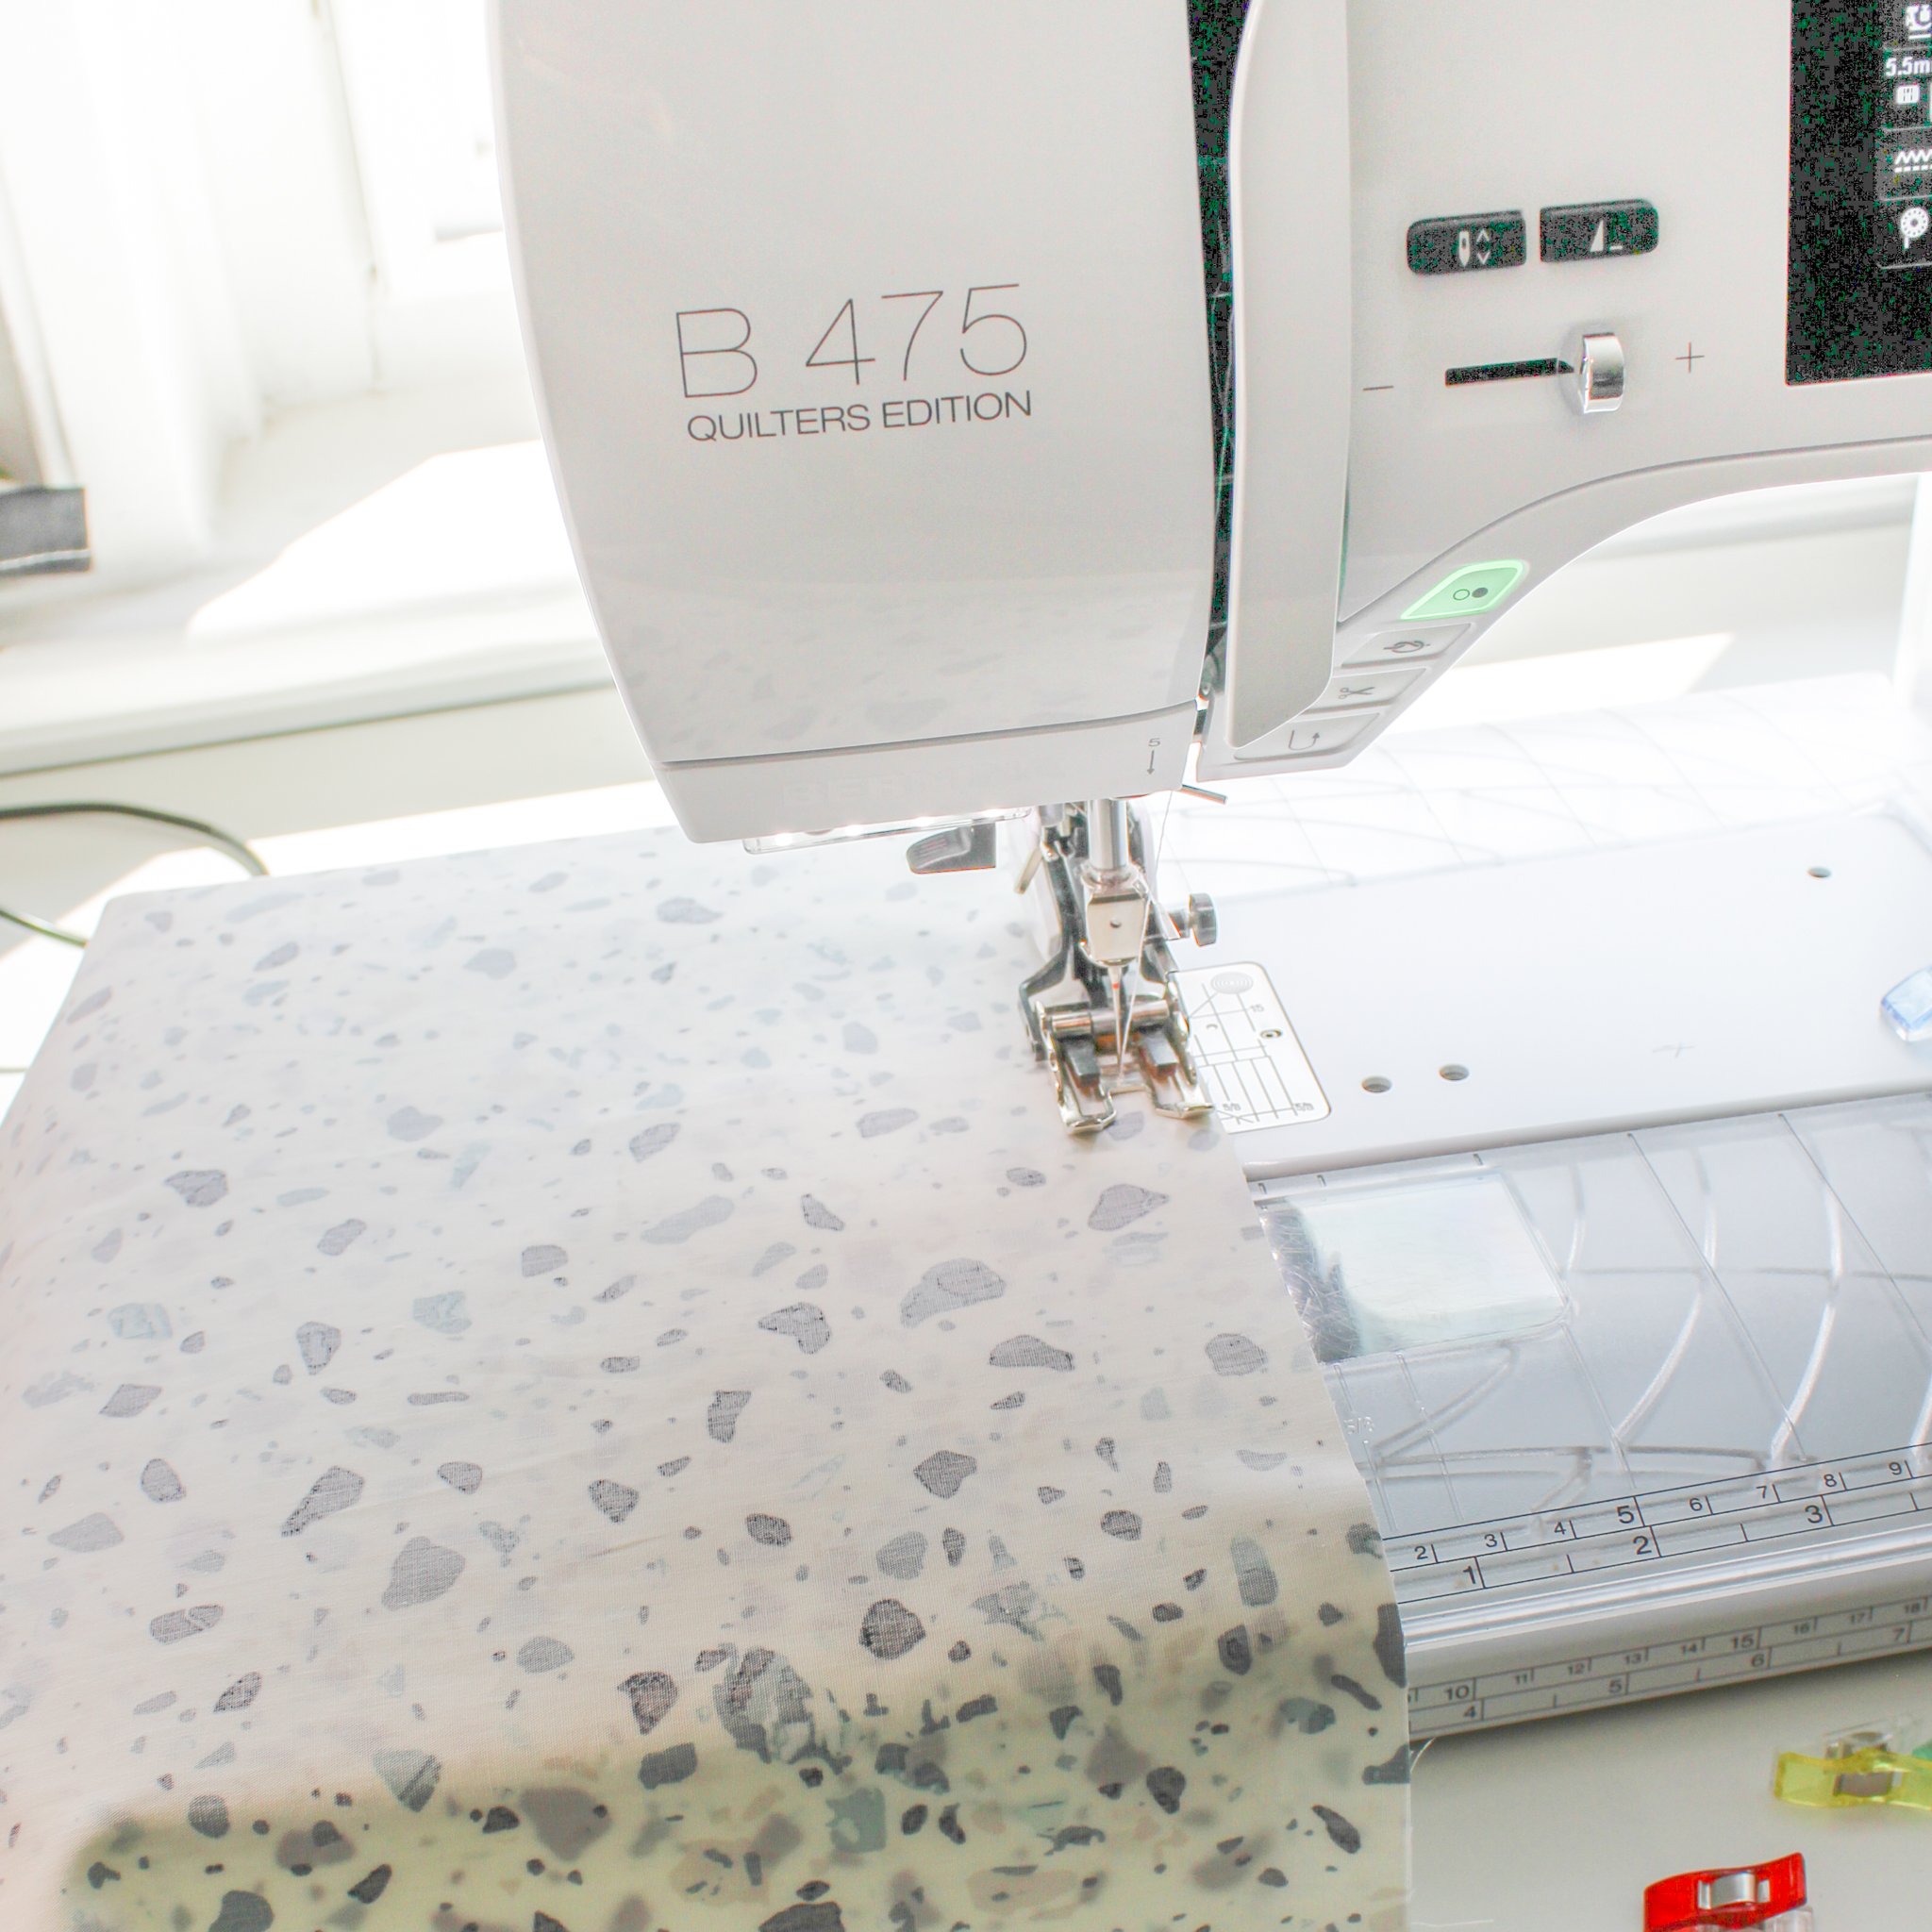
Pin together. Place your two lining pieces right sides together. Pin or clip along the two long sides and along the bottom, leaving the top open. Along the bottom, use your pins or clips to mark a 6” gap that will not be sewn. This will ensure you can turn your bag right side out once joining the lining to the tote exterior.
Sew. Using a ½” seam, sew along the two sides and bottom of the panels, making sure to leave the 6” gap and backstitch at each end of the gap.
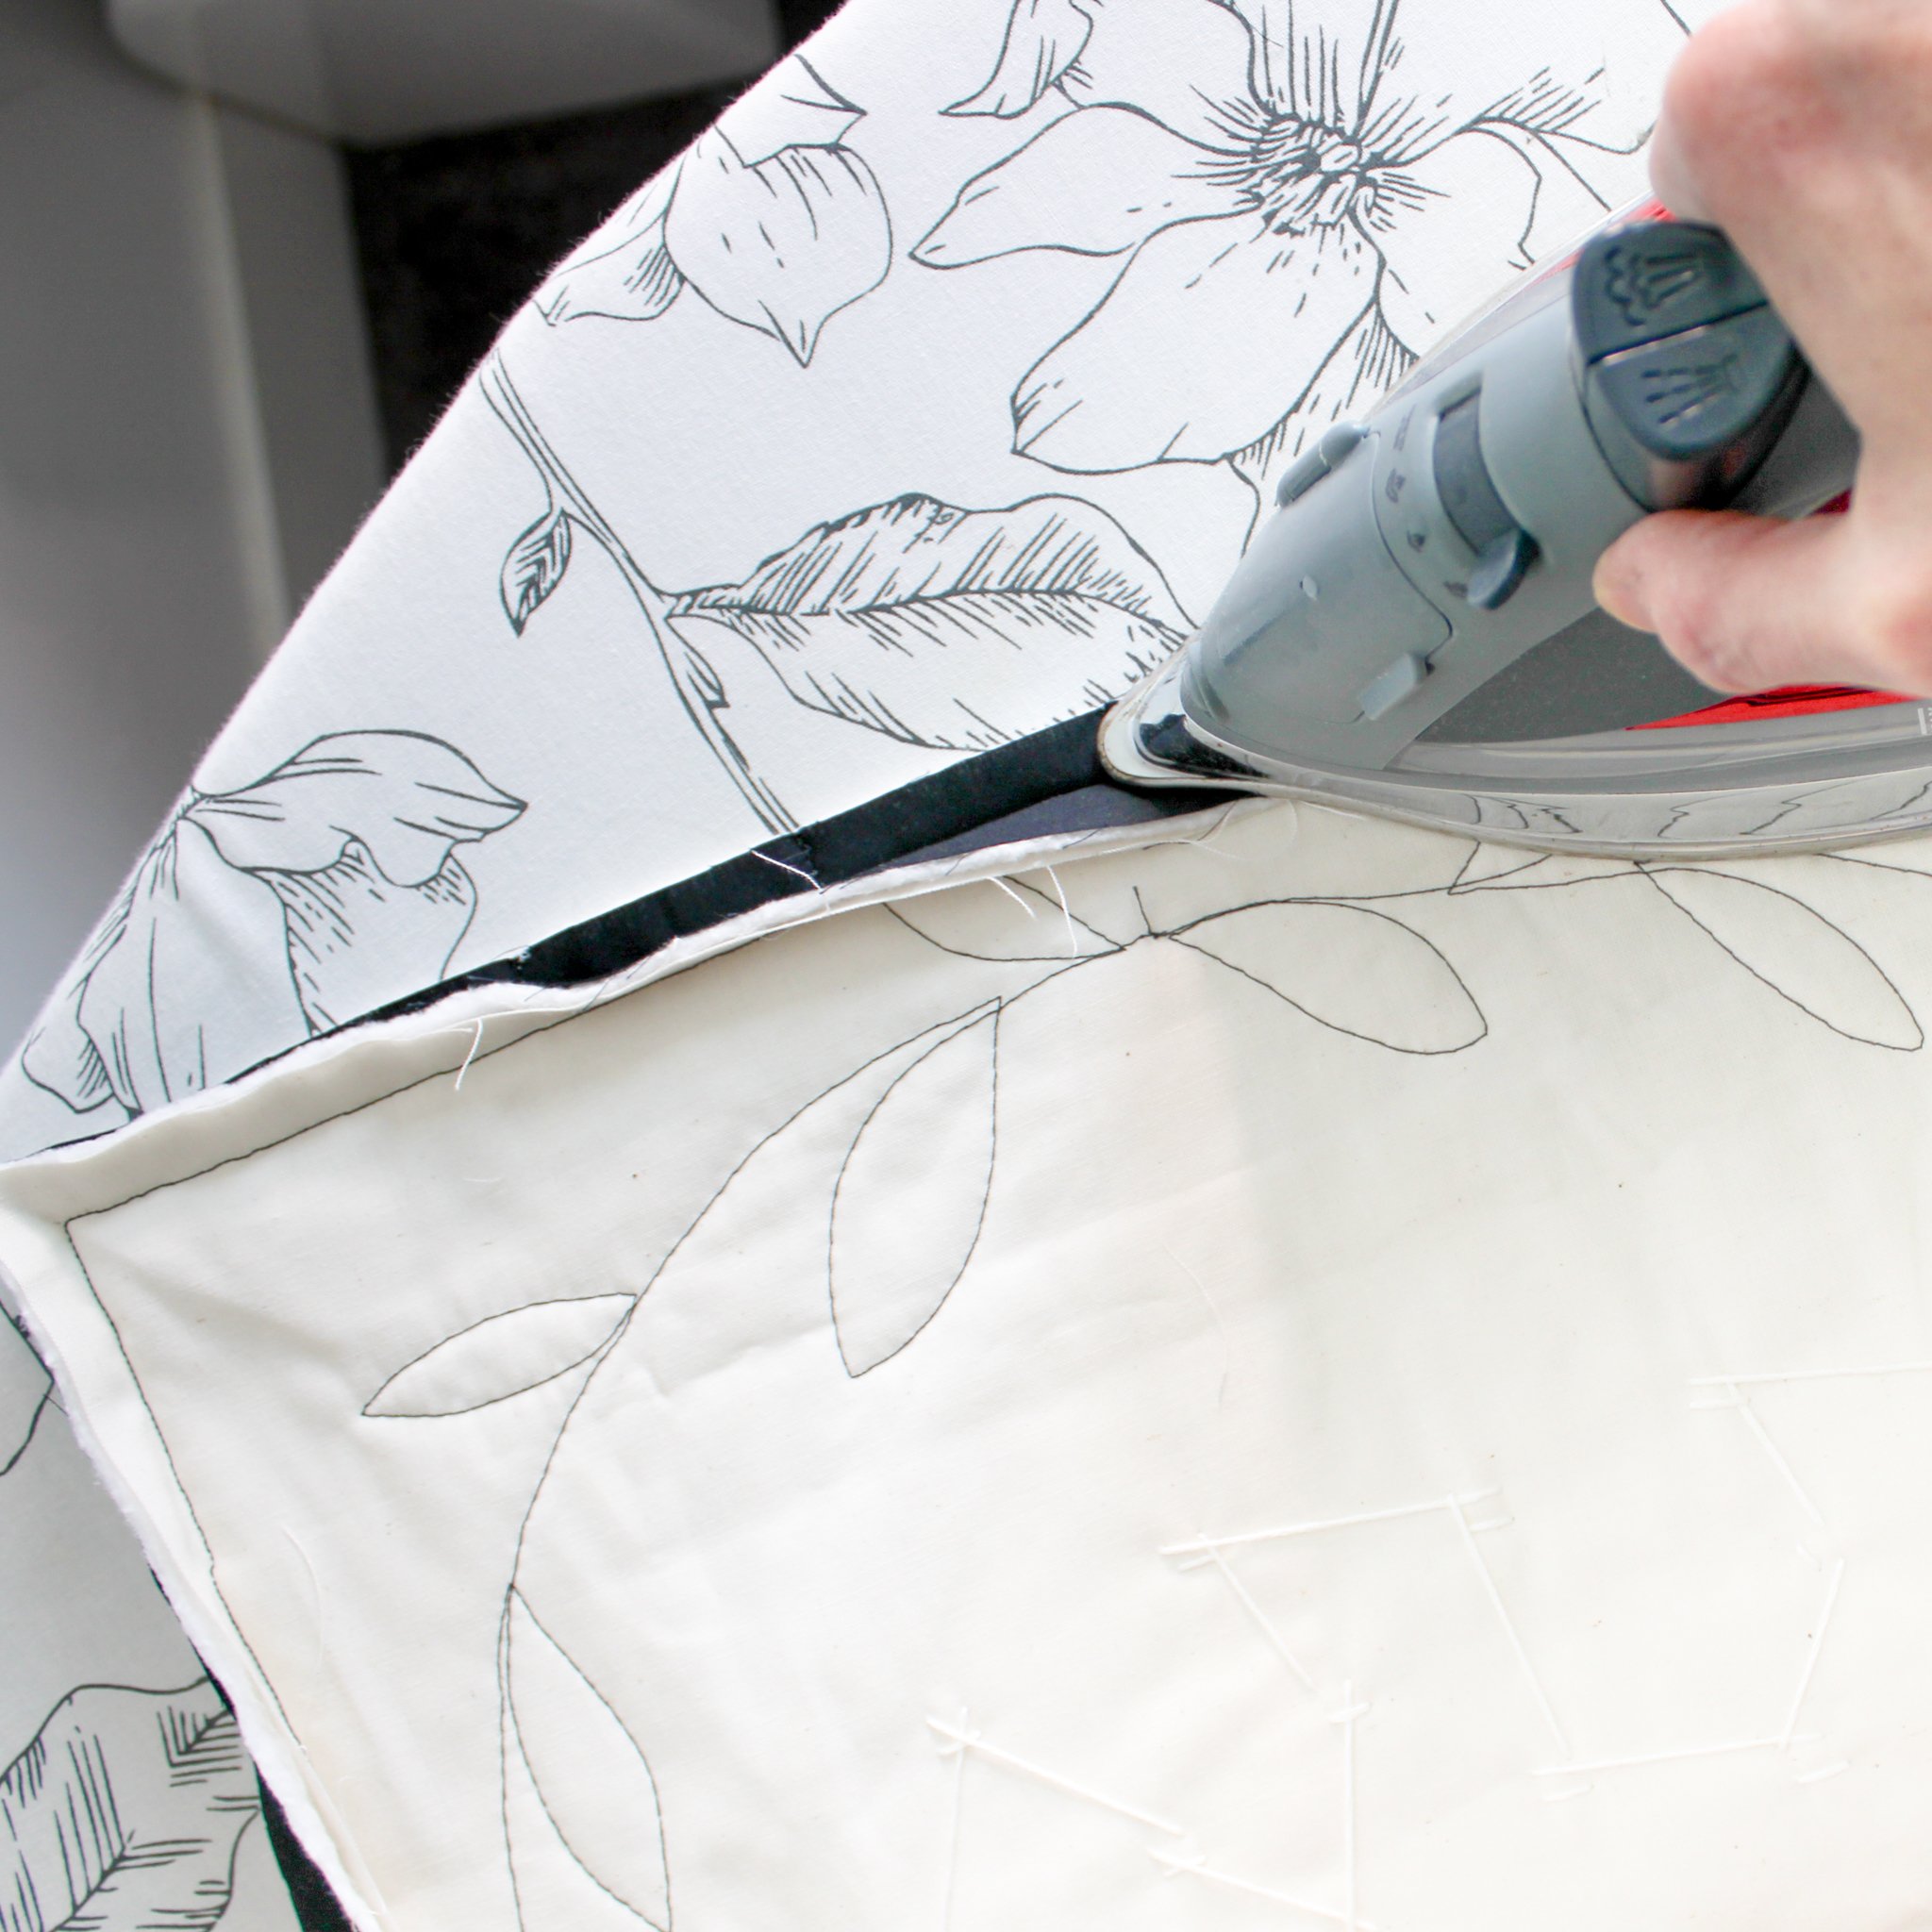
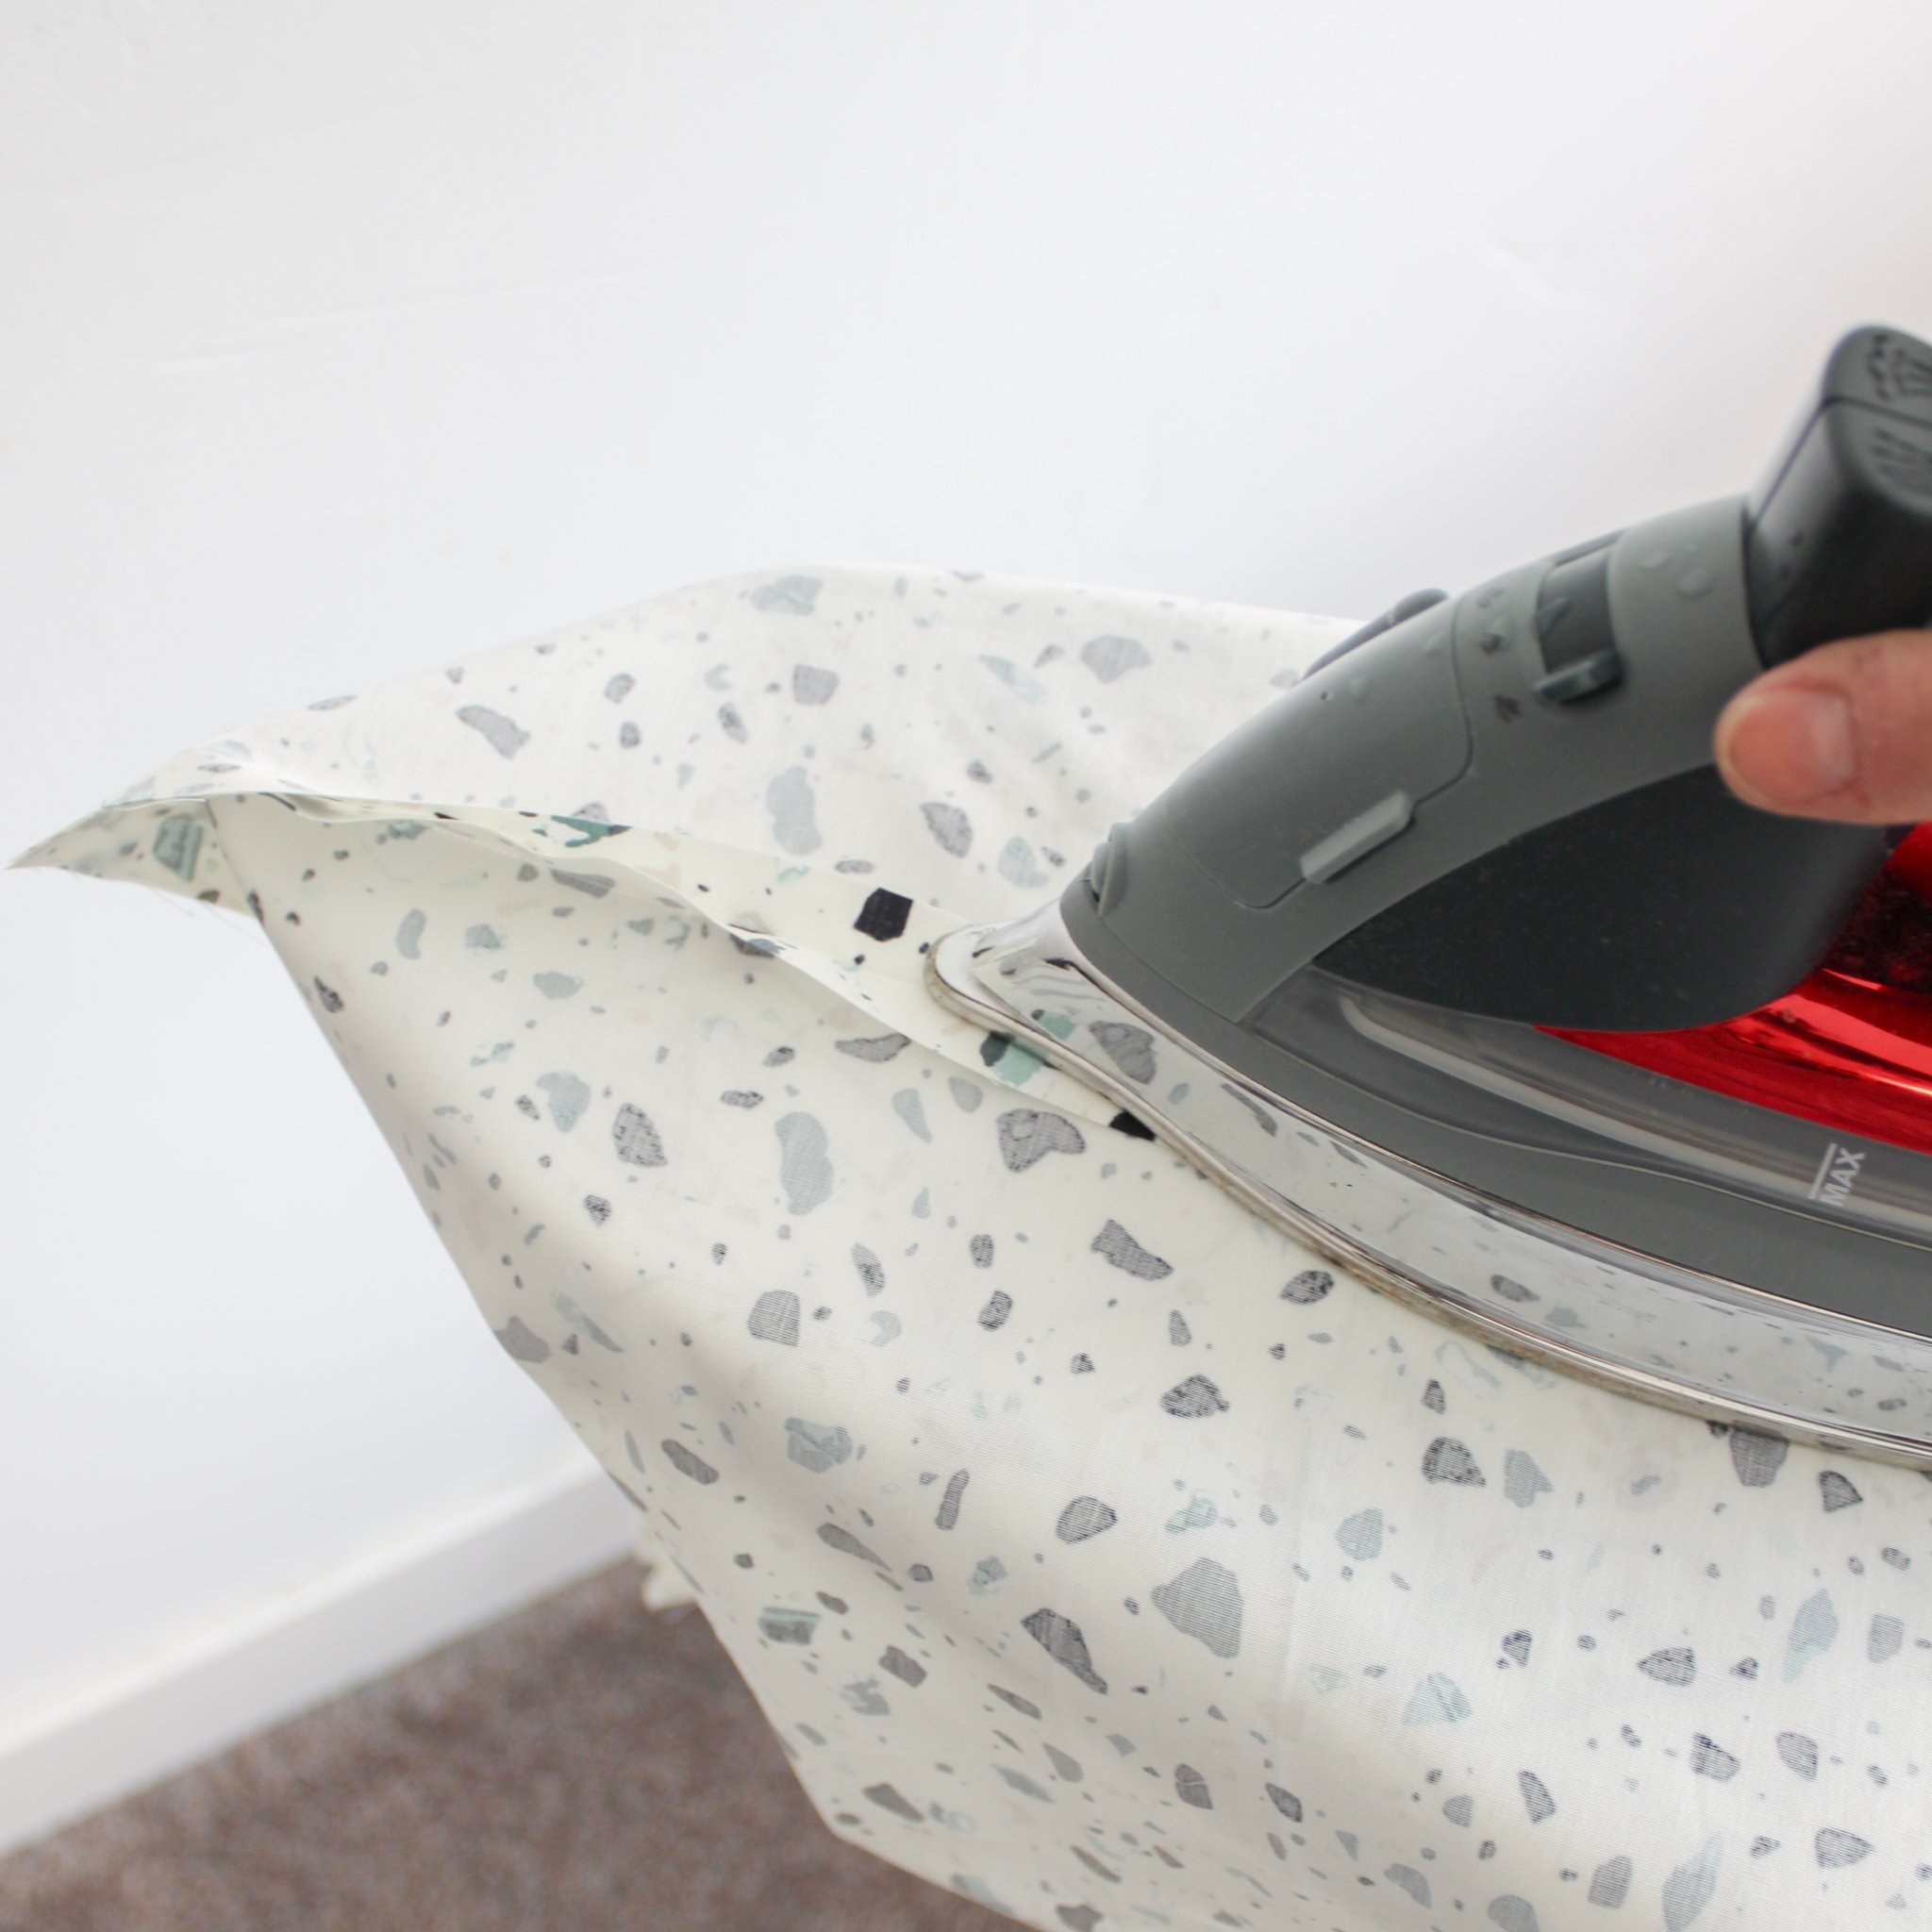
Press. Press the seams open.
Box the corners. Follow the same steps in #3 above to box the corners of the lining.

5. Bringing it all together
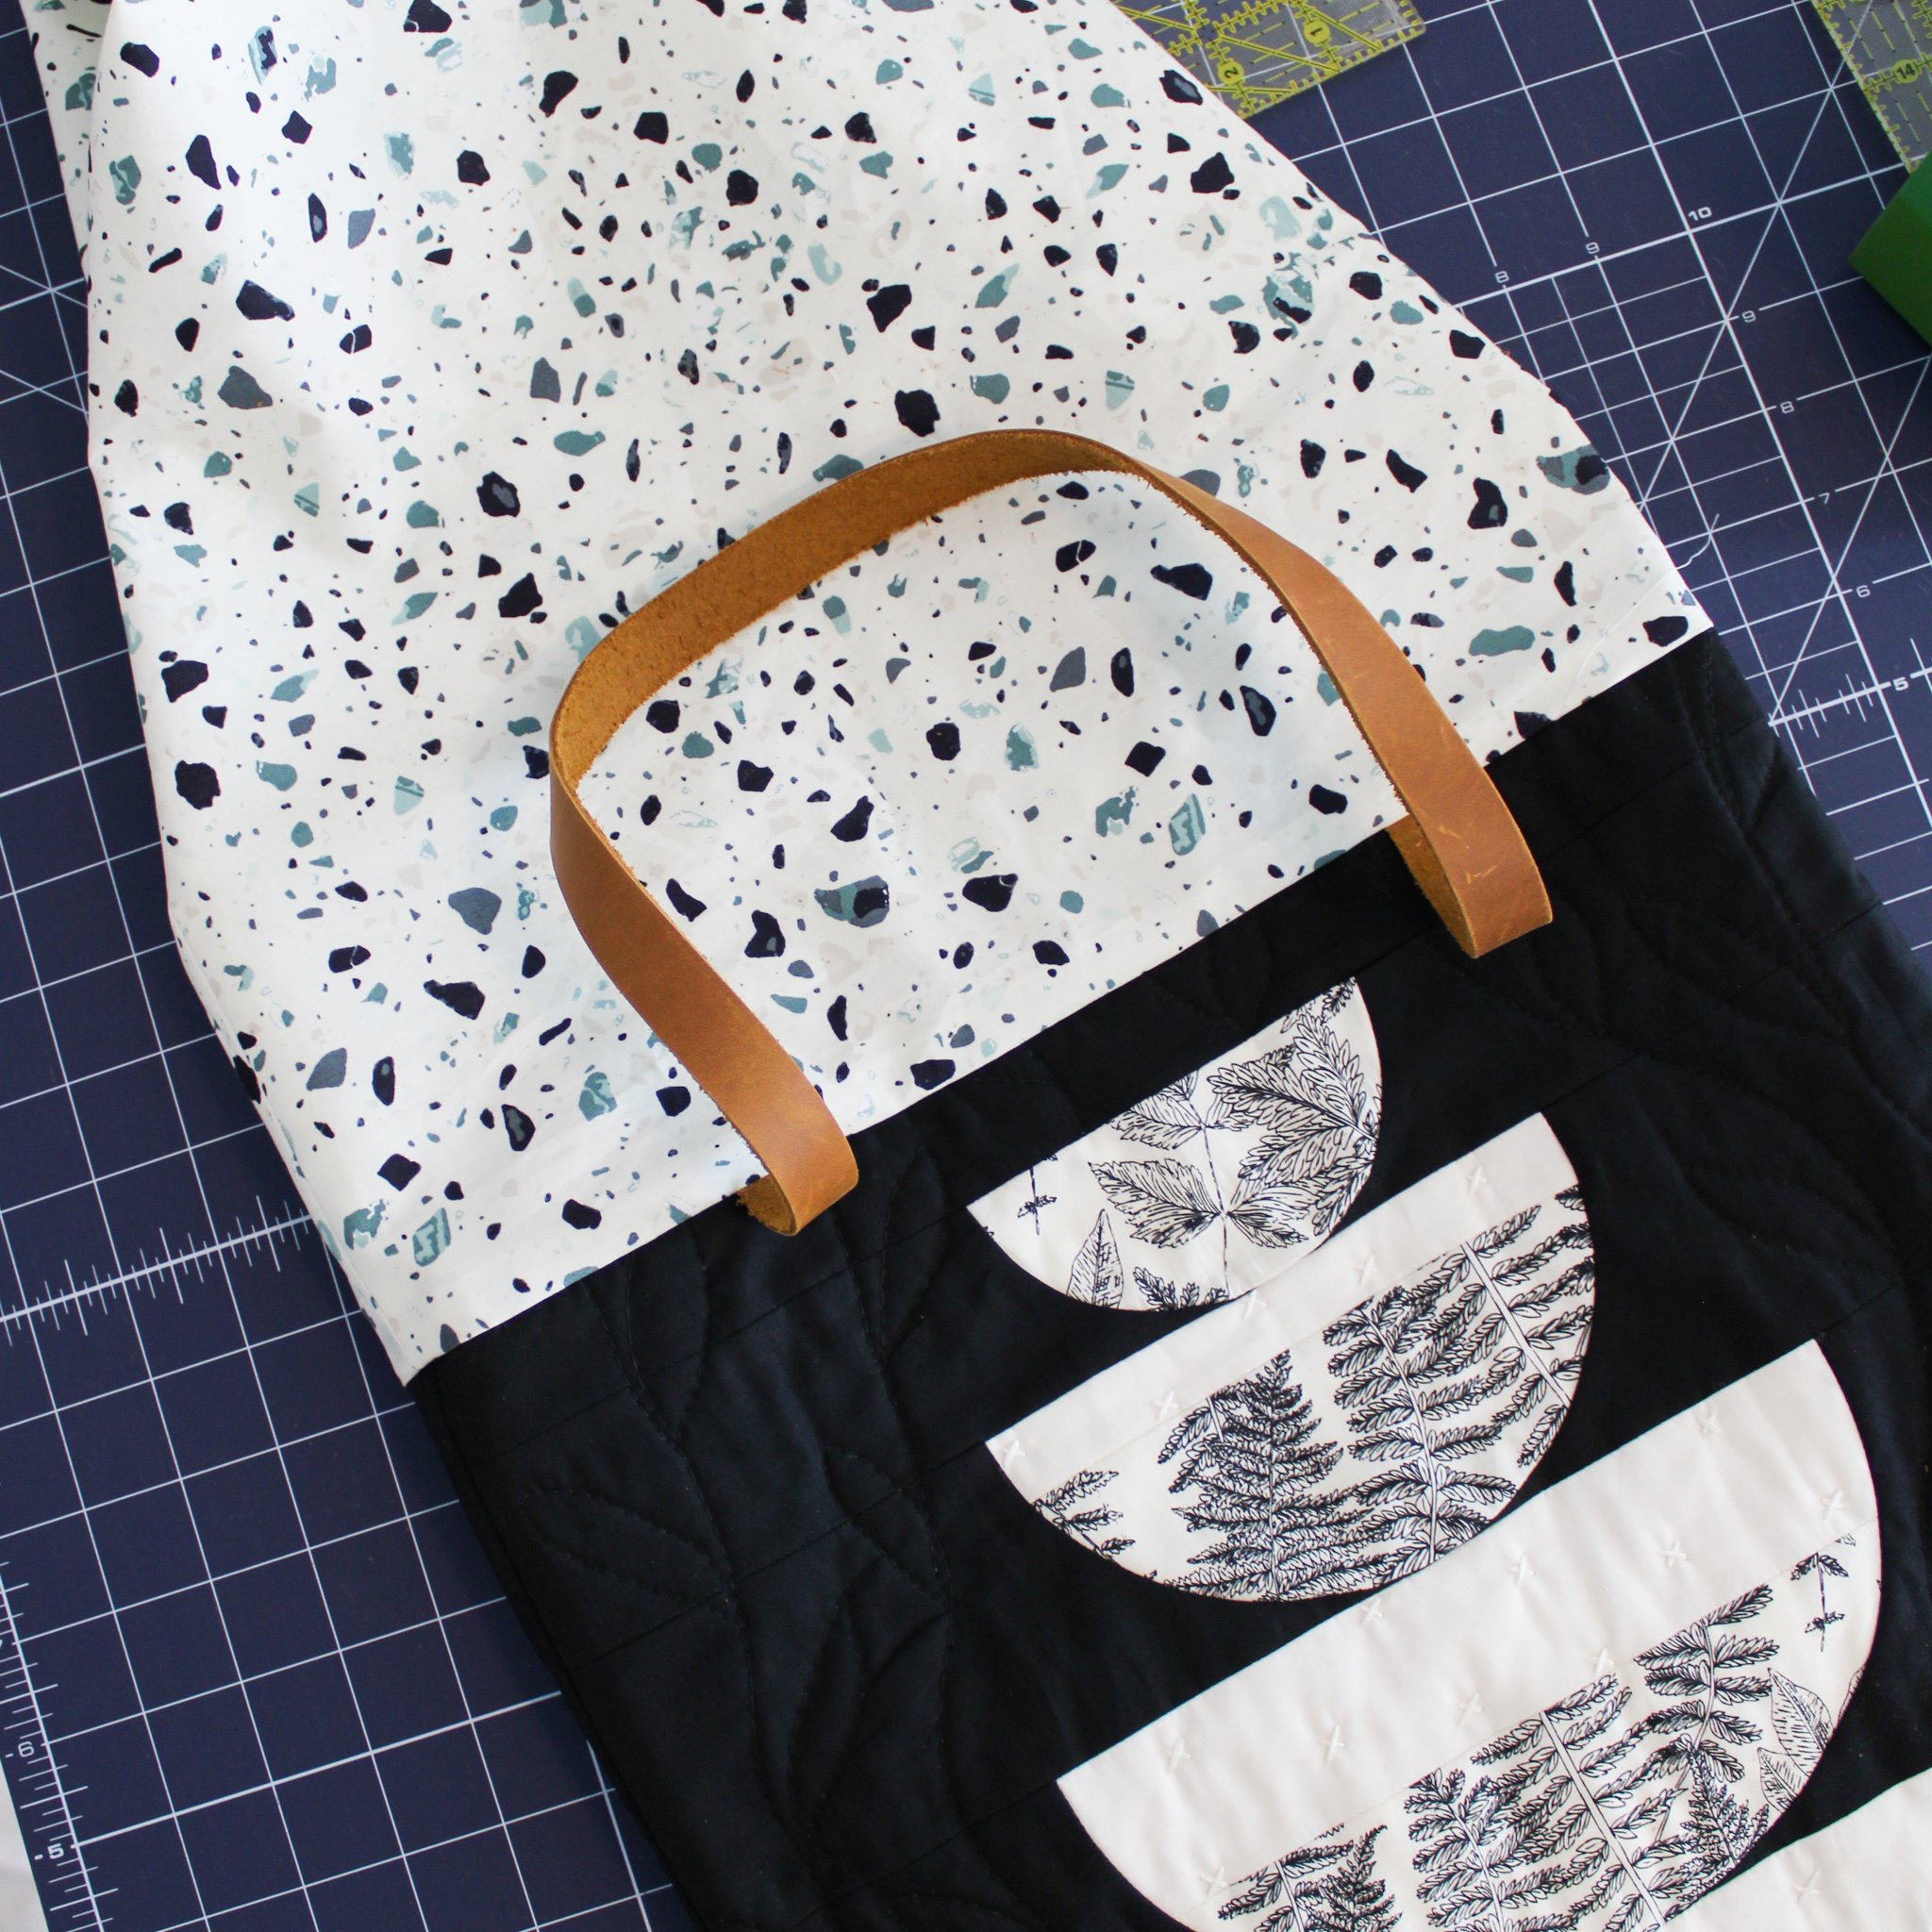
Join the handles. Lay the tote exterior, right side out, flat, and face up. Place one of your 23” handles - right side down - so that each end is flush along the top of the bag and 4” in from each side. Clip each end in place, making sure that your handle is not twisted. Repeat with the other side of the tote and your remaining handle. You may want to pick up & test your tote to see if you’d prefer to adjust your handle length or placement. If you do make adjustments, just make sure the handles on each side line up with one another when the tote is laid flat.
Join the lining. With the lining inside-out, place the tote exterior inside the lining. Line up each side seam of the lining with the side seam of the exterior and pin or clip them together. Continue to pin or clip the lining and exterior together around the entire top of the tote. Note that the lining is just a tad smaller than the exterior to reduce “bagginess,” so you may need to stretch it just a tiny bit as you secure it to the exterior.
Sew. Using a ½” seam, sew around the top of the bag. Be especially mindful when sewing over the handles that they stay straight and don’t shift.


6. Putting on the finishing touches
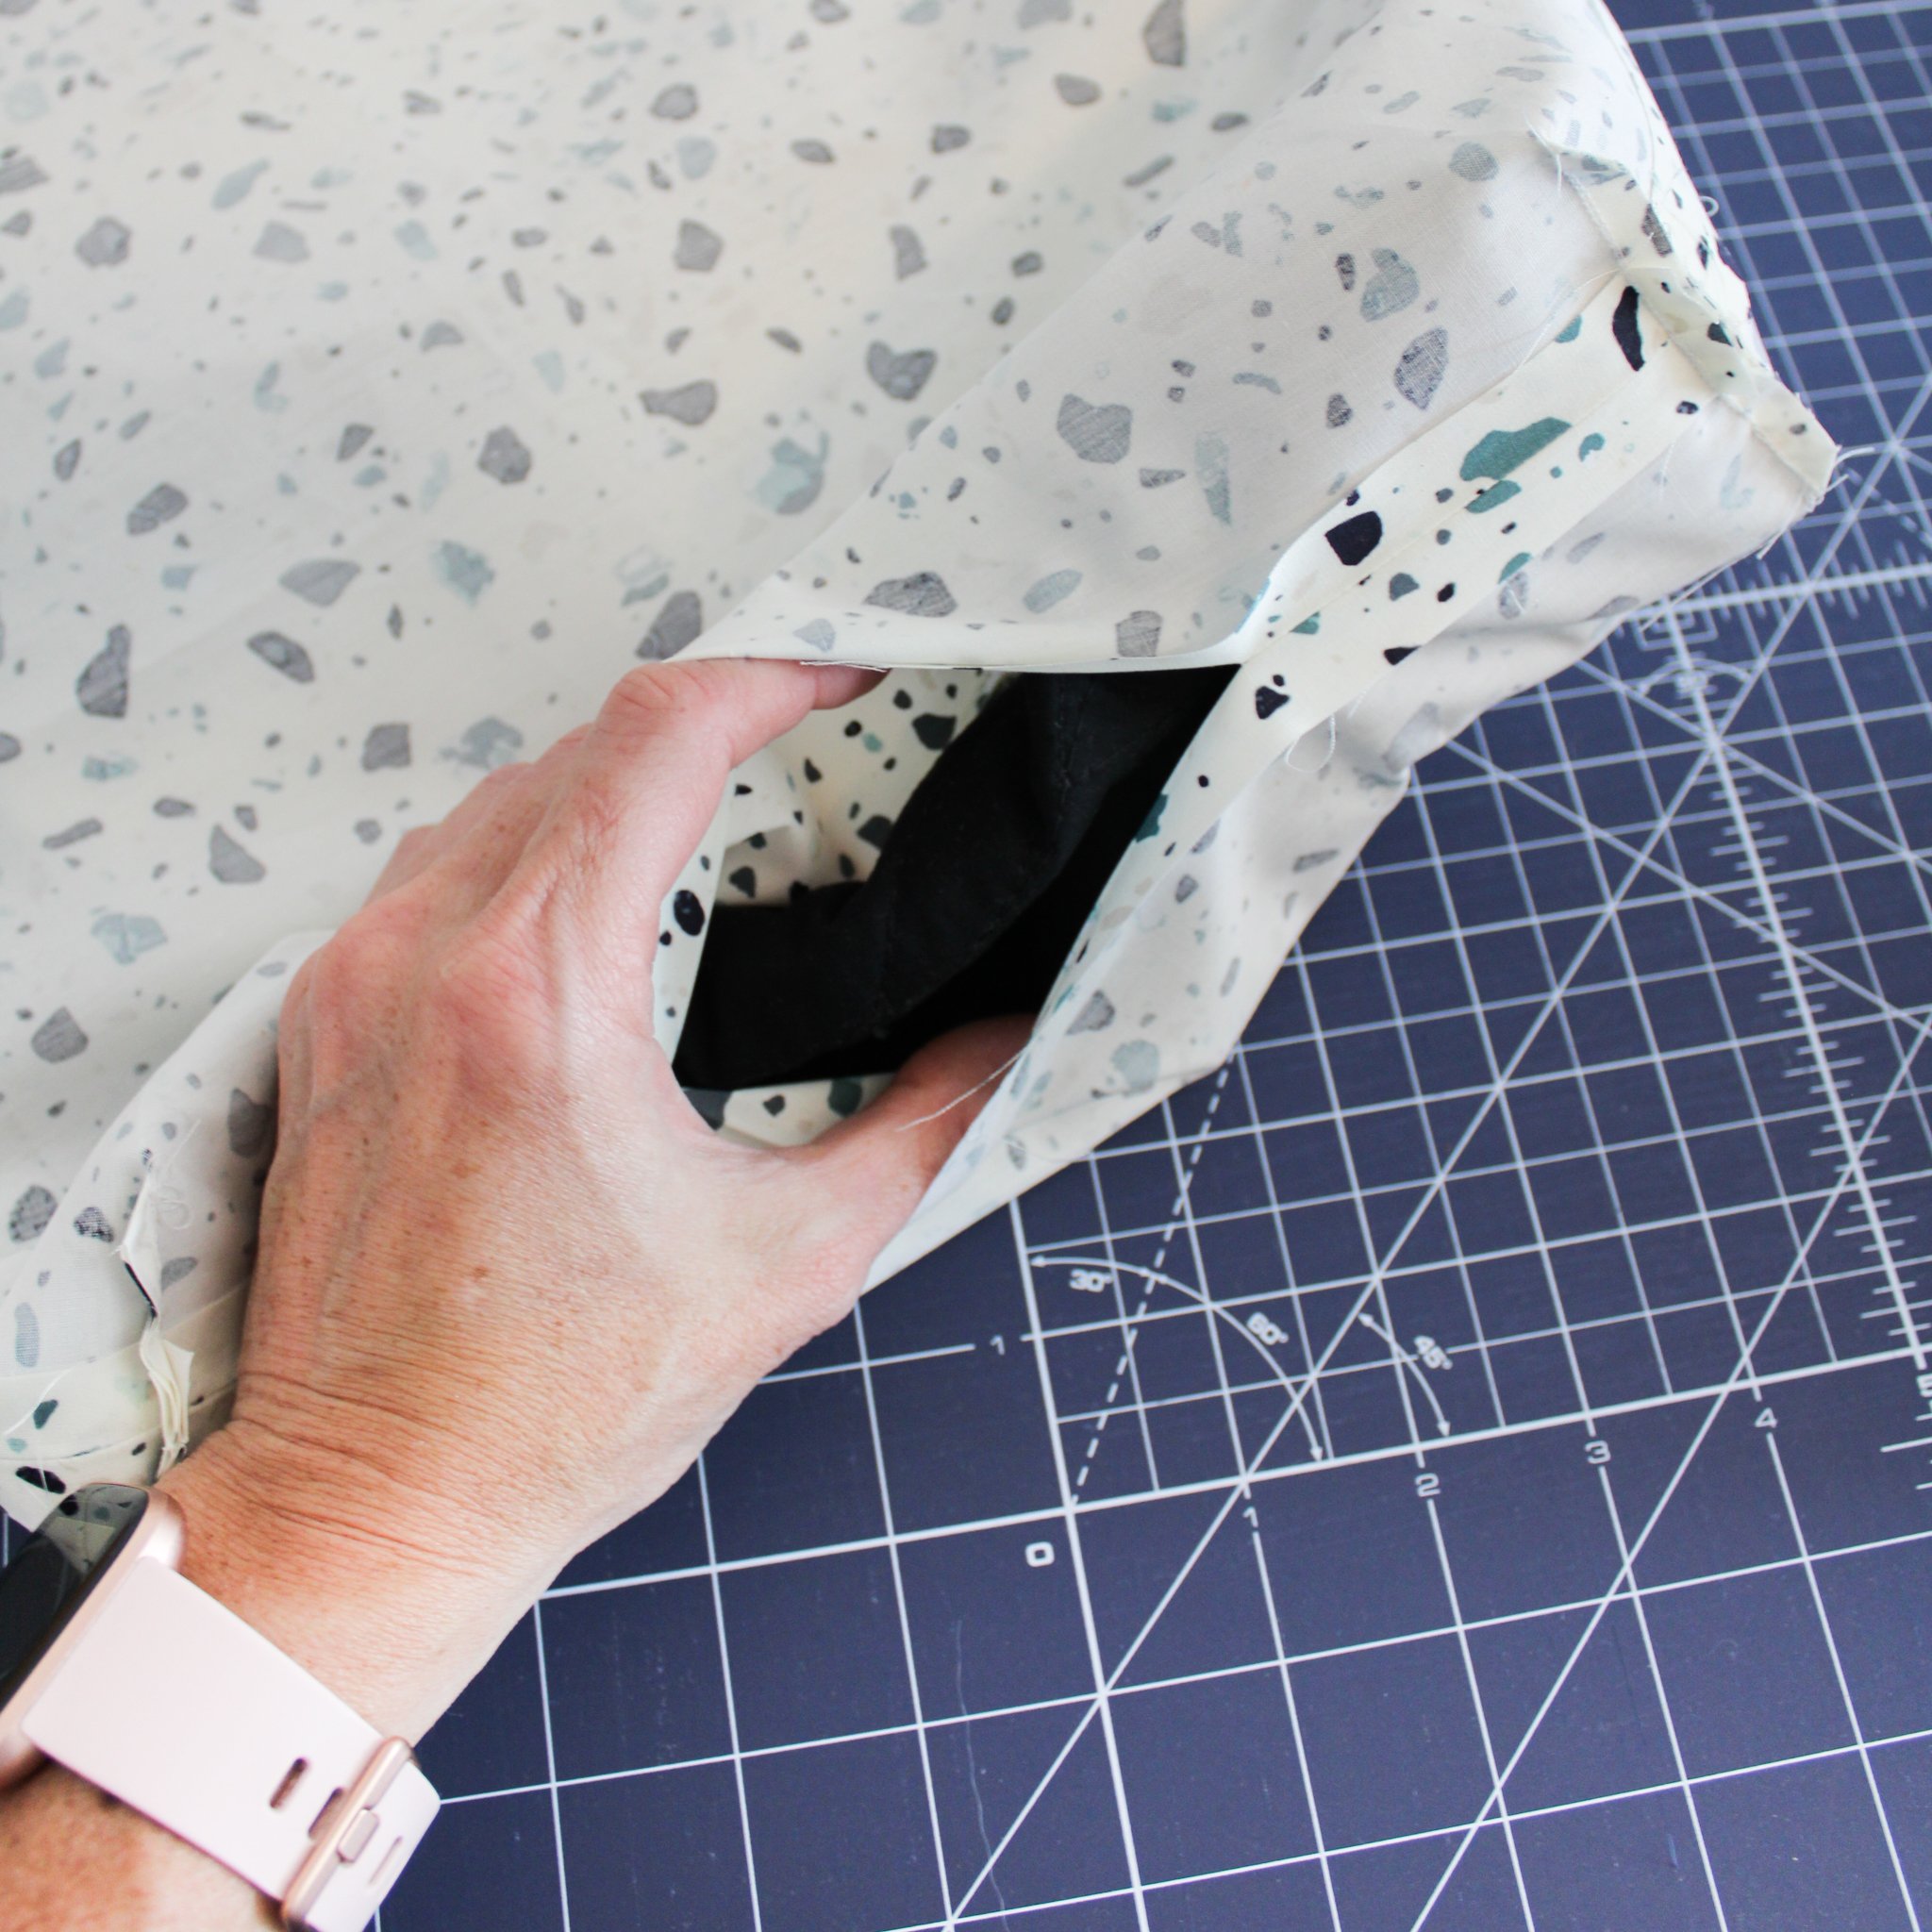
Turn right side out. Reach through the gap in the lining’s bottom seam to grab the tote exterior and gently pull it through, turning the lining right side out in the process.
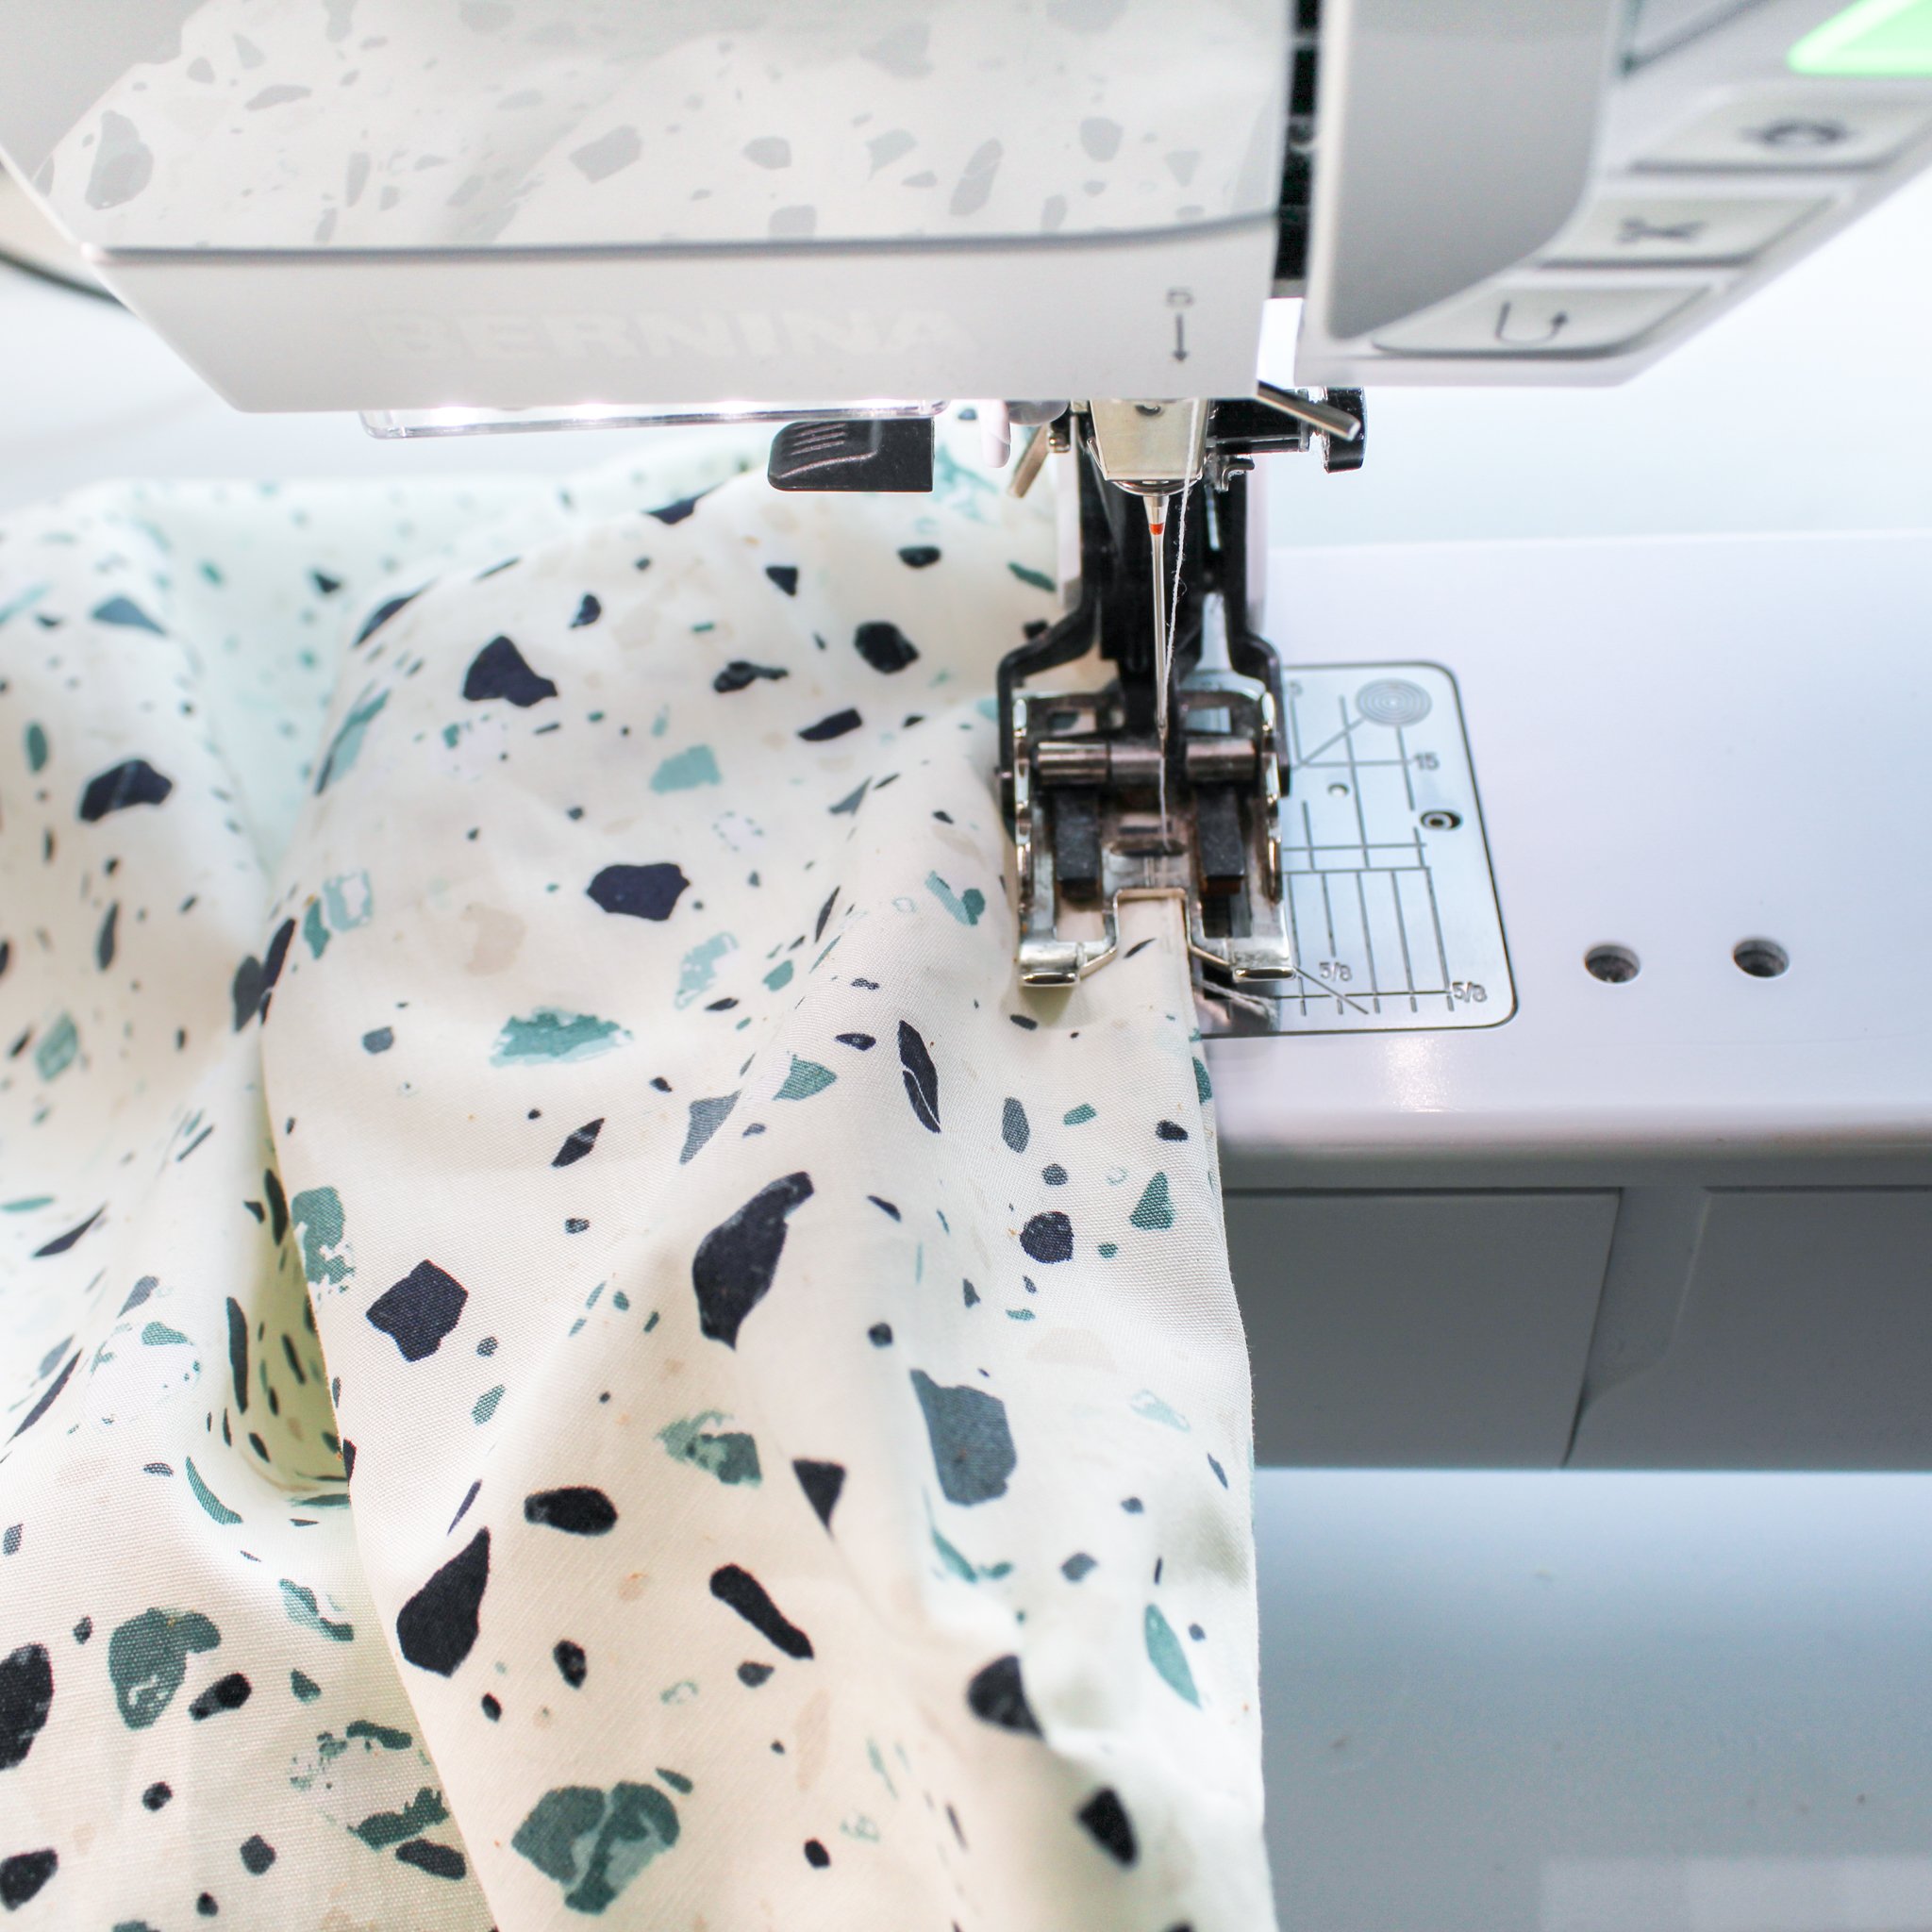
Topstitch. Tuck the lining inside the tote, and press the top seam so that the lining lays nice and flat inside. I also like to clip around the top seam to make sure the seams stay flat. Topstitch around the top of the tote, ¼” from the edge.
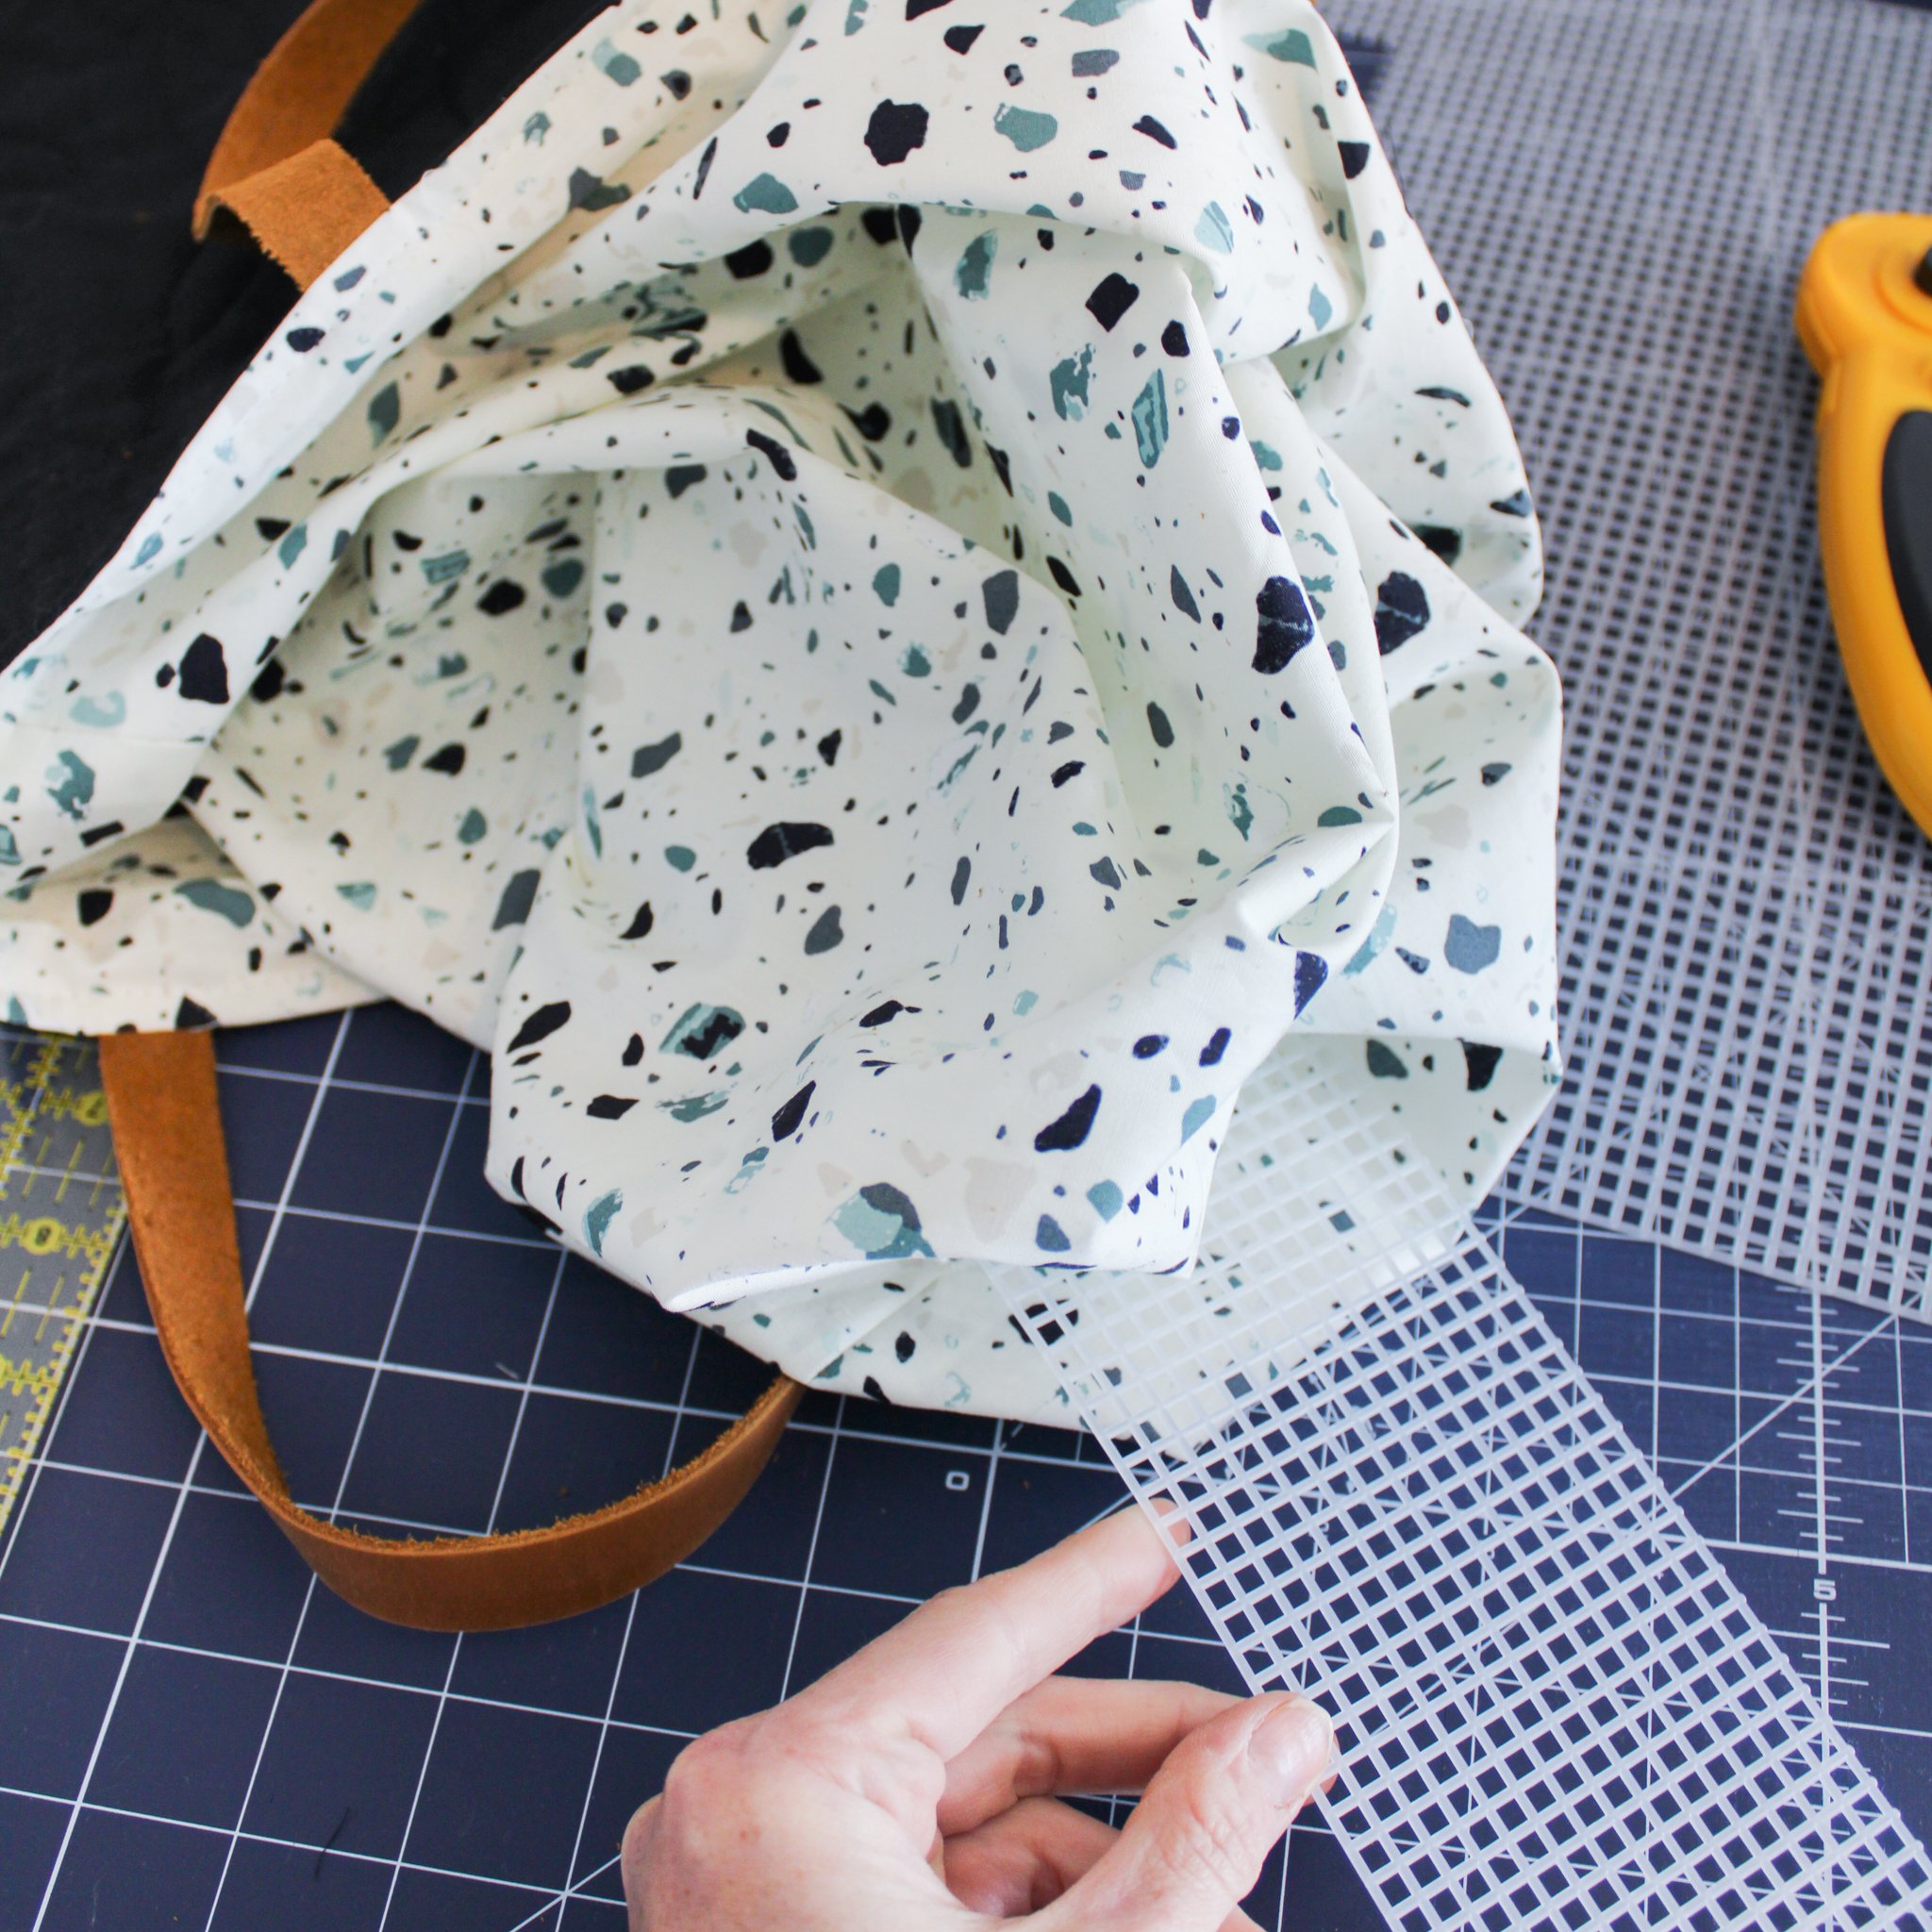
Place bottom. Take your plastic canvas piece (or stacked & taped double cardboard) and tuck inside the gap in the bottom seam of the lining, so that the piece lays flat on the bottom of the bag and aligns with the boxed corners of the exterior.
Close the lining. Sew the gap of the bottom lining seam closed either by hand or with your machine. Then, tuck the lining back into the tote.
And there you have it - your very own quilted tote! Are you thinking up your next version already?! These handmade bags make such a lovely gift, and are always the first things to go at any market I sell at.

What are you going to tote around in your new quilted tote bag? And, if you made your bag from your Feast quilt, then you’ll be reminded of what is “enough" when out shopping ;)
Enjoy, and tote responsibly!