
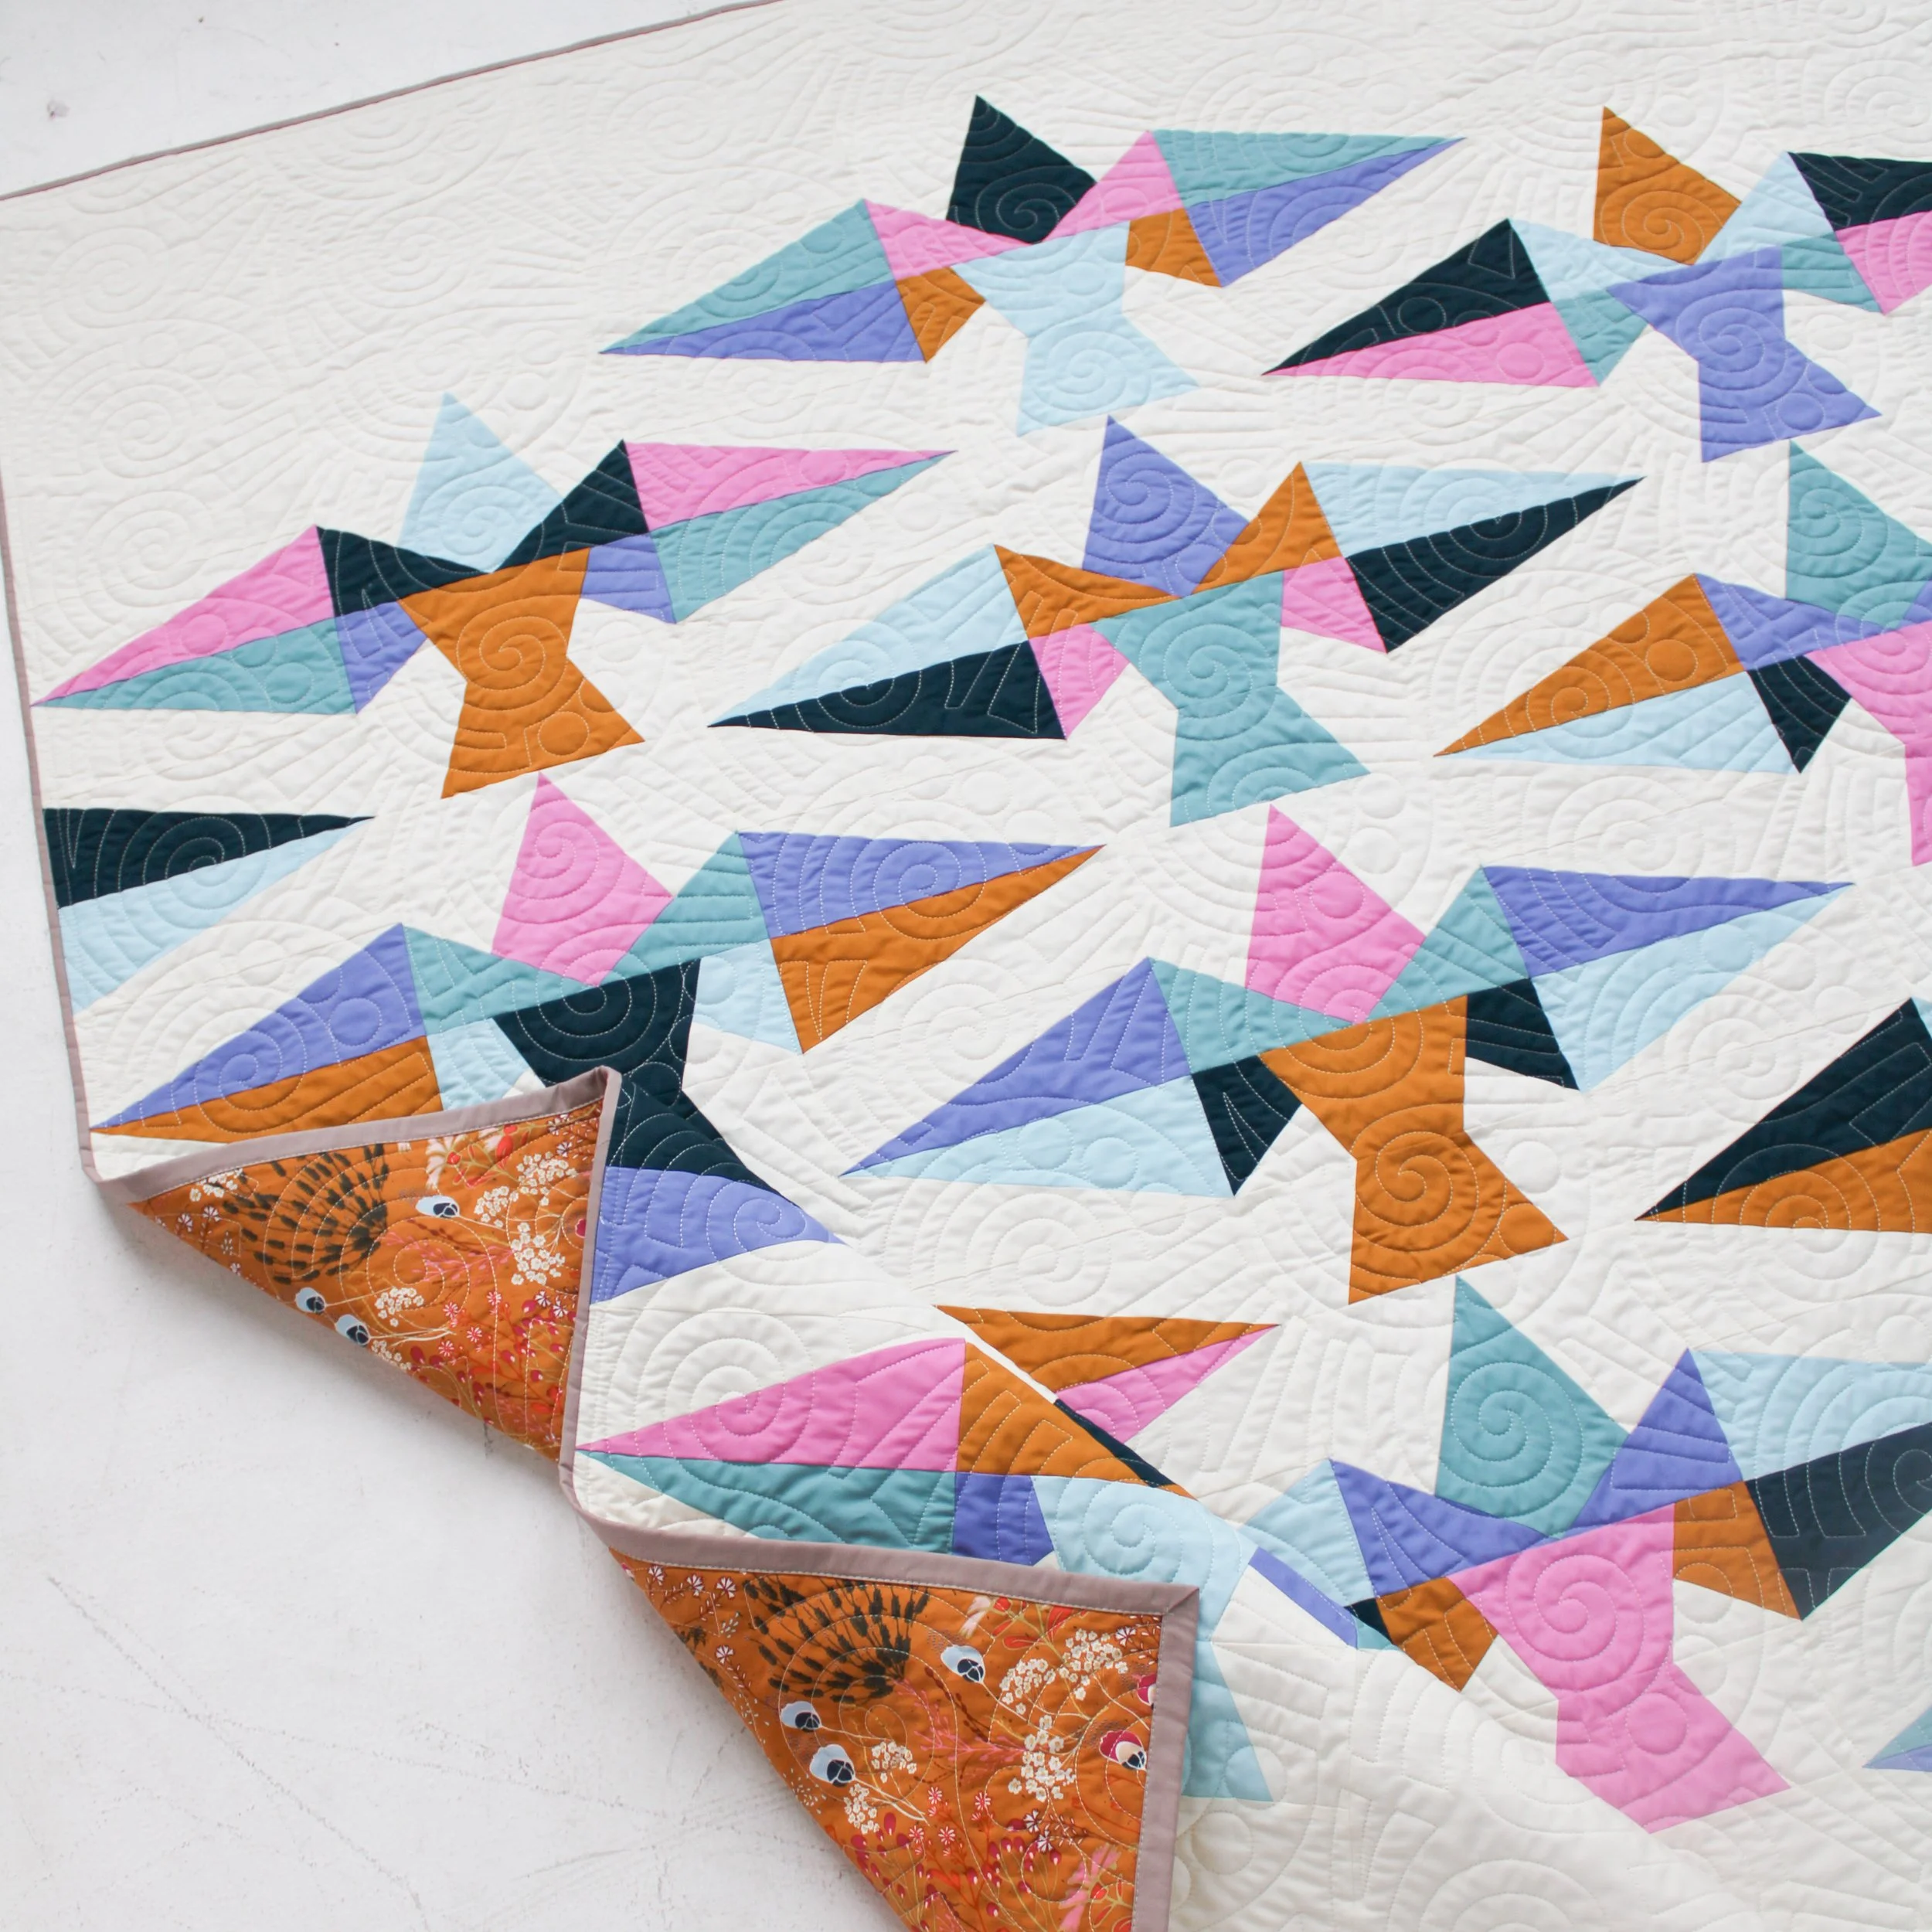
Another Feather Quilt:
Using the Trimming Template
If you’re looking for a quick & easy way to trim your Another Feather quilt pattern sub-blocks, look no further than the trimming template from Cut Once Quilts. No tape, no markers, no ruler - no problem! All you need is your sub-block, the template, and a rotary cutter. Follow the tutorial below to trim up each of your Another Feather Sub-blocks!
Psst! There’s also an Another Feather template set, which includes acrylic templates for all pattern templates and makes for fast, efficient cutting.
Template Overview & Tips | Head Sub-block | Mid-section Sub-block | Tail Sub-block | HRT 1 | HRT 2
Template Overview & Tips
The Another Feather trimming template is an all-in-one acrylic template that has all the points and lines needed to trim each of the three sub-blocks as well as the HRTs for your quilt. Each point is assigned a unique number for easy reference. Solid lines indicate where seams will run on each sub-block & HRT, and dotted lines are used to indicate the trimmed dimensions of HRTs and certain sub-blocks.
This template makes trimming your sub-blocks & HRTs a breeze because all the important points are already marked for you, and so it takes the guesswork out of where seams and points should align when trimming your units. Ultimately, this helps get nice final seam alignment when joining all the units into your full quilt.
Before diving in, here’s one helpful tip: For more stability, you may want to add ruler grips to the back side of your template. This will help to keep it from sliding around while trimming. I’ve also used medical tape for this purpose, which works great - just be sure to not put the tape where any of the points are, so that you still have good visibility.
Also, note that while the solid lines on the template are a helpful reference for seam location on your sub-blocks, it’s ultimately the points that will determine seam alignment once units are joined together. So, if your points line up where they’re supposed to, but your seams don’t exactly follow the solid line, don’t stress :)
Trimming the Head Sub-block
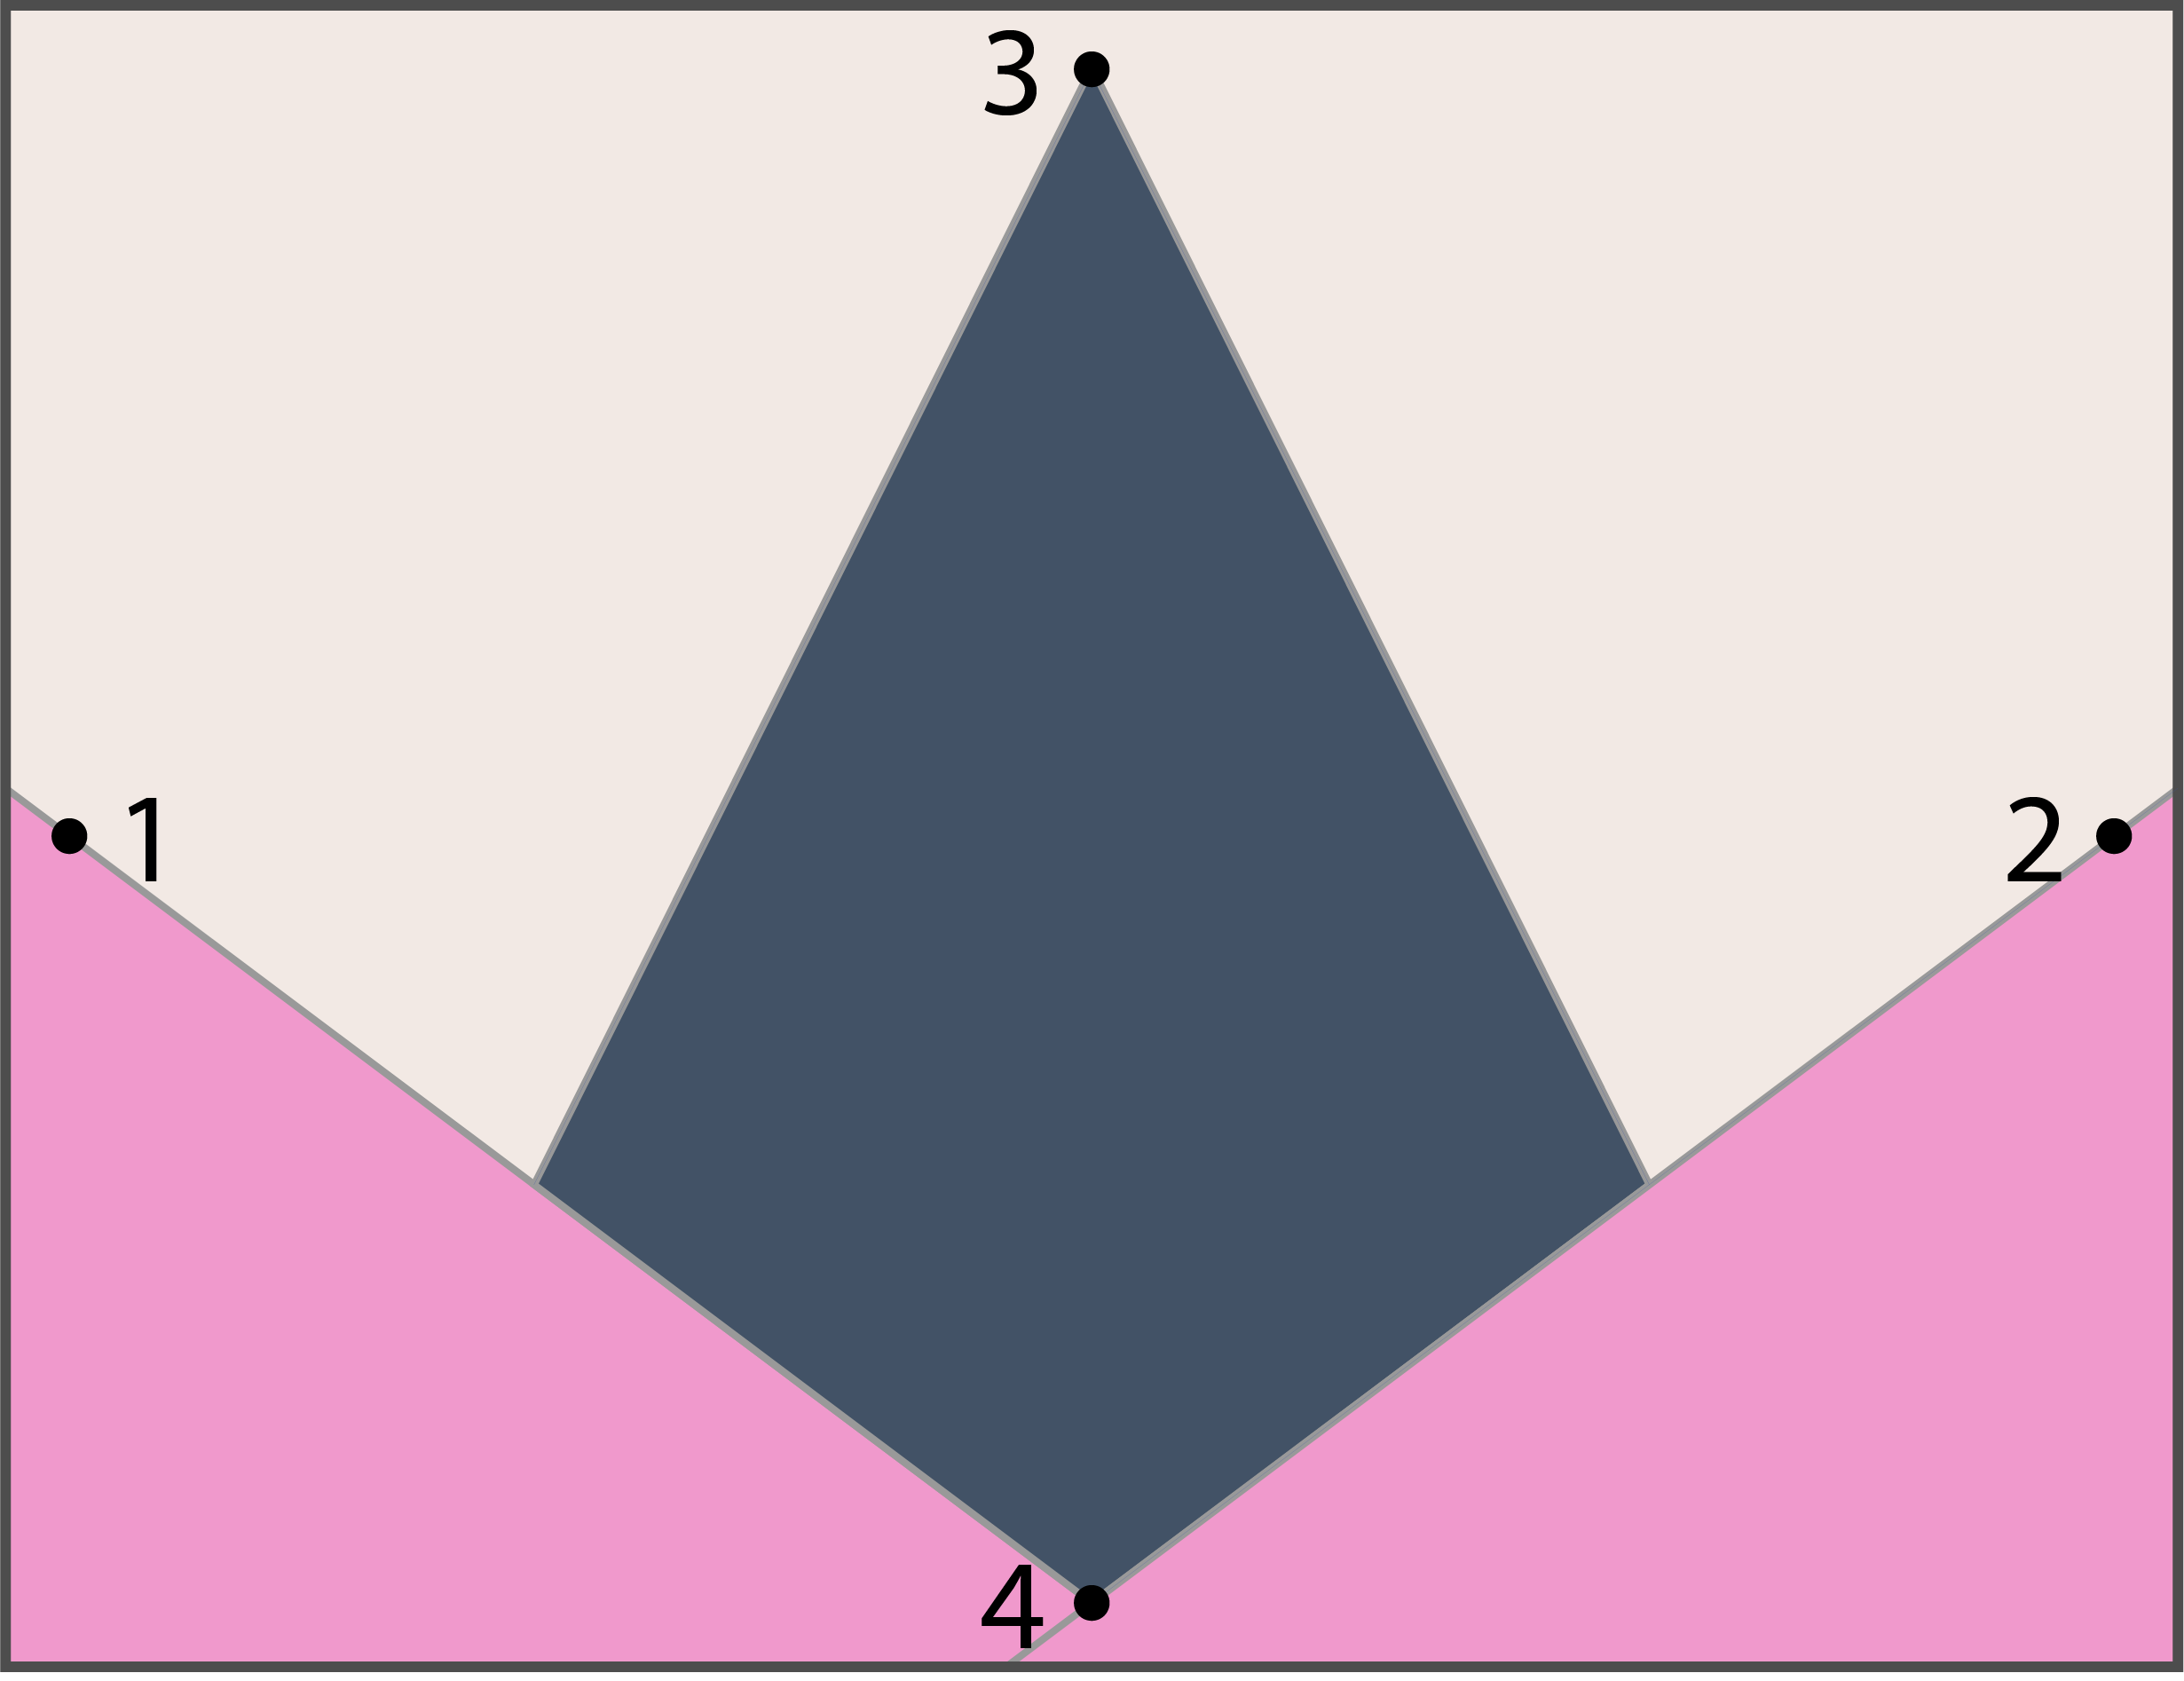
Points 1, 2, 3 & 4 are the points of interest for the Head sub-block:
Points 1 & 2 should align over the diagonal seams between B-1 & C-1 and B-2 & C-2, respectively
Point 3 should align with the top point of A
Point 4 should align with the bottom point of A
Once you have all points of the template lined up how you like on you sub-block, trim all four sides.
It’s likely that for at least some of your Head sub-blocks, all four of these points will not align with the corresponding points & seams on your unit. That’s okay! You will just need to decide which points to prioritize based on which alignments are important to you, and/or the color of your pieces (e.g., if A highly contrasts with your background and your C pieces contrast much less, you may opt to prioritize points 3 & 4).
Trimming the Mid-section Sub-block
Points 1, 2, 5 & 6 are the points of interest for the Mid-section sub-block:
Points 1 & 2 should align over the diagonal seams between D-1 & E-1 and D-2 & E-2, respectively
Points 5 & 6 should align over the diagonal seams on either side of F
Once you have all points of the template lined up how you like on your sub-block, trim the three exposed sides of your sub-block. Then, rotate your block 180 degrees to align the long, trimmed edge with dotted line just below “Trimming Template”, and trim the remaining untrimmed side of your sub-block.
It’s likely that for at least some of your Mid-section sub-blocks, all four of these points will not align with the corresponding points & seams on your unit. Again, that’s okay! You will just need to decide which points to prioritize based on which alignments are important to you, and/or the color of your pieces.
Trimming the Tail Sub-block
Points 5, 6, 7 & 8 are the points of interest for the Tail sub-block:
Points 5 & 6 should align over the diagonal seams on either side of the F toward the bottom
Points 7 & 8 should align over the diagonal seams on either side of the F toward the top
Once you have all points of the template lined up how you like on your sub-block, trim the three exposed sides of your sub-block. Then, rotate your block 180 degrees to align the long, trimmed edge with dotted line just below “Trimming Template”, and trim the remaining untrimmed side of your sub-block.
It’s likely that for at least some of your Tail sub-blocks, all four of these points will not align with the corresponding points & seams on your unit. Again, that’s okay! In this case, you will want to prioritize getting points 5 & 6 aligned with the seam, as this will ensure this side of F lines up with the corresponding F piece when joining the Tail to the Mid-section.
Trimming HRT 1
Points 1 & 10 are the points of interest for HRT 1, each aligning over the diagonal seam of your HRT. The dotted line above “Trimming Template” marks the other long edge of the trimmed HRT.
Once you have these two points of the template lined up how you like on your HRT, and ensure that the full, trimmed HRT dimensions fit onto your untrimmed HRT (i.e., there is fabric underneath the full width of the template at least until the dotted line mentioned), trim the three exposed sides of your HRT. Then, rotate your HRT 180 degrees to align the long, trimmed edge with dotted line just below “Trimming Template”, and trim the remaining untrimmed side of your HRT.
Trimming HRT 2
Points 2 & 9 are the points of interest for HRT 2, each aligning over the diagonal seam of your HRT. The dotted line above “Trimming Template” marks the other long edge of the trimmed HRT.
Once you have these two points of the template lined up how you like on your HRT, and ensure that the full, trimmed HRT dimensions fit onto your untrimmed HRT (i.e., there is fabric underneath the full width of the template at least until the dotted line mentioned), trim the three exposed sides of your HRT. Then, rotate your HRT 180 degrees to align the long, trimmed edge with dotted line just below “Trimming Template”, and trim the remaining untrimmed side of your HRT.

Using the trimming template to trim the Head Sub-block

Using the trimming template to trim the Mid-section Sub-block

Using the trimming template to trim the Tail Sub-block

Using the trimming template to trim HRT 1

Using the trimming template to trim HRT 2